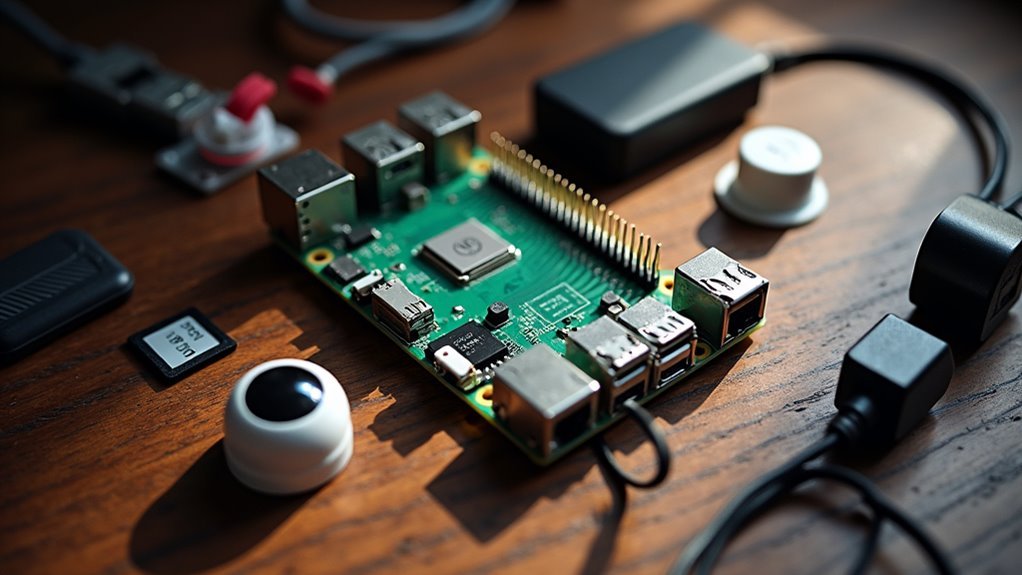
You’ve invested in a Raspberry Pi security camera system, but you’re probably not getting the most out of it. Most setups suffer from poor placement, unreliable alerts, and grainy night footage that won’t help when you actually need it. The difference between a basic camera and a professional-grade security solution often comes down to how you configure and optimize your Pi. These seven proven strategies will transform your current setup into something far more effective than you’d expect.
Optimize Camera Placement for Maximum Coverage
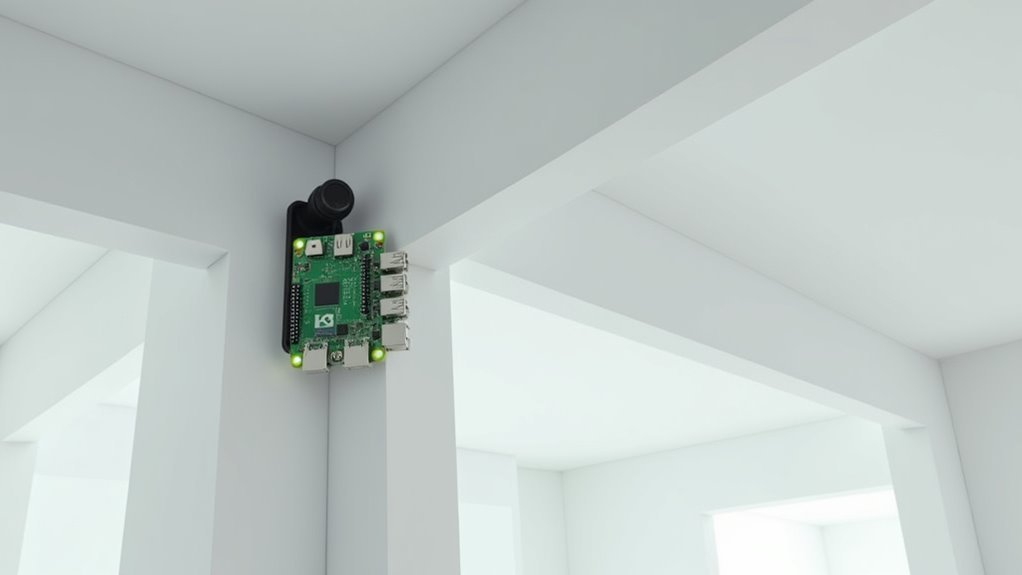
Where you position your Raspberry Pi security camera determines whether you’ll capture crucial security footage or miss important events entirely.
Proper camera placement starts with mounting your device 8-10 feet high to maximize your field of view while preventing tampering. Angle it downward slightly, focusing on entry points like doors and windows to eliminate blind spots and maximize coverage.
Avoid positioning cameras where direct sunlight or reflective surfaces create glare that compromises image quality. Choose well-lit locations or invest in infrared models for reliable performance during low-light conditions.
Stay away from areas with changing lighting patterns that affect visibility.
Remember to regularly evaluate your setup and adjust positioning as needed. Environmental changes or emerging security risks may require camera relocation to maintain effective monitoring performance.
Enable Motion Detection and Smart Alerts
You’ll want to fine-tune your motion detection sensitivity to strike the right balance between catching genuine security events and avoiding false alarms from pets or swaying trees.
Start by accessing MotionEyeOS’s motion detection settings and adjust the sensitivity percentage based on your environment’s activity level.
Once you’ve optimized detection accuracy, configure email notifications so you’re instantly alerted when motion triggers recording.
Configure Motion Sensitivity Settings
Three critical components form the backbone of effective motion detection: sensitivity calibration, automated capture settings, and smart notification systems.
You’ll need to configure your sensitivity settings carefully to minimize false alerts while maintaining reliable security coverage. Start by adjusting the detection threshold based on your environment’s typical activity levels – lower settings work best for quiet areas, while busier locations require higher thresholds.
Enable automatic image and video capture when your security camera detects movement, creating proactive monitoring that documents potential security events.
Set up smart alerts through email, webhooks, or IFTTT to receive real-time notifications. You can customize detection schedules to match your routine, activating monitoring only when needed.
Remember to regularly test and recalibrate these settings, as environmental changes affect detection accuracy over time.
Setup Email Alert Notifications
Once you’ve fine-tuned your motion sensitivity settings, configuring email alerts transforms your Raspberry Pi camera into a proactive security system that keeps you informed wherever you are.
Enable motion detection in MotionEyeOS settings to trigger automatic alerts when movement occurs. Navigate to the “Motion Detection” section and configure your email notifications by entering SMTP server details and recipient addresses.
Set appropriate threshold levels to prevent false alerts while guaranteeing legitimate activity gets reported.
For enhanced functionality, integrate IFTTT using webhook URLs: `https://maker.ifttt.com/trigger/*event_name*/with/key/*yourkey*`.
This enables SMS notifications and other alert channels beyond standard email. Customize notification messages to include relevant details about detected activity.
Regular testing guarantees your Raspberry Pi security camera’s email alert system responds promptly, maintaining effective monitoring capabilities.
Set up Secure Remote Access With P2P Connectivity
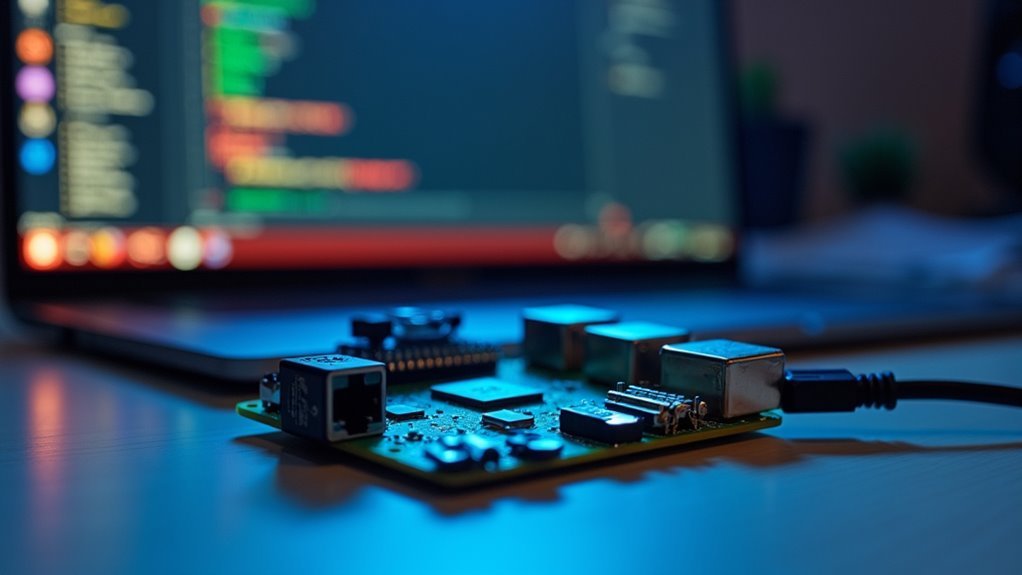
When establishing remote access to your Raspberry Pi security camera, P2P connectivity offers a superior solution that bypasses traditional cloud-based systems.
This direct connection approach enhances both speed and security by eliminating third-party data interception risks during video streaming.
Nabto Edge software provides excellent P2P functionality for your Raspberry Pi camera.
You’ll create a secure tunnel that connects your smartphone directly to the camera, reducing latency considerably compared to cloud-based alternatives.
Essential steps for secure remote access include:
- Creating a Nabto Edge account and linking your Raspberry Pi camera
- Configuring strong passwords to prevent unauthorized access
- Testing direct smartphone-to-camera connectivity from different locations
- Scheduling regular software updates to patch security vulnerabilities
- Monitoring connection logs for suspicious access attempts
This setup guarantees reliable surveillance access from anywhere with internet connectivity.
Configure Multiple Camera Networks on a Single Pi
You can expand your surveillance coverage by connecting multiple cameras to a single Raspberry Pi through different USB ports or using multiple Pi Camera Modules with proper driver configuration.
Managing network bandwidth becomes essential when streaming from several cameras simultaneously, so you’ll need to balance resolution and frame rates to prevent system overload.
Setting up centralized monitoring through MotionEyeOS lets you view and control all connected cameras from one interface while tracking system performance to guarantee peak operation.
Camera Assignment and Ports
Although managing a single security camera on your Raspberry Pi is straightforward, configuring multiple cameras requires careful attention to port assignments and network organization. Each camera needs a unique port number to prevent conflicts during video streaming.
MotionEyeOS simplifies this process through its intuitive web interface, allowing you to add and manage multiple cameras efficiently. You can connect USB cameras or additional Raspberry Pi camera modules using USB hubs. Each camera becomes accessible through specific URLs containing their designated ports, making network organization seamless.
- Camera feeds streaming simultaneously through distinct port channels
- Multiple USB cameras connected via powered USB hub
- MotionEyeOS dashboard displaying all camera feeds in grid layout
- Individual resolution settings optimized for each monitoring zone
- Port-specific URLs enabling remote access to targeted cameras
Performance optimization involves adjusting resolution and frame rates individually for each camera’s specific monitoring requirements.
Network Bandwidth Management
Multiple camera configurations place significant demands on your Raspberry Pi’s network bandwidth, requiring strategic management to maintain peak performance across all feeds.
You’ll optimize performance by setting each camera to 1280×800 resolution and adjusting frame rates based on monitoring needs. MotionEyeOS’s unique URL feature lets you prioritize specific feeds, while motion detection reduces unnecessary data transmission by only recording when activity occurs.
Use a wired Ethernet connection instead of Wi-Fi to minimize latency and improve stability when streaming video from multiple cameras simultaneously.
Configure QoS rules on your router to prioritize traffic from your Raspberry Pi, ensuring smooth bandwidth allocation across all camera streams. These network optimizations prevent dropped frames and maintain consistent monitoring coverage.
Centralized Monitoring Setup
When setting up centralized monitoring, MotionEyeOS transforms your single Raspberry Pi into a powerful hub that manages multiple camera streams through one unified interface.
This security camera system allows you to assign each network camera a unique IP address while accessing all feeds from one location. You’ll configure individual settings like resolution and motion detection parameters for each camera feed to optimize performance.
- Picture yourself monitoring your front door, backyard, and garage simultaneously from one dashboard.
- Visualize switching between multiple camera angles with simple clicks in your web browser.
- Imagine customizing each camera’s sensitivity settings based on specific monitoring needs.
- See yourself accessing live feeds remotely using unique URLs for each location.
- Envision your Raspberry Pi setup handling multiple streams without performance lag through proper bandwidth management.
Implement Cloud Storage and Backup Solutions
Since your Raspberry Pi’s local storage can quickly become overwhelmed with continuous video footage, implementing cloud storage solutions provides unlimited capacity and remote accessibility for your security camera system.
You’ll want to utilize Amazon S3 buckets for storing surveillance recordings without local limitations. Establish a backup strategy by scheduling regular uploads to prevent data loss from hardware failure or theft.
Leverage AWS Lambda functions to automatically convert raw video files into accessible MP4 formats upon upload. This cloud-based transcoding offloads resource-intensive processing from your Raspberry Pi, improving its overall performance.
Configure your cloud storage with proper security measures, including private access permissions and encryption to protect sensitive video footage from unauthorized access while maintaining reliable remote surveillance capabilities.
Enhance Night Vision Capabilities
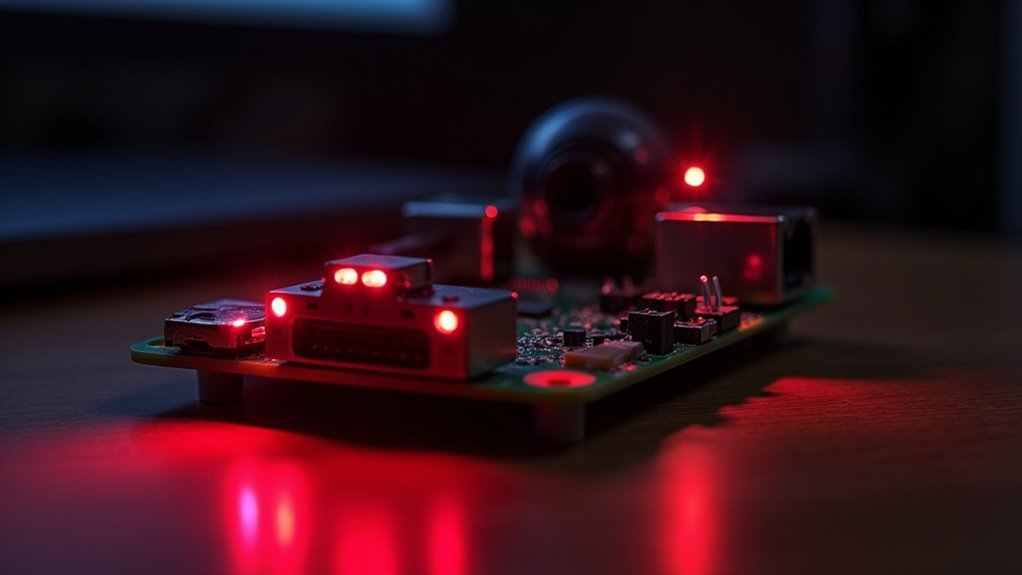
Although standard camera modules perform well during daylight hours, they’ll struggle to capture usable footage once darkness falls, making infrared night vision capabilities essential for 24/7 surveillance coverage. Your Raspberry Pi can achieve excellent low-light environments performance with the right setup.
Consider upgrading to the NoIR Camera Module V2, specifically designed for night vision applications. Strategic infrared LED placement around your camera’s field of view guarantees ideal illumination without visible light disturbance.
- IR illuminators casting invisible light across darkened doorways and windows
- Camera settings adjusted for lower frame rates reducing grainy noise
- Specialized lens filters enhancing light sensitivity for crystal-clear captures
- Strategic camera placement at elevated angles maximizing coverage areas
- Complete darkness transformed into detailed surveillance footage
Proper image quality depends heavily on experimenting with different installation heights and angles for ideal results.
Integrate With Home Automation Systems
While standalone security cameras provide basic monitoring capabilities, integrating your Raspberry Pi camera with home automation systems transforms it into a powerful component of your smart home ecosystem.
You’ll gain seamless control through platforms like Home Assistant or OpenHAB, dramatically enhancing functionality.
Using MQTT protocols, your Raspberry Pi security camera sends real-time alerts throughout your home automation network, ensuring immediate security breach awareness.
MQTT protocols enable instant security alerts across your entire home automation network, providing immediate breach detection and response capabilities.
Create automation routines that trigger recording when doors open or motion detection occurs in designated areas.
Voice assistants like Amazon Alexa enable convenient camera feed access through simple commands.
IFTTT integration connects your camera with other smart devices—automatically turning on lights or locking doors when motion’s detected, creating thorough security responses that protect your home intelligently.
Frequently Asked Questions
What Is the Best Security Camera Software for Raspberry Pi?
You’ll find MotionEyeOS is the best choice for beginners due to its user-friendly web interface. If you need advanced features, consider ZoneMinder or Shinobi for professional-grade surveillance capabilities.
What Can You Do With a Raspberry Pi Camera?
You can capture high-quality photos and videos, create time-lapse photography, monitor pets or homes with motion detection, stream live footage remotely, and store recordings on cloud services for security purposes.
Is It Legal for My Neighbor’s Security Camera to Record My Yard?
Your neighbor’s camera can legally record your yard if it’s monitoring their property and public areas. However, you’ll need to check local privacy laws since regulations vary by state and jurisdiction.
Can I Use a Raspberry Pi as a NVR?
You can absolutely use a Raspberry Pi as an NVR by installing MotionEyeOS software. It’ll support multiple IP cameras, provide motion detection, email alerts, and video recording capabilities for effective home surveillance.


Leave a Reply