Building a Raspberry Pi voice assistant requires careful planning. Select a Pi 3 or 4 with at least 2GB RAM and quality microphones like ReSpeaker or PlayStation Eye. Optimize audio settings through ALSA and position mics strategically. Choose between cloud APIs or offline options like Mozilla DeepSpeech or Vosk. Implement lightweight wake word engines such as Porcupine. Design clear command phrases and reduce power consumption with duty cycling. These foundational steps will set you up for voice assistant success.
Selecting the Right Hardware Components

When building a Raspberry Pi voice assistant, your hardware choices will determine the system’s overall performance and reliability. Opt for Raspberry Pi 3 or 4 models with at least 2GB RAM to guarantee smooth voice processing capabilities.
Storage matters greatly—choose a Class 10 microSD card with 16GB minimum (128GB preferred) to accommodate voice data caching and system logs.
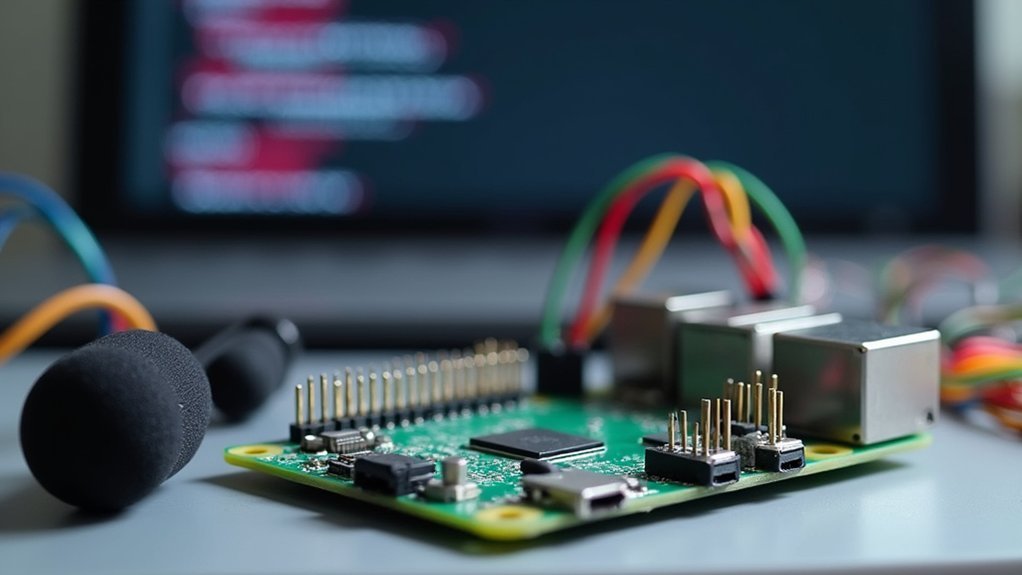
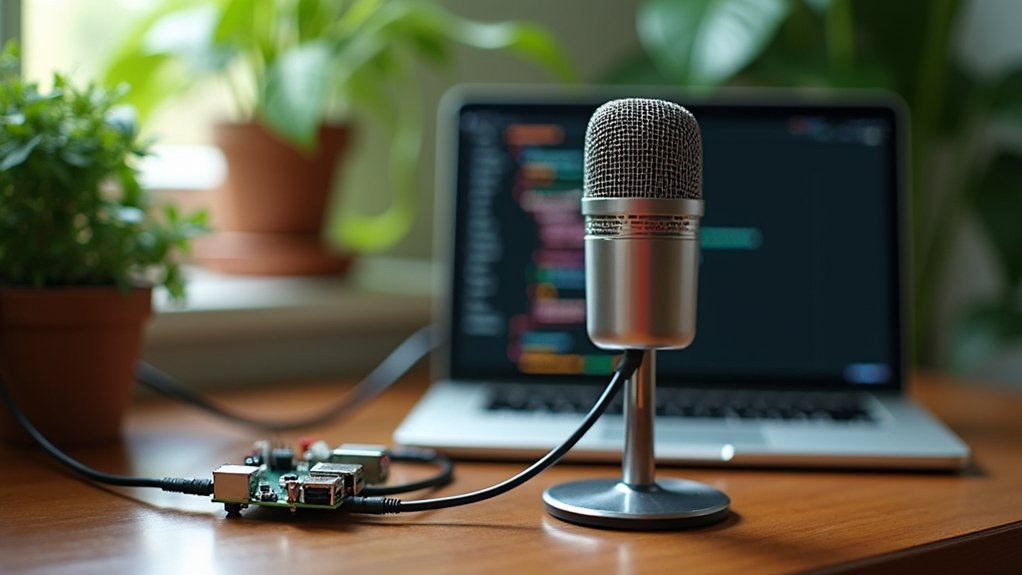
For audio capture, USB microphones or microphone arrays like ReSpeaker provide clear voice input with better noise filtering. The PlayStation Eye is another excellent microphone option, offering reliable audio capture for around $20 with its built-in microphone array.
Don’t overlook power requirements—use appropriate power supplies (5V/2.5A for Pi 3, 5V/3A for Pi 4) to prevent system instability.
For output, utilize the built-in audio jack or USB speakers depending on your quality needs.
Consider protective cases and whether you’ll need additional peripherals like displays for visual feedback.
Optimizing Audio Input and Output for Clear Communication
Once you’ve assembled your Raspberry Pi voice assistant hardware, audio quality becomes the next key factor in creating a responsive system. Position your microphone as close as possible to the speaker’s mouth and use directional models to minimize ambient noise.
For Raspberry Pi Zero W or devices lacking integrated audio, connect USB sound cards or external interfaces.
Configure ALSA settings through `.asoundrc` files and use `alsamixer` to adjust microphone gain without clipping. Identify your devices with `arecord -L` and `aplay -L`, prioritizing `plughw:` device types for better compatibility. Verifying hardware functionality before software configuration can prevent troubleshooting headaches later.
In your environment, reduce reverberation with soft furnishings and position speakers to avoid feedback loops.
Regularly test your setup with command-line tools like `arecord` and `speaker-test` to validate recording fidelity and output quality.
Setting Up Reliable Speech Recognition Services

When setting up speech recognition on your Raspberry Pi, you’ll need to decide between cloud-based APIs requiring proper key management or offline options like Mozilla DeepSpeech for enhanced privacy.
For cloud solutions, store your API keys securely and implement usage monitoring to avoid unexpected costs from services like Google Speech-to-Text. Among the available cloud options, Steven Hickson’s software consistently delivers superior precision compared to alternatives, making it ideal for projects requiring high accuracy.
Implementing noise filtering through hardware solutions or software preprocessing will dramatically improve recognition accuracy regardless of which recognition engine you choose.
API Key Management
Reliable speech recognition on your Raspberry Pi hinges on proper API key management. After selecting your speech service provider, create a project on their platform and enable the necessary APIs.
Generate a service account key and save the JSON file securely on your Pi.
Never hardcode keys directly in your source code. Instead, store them in environment variables or dedicated configuration files with restricted permissions.
Implement request throttling to handle rate limits and cache frequent requests to optimize usage.
Monitor your quota consumption regularly and prepare fallback mechanisms for service interruptions.
Test authentication thoroughly before deployment and document your setup process.
When troubleshooting, verify keys are active with correct permissions and properly formatted in your API calls.
For enhanced security in your vocal interaction system, consider storing the OpenAI and Google Cloud keys as environment variables to prevent unauthorized access.
Offline Recognition Options
While online services offer powerful speech recognition capabilities, setting up offline recognition on your Raspberry Pi provides critical advantages for privacy and reliability.
You’ll need a multi-core Pi (3, 4, or 5) paired with a quality microphone like ANAVI Dev Mic or a dedicated array for best results.
- Mozilla DeepSpeech works well on Pi 4+ with no internet needed and supports customizable language models.
- Vosk API offers lightweight recognition in 20+ languages with excellent Pi compatibility.
- SOPARE provides Python-based pattern recognition specifically optimized for Pi 2/3 processors. Always test your microphone functionality using mictest.me before installation to ensure proper audio input.
- OpenAI Whisper can run offline on Pi 5 for English transcription with impressive accuracy.
Pre-process audio signals to reduce noise and regularly benchmark your chosen engine to balance speed and accuracy.
Noise Filtering Implementation
Effective noise filtering forms the foundation of any reliable voice assistant setup on your Raspberry Pi.
You’ll achieve the best results by combining hardware and software approaches. Start with physical improvements—position directional microphones toward users and add acoustic shielding to block environmental noise.
For software filtering, you have two powerful options. Implement ML-based noise suppression on the Raspberry Pi Pico 2’s dual-core processor for real-time processing that preserves privacy by keeping audio local. The Pico 2’s RP2350 microcontroller enables significantly more compute-intensive applications than previous versions, making it ideal for running neural network-based noise suppression.
Alternatively, deploy adaptive filtering algorithms using two microphones—one capturing your voice plus noise, the other capturing only ambient sounds.
Don’t overlook basic signal processing techniques like bandpass filters to isolate speech frequencies and noise gates to eliminate quiet background sounds when you’re not speaking.
Implementing Effective Wake Word Detection

To implement effective wake word detection on your Raspberry Pi, choose lightweight engines like Porcupine or Raven that minimize CPU usage while maintaining responsiveness.
You’ll need to balance between predefined wake words that work out-of-the-box and custom alternatives that might require additional licensing or training data.
For noisy environments, pair your system with quality microphones and optimize your wake word engine’s sensitivity settings to filter out background sounds without missing legitimate activation phrases. Porcupine delivers 11.0 times more accuracy than alternatives like PocketSphinx and Snowboy while also running significantly faster on Raspberry Pi 3.
Low Power Listening Solutions
Since Raspberry Pi devices often operate with limited power resources, implementing efficient wake word detection becomes essential for creating responsive voice assistants without draining batteries.
You’ll need to carefully balance responsiveness with energy consumption to create a practical solution.
- Offload processing strategically – Use simple voice satellites to capture audio, then stream to a more powerful central device for wake word processing rather than running intensive detection on every device.
- Choose lightweight engines – Implement microWakeWord or Porcupine, which are optimized for resource-constrained environments while maintaining good accuracy. Consider using openWakeWord which targets a reasonable false-accept rate of 0.5/hour while maintaining responsiveness.
- Implement duty cycling – Program your system to listen intermittently rather than continuously to conserve power during inactive periods.
- Optimize audio input – Use low-power microphones that can pre-filter environmental noise to reduce unnecessary processing and false triggers.
Accurate Voice Pattern Recognition
While optimizing power consumption sets the foundation for your Raspberry Pi voice assistant, achieving reliable wake word detection forms the heart of user interaction.
Implement Picovoice or OpenWakeWord to keep processing local, enhancing both privacy and response time.
For best results, use MFCC feature extraction to improve recognition in noisy environments. Train your models with data augmentation techniques—varying background noise, pitch, and volume levels greatly improves real-world performance. The straightforward installation process of Picovoice makes it accessible for various Raspberry Pi models, including Zero, 2, 3, 4, and 400.
Consider using LSTM neural networks for their sequential audio processing capabilities while keeping models lightweight for the Pi’s limited resources.
Combine wake word detection with voice activity detection to filter irrelevant audio and reduce false triggers.
Fine-tune sensitivity thresholds based on your environment and leverage the Pi’s GPIO pins for immediate hardware response once the wake word is detected.
Noisy Environment Considerations
Environmental noise presents one of the biggest challenges for Raspberry Pi voice assistants, potentially derailing even the most sophisticated wake word systems. To guarantee your assistant remains responsive in noisy settings, you’ll need a strategic approach to both hardware and software.
- Deploy directional microphones positioned away from noise sources and use dual-mic arrays to enable hardware-based noise cancellation through beamforming. Some users have found that physical shielding with cones or similar structures can significantly improve the recognition capabilities of microphones in noisy environments.
- Implement ML-based noise suppression models optimized for the RP2350 on Raspberry Pi Pico boards to filter audio before wake word processing.
- Train your wake word detection on noisy datasets and use adaptive thresholding to dynamically adjust sensitivity based on current noise levels.
- Separate power supplies for audio components and computing hardware to minimize electrical interference that can degrade signal quality.
Crafting Custom Voice Commands for Home Automation
Creating effective voice commands for your Raspberry Pi assistant doesn’t need to be complicated, but it does require thoughtful planning. Design clear, concise phrases like “Turn on fan” rather than complex sentences that might confuse your system.
Structure commands with consistent activation words (e.g., “Hey Raspberry”) to prevent accidental triggering. Map each command directly to specific GPIO pins or API actions that control your home devices.
Implement speech-to-text conversion and consider using AI models like ChatGPT to interpret more natural language variations. Make certain your Pi has a quality microphone and appropriate relay modules to interface with appliances. Use the alsamixer command to adjust your microphone’s volume settings for optimal voice detection.
Test your commands regularly in different environments, adjusting microphone sensitivity as needed. Add error handling for unrecognized commands and security measures to prevent unauthorized access to your home automation system.
Managing Power Consumption for 24/7 Operation
Running your Raspberry Pi voice assistant continuously requires careful power management to guarantee reliability without excessive energy consumption. Most Pi models consume 3.5-5W during voice assistant operations, totaling 96-120 watt-hours daily.
Continuous Pi operation demands thoughtful power management—balancing reliability with efficiency for sustainable 24/7 voice assistance.
For stable 24/7 operation, consider these essentials:
- Size your power solution appropriately – Choose a battery exceeding your daily watt-hour needs and factor in 10-20% efficiency losses when calculating capacity. For reliable long-term power, 12V gel cell batteries offer dependable performance despite their heavier weight.
- Use DC-DC converters for stable 5V output from variable battery sources.
- Disable unnecessary services and peripherals to maintain your Pi in low-power mode.
- Keep your assistant running 24/7 rather than cycling power, as boot spikes often consume more energy than continuous operation.
Monitor real-time consumption with USB power meters to establish your specific baseline requirements.
Troubleshooting Common Voice Assistant Issues
While maintaining your Pi’s power efficiency keeps your voice assistant running, you’ll inevitably encounter technical hiccups that require troubleshooting.
Start by checking your audio configuration—ensure you’re in the audio group and test your speakers with `speaker-test -t wav -c 2`.
If your assistant isn’t responding, verify microphone functionality separately from your main application. Use external USB microphones for better compatibility, and avoid hardcoding device indexes in your code.
When facing persistent issues, check system integrity by updating packages with `apt update` and `apt upgrade`. For errors involving `webbrowser.register()`, modifying `auth_helpers.py` to use preferred=True instead of a positional argument can resolve compatibility issues.
Don’t run voice assistant scripts with sudo unless necessary.
Remember that Pi’s limited resources cause processing delays—sometimes exceeding 20 seconds.
Consider lightweight frameworks or external processing services to improve responsiveness while monitoring CPU usage to identify performance bottlenecks.
Frequently Asked Questions
Can My Raspberry Pi Voice Assistant Work Offline?
Yes, your Raspberry Pi voice assistant can work offline. You’ll need sufficient hardware (Pi 3/4/5), a microphone, speakers, and offline software like Rhasspy or Pi-CARD that processes voice commands locally without internet connectivity.
How Do I Protect Privacy When Using Voice Assistants?
To protect privacy with voice assistants, disable always-on listening, regularly delete recordings, opt out of data sharing, use strong passwords with MFA, and consider offline assistants that process commands locally without cloud connections.
What’s the Latency Expectation for Voice Command Responses?
You’ll typically experience 3-30 seconds of latency for voice commands on Raspberry Pi. Expect 3-5 seconds with optimized setups, while complex speech models can delay responses up to 20+ seconds.
Can Multiple Users Interact With the Same Voice Assistant?
Yes, multiple users can interact with your voice assistant. You’ll need to implement a robust multi-user recognition system and consider turn-taking protocols to handle overlapping commands from different people effectively.
How Do I Integrate My Assistant With Non-Standard Smart Devices?
You can integrate non-standard devices using MQTT protocol, device-specific APIs, Home Assistant platform, or custom drivers. Choose the method that matches your device’s capabilities and your programming comfort level.
In Summary
Building your own Raspberry Pi voice assistant doesn’t have to be complicated. With the right hardware, proper audio setup, and reliable speech recognition, you’ll create a responsive system that understands your commands. Add custom voice controls, optimize power usage, and know how to troubleshoot common issues when they arise. You’re now equipped to build a smart assistant that fits your specific needs and enhances your home automation setup.


Leave a Reply