
You’ve probably struggled with connecting smart devices to your home network before, and setting up a doorbell camera might seem like another tech headache waiting to happen. The good news is that modern doorbell cameras have simplified the WiFi connection process considerably, but there’s still a specific sequence of steps you’ll need to follow to avoid the most common pitfalls that leave homeowners frustrated and their cameras offline.
Why Choose A Wi-Fi Doorbell Camera?
When you’re looking to upgrade your home security, a Wi-Fi doorbell camera offers unmatched convenience and protection. You’ll receive instant alerts on your connected devices whenever someone approaches your door, keeping you informed even when you’re away from home.
The live video footage accessibility from anywhere provides peace of mind that traditional doorbells can’t match.
Remote video access delivers unparalleled security confidence that conventional doorbells simply cannot provide for modern homeowners.
Your Wi-Fi doorbell camera enables two-way audio communication, letting you speak with visitors without opening the door. This feature enhances safety by allowing you to screen guests remotely.
You’ll also appreciate the sleek, modern design that complements your home’s aesthetic while delivering advanced security features. For tech-savvy homeowners, it’s an essential upgrade that combines style with functionality.
Benefits of Smart Doorbell Technology
Smart doorbell technology transforms your home’s entry point into a sophisticated security hub that works around the clock. You’ll enjoy remote monitoring capabilities that let you keep tabs on your front door from anywhere, receiving instant notifications whenever someone approaches your property.
| Feature | Day Performance | Night Performance |
|---|---|---|
| Video Quality | 2K+ HD recording | Clear night vision |
| Audio | Two-way communication | Crystal clear sound |
| Detection | Motion alerts | 24/7 monitoring |
| Storage | Cloud/local recording | Continuous backup |
| Integration | Smart home sync | Automated responses |
With two-way audio communication, you can interact with visitors in real-time, even when you’re away. The high-definition video recording and night vision guarantee you won’t miss any activity, while stored footage provides valuable security evidence when needed.
Tools and Materials Needed for Setup
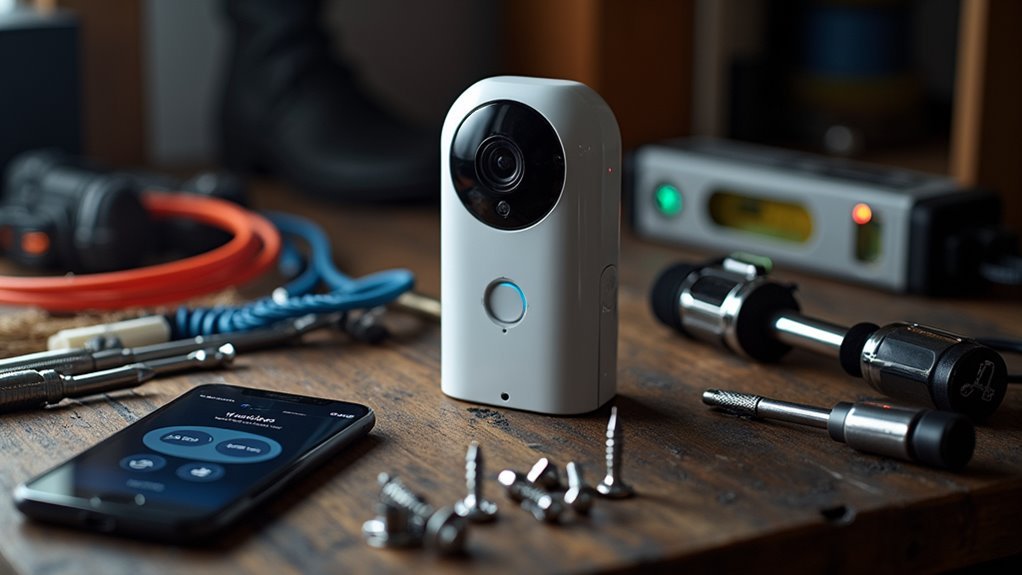
Before you begin installing your doorbell camera, you’ll need to gather the right tools and materials to guarantee a smooth setup process.
Your preparation should include essential hardware components like drill bits and screwdrivers, the manufacturer’s mobile app downloaded on your smartphone, and a reliable Wi-Fi network ready for connection.
Having everything organized beforehand will save you time and prevent frustrating interruptions during installation.
Essential Hardware Components
Having the right tools and materials ready will streamline your doorbell camera installation and prevent frustrating delays.
You’ll need a compatible doorbell camera unit like the Reolink Wi-Fi Video Doorbell or Abode Wireless Video Doorbell. Essential tools include a drill with a 1/16 (2mm) drill bit and a Phillips head screwdriver for secure mounting.
Don’t forget the mounting hardware—screws and anchors are vital for properly securing your device to the wall.
If you’re using a battery-operated model, make certain it’s fully charged before starting installation. Your smartphone is equally important; download the relevant app (Reolink, Ring, or manufacturer-specific) beforehand to handle connection and configuration.
Having these components organized and accessible will make your doorbell camera setup smooth and efficient.
Required Mobile Apps
Most doorbell camera manufacturers provide dedicated mobile apps that serve as your primary control hub for setup, configuration, and daily operation.
You’ll need to download the appropriate app from the App Store or Google Play Store before beginning installation.
Here’s what you need to prepare:
- Download the manufacturer’s app – Popular options include the Ring app, Reolink app, or your specific brand’s application.
- Ensure your smartphone’s fully charged – The setup process can drain your battery quickly.
- Update your phone’s operating system – This prevents compatibility issues during installation.
- Verify strong Wi-Fi connectivity – Your doorbell camera requires reliable internet for live streaming and notifications.
Keep your phone nearby throughout the entire setup process, as you’ll use it to connect and configure your doorbell camera’s settings.
Network Setup Prerequisites
A successful doorbell camera installation depends on having the right tools and network conditions ready before you begin. First, verify you have a stable Wi-Fi connection with strong signal strength where you’ll mount the camera. Weak signals cause connectivity issues and poor performance.
Gather essential tools: a drill, Phillips head screwdriver, and drywall anchors if mounting on drywall.
Don’t forget to fully charge your doorbell camera’s battery beforehand to prevent setup interruptions.
Download your camera’s app on your smartphone before starting installation. Whether it’s Reolink, Ring, or another brand, having the app ready streamlines configuration.
Most importantly, keep your Wi-Fi network password accessible—you’ll need it to connect your doorbell camera to your home network during the setup process.
Pre-Setup: Charging Your Doorbell Battery
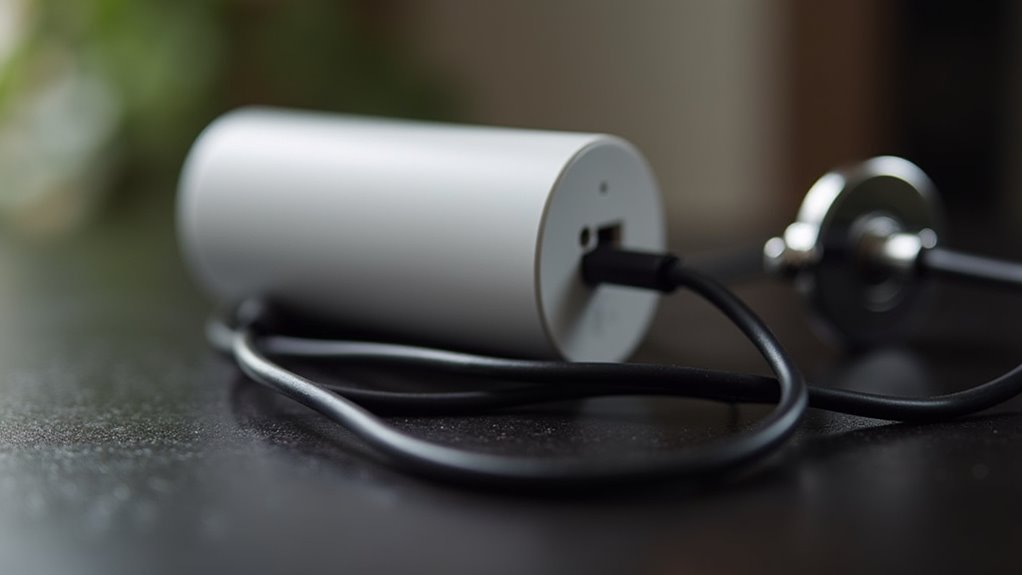
Before connecting your doorbell camera to WiFi, you’ll need to fully charge its battery. This vital step guarantees peak performance and prevents installation interruptions.
Charging the doorbell battery properly sets the foundation for seamless connectivity.
Follow these essential steps for charging the doorbell battery:
- Connect the charging cable – Use the provided cable or any compatible micro USB cable to power your device.
- Choose your power source – Plug into a wall outlet for faster charging rather than a computer USB port.
- Monitor the charging status – Watch for the front light to change during the charging process.
- Wait for completion – The front light will display a solid blue circle when fully charged and ready for WiFi setup.
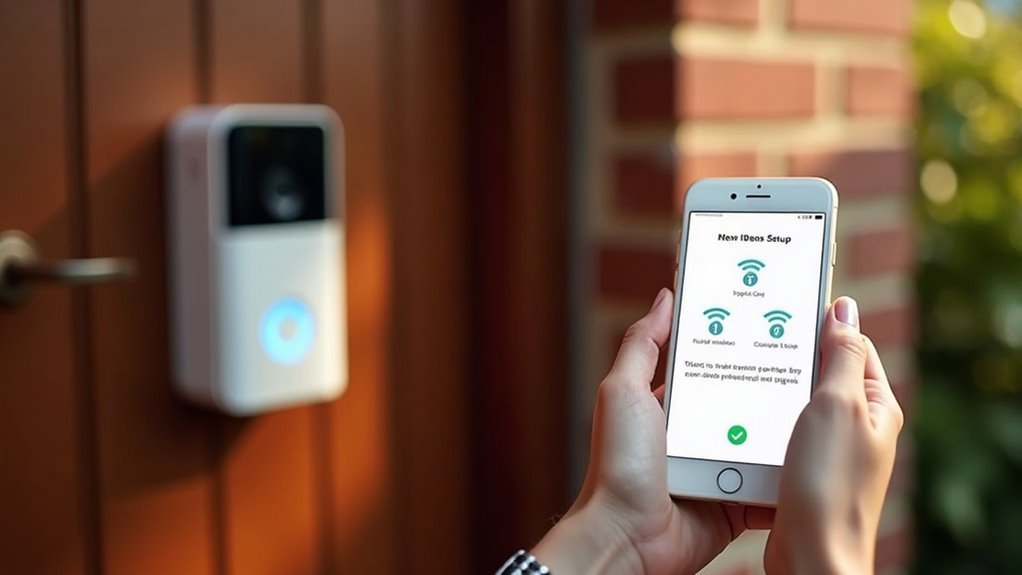
Downloading the Doorbell Camera App
Once your doorbell battery reaches full charge, you’ll need to download the companion app to establish WiFi connectivity. Head to the App Store on iOS devices or Google Play Store for Android.
Search for your specific doorbell camera brand, like “Ring” or “Reolink,” and select the correct doorbell camera app from results.
Make certain you’ve got a stable internet connection during download to prevent interruptions. After installation completes, open the doorbell camera app immediately to start account setup.
Follow the on-screen instructions carefully for initial configuration.
Keep your doorbell camera app updated regularly to access new features and security improvements. Updated apps guarantee peak performance and protect your device from vulnerabilities while maintaining seamless connectivity with your doorbell system.
Creating Your Device Account
After downloading your doorbell camera app, you’ll need to create a device account to manage your camera settings and receive notifications. This account connects your doorbell to your smartphone and enables remote monitoring capabilities.
Follow these steps to set up your account:
- Launch the app and tap “Set Up a Device” to begin the registration process.
- Create a new account by entering your email address and choosing a strong password if you’re a first-time user.
- Log in with existing credentials if you already have an account with the manufacturer.
- Connect to Wi-Fi by ensuring your smartphone uses the same network you’ll assign to your doorbell camera.
This preparation streamlines the upcoming device pairing process.
Activating Setup Mode on Your Doorbell
After creating your device account, you’ll need to activate setup mode on your doorbell camera.
Press and release the setup button located on the back or side of your device until you see a response from the front light.
The light should change to a spinning white pattern or similar indication, confirming your doorbell’s ready for configuration.
Press Setup Button
Begin by locating the setup button on your doorbell camera—you’ll typically find it on the back or side of the device.
Once you’ve found it, you’re ready to activate setup mode and begin configuring your camera’s WiFi connection.
Follow these essential steps to press the setup button correctly:
- Ensure full battery charge – Verify your doorbell is completely charged before starting to prevent interruptions during setup.
- Press and release quickly – Give the setup button a firm, brief press rather than holding it down.
- Watch for light changes – Look for the front light to change color, typically to a spinning white light indicating setup mode is active.
- Troubleshoot if needed – If no light change occurs, check battery levels or confirm the device is powered on properly.
Check Status Light
Once you’ve pressed the setup button, watch your doorbell camera’s front light carefully—it’s your key indicator that setup mode has activated successfully.
You’ll need to check status light patterns to confirm your device is ready for WiFi configuration. The light should change colors, either blinking or turning solid depending on your specific model. Each manufacturer uses different color codes, so consult your manual to understand what each pattern means.
If the light doesn’t change at all, your device might’ve a dead battery or charging issue.
Make sure you’re positioned close to your WiFi router during this process to guarantee ideal connectivity. The status light will guide you through each step of the setup process, making troubleshooting much easier.
Connecting to Your Home Wi-Fi Network
Three key preparations will guarantee your doorbell camera connects smoothly to your home Wi-Fi network.
First, make sure your doorbell is fully charged and powered on before starting the connection process.
Second, verify your smartphone connects to the same Wi-Fi network you want your doorbell to join.
Third, have your Wi-Fi password ready and double-check it for accuracy.
Follow these steps to complete the connection:
- Open your doorbell camera’s corresponding app
- Select “Add Device” and follow the setup prompts
- Enter your Wi-Fi password carefully to avoid typos
- Confirm your Wi-Fi signal is strong and stable near the doorbell location
If connection fails, move your router closer to strengthen the signal before retrying the setup process.
Scanning QR Codes for Device Recognition
You’ll need to find your doorbell camera’s QR code, which is typically printed on the device itself or included in the setup documentation.
Position your phone’s camera steadily over the code to guarantee it scans properly and recognizes your device instantly.
If the scan fails, check for proper lighting and distance, or clean the QR code surface to resolve common scanning issues.
Locating Device QR Code
Modern doorbell cameras streamline their setup process by incorporating QR codes that serve as digital fingerprints for each device. Finding your device’s QR code is straightforward when you know where to look.
Your doorbell camera’s QR code is positioned in one of these common locations:
- Back panel – Check the rear surface of your device for a clearly printed QR code label.
- Under the faceplate – Remove any detachable front cover to reveal the QR code underneath.
- Battery compartment – Look inside the battery housing if your model uses removable batteries.
- Device packaging – Some manufacturers include backup QR codes on the original box or instruction manual.
Once located, verify the QR code isn’t damaged or obscured by dirt, which could prevent successful scanning during your setup process.
Proper Scanning Technique
Once you’ve located your doorbell camera’s QR code, successful scanning depends on proper technique and positioning. You’ll need to verify your camera’s powered on and in setup mode before you scan the QR code. Hold your smartphone steady at eye level with the code, maintaining 6-12 inches distance for best recognition.
| Factor | Best Practice |
|---|---|
| Distance | Keep 6-12 inches away |
| Positioning | Hold camera at eye level |
| Stability | Keep smartphone steady |
| Lighting | Avoid direct sunlight/glare |
| Troubleshooting | Reposition device if needed |
Avoid direct sunlight or glare that can interfere with scanning accuracy. If the code isn’t recognized immediately, try repositioning your smartphone or adjusting lighting conditions for better visibility.
Troubleshooting Scan Issues
Even with proper scanning technique, several factors can prevent your QR code from being recognized successfully.
When troubleshooting scanning issues during your doorbell camera setup, these steps will help resolve most problems:
- Clean and focus your camera – Make sure your smartphone’s lens is clean and properly focused on the QR code for enhanced recognition accuracy.
- Optimize scanning distance – Position your phone 6-12 inches from the code; distances too close or far cause scan failures.
- Eliminate interference – Turn off nearby devices that emit light, as they can affect the QR code’s visibility during scanning.
- Reset if necessary – If multiple attempts fail, reset your doorbell camera and restart the entire setup process for troubleshooting persistent issues.
Configuring Motion Detection Settings
Smart motion detection transforms your doorbell camera from a simple recording device into an intelligent security system that works precisely how you need it.
Access your doorbell camera’s app and navigate to the motion detection settings to customize sensitivity levels based on your specific environment. You’ll want to utilize smart motion detection features that send instant alerts only when significant movement occurs, reducing false alarms from pets or passing cars.
Set up motion zones to define specific areas where you want alerts, making notifications more relevant.
Schedule detection times so alerts activate only during necessary hours.
Don’t forget to regularly review and adjust these settings to optimize performance as seasons change or your outdoor environment shifts.
Testing Two-Way Audio Communication
Now that you’ve configured your motion detection settings, it’s time to test your doorbell camera’s two-way audio communication feature.
You’ll want to check the audio quality, test the range from different distances, and know how to troubleshoot any sound issues that might arise.
Testing these audio functions guarantees you can communicate clearly with visitors at your door through your smartphone app.
Audio Quality Check
How effectively does your doorbell camera’s two-way audio perform once you’ve completed the WiFi setup? Testing audio quality guarantees ideal communication with visitors.
Start by confirming both your camera and mobile device connect to the same Wi-Fi network for best performance.
Follow these steps to evaluate audio quality:
- Speak directly into the microphone – Test transmission clarity through your app while speaking into the doorbell camera’s built-in microphone.
- Monitor for delays – Check for audio lag or distortion, as quality cameras provide real-time sound without significant delays.
- Adjust volume levels – Fine-tune settings on both the camera and app for ideal balance.
- Verify camera placement – Confirm proper positioning to avoid interference and maintain strong Wi-Fi signal range.
Range Testing Methods
Several factors influence your doorbell camera’s two-way audio performance across different distances from your router. You’ll need to systematically test communication quality from various locations throughout your home to identify potential dead zones.
Start by positioning yourself near the doorbell with your smartphone app open. Test the audio clarity, then progressively move to different areas of your house. Record each interaction to review sound quality later and assess if positioning adjustments are needed.
| Testing Location | Audio Quality Rating |
|---|---|
| Front entrance | Excellent |
| Living room | Good |
| Kitchen | Fair |
| Upstairs bedroom | Poor |
| Back patio | Minimal |
Ensure your Wi-Fi network provides adequate coverage and check volume settings on both devices for peak performance during testing.
Troubleshooting Sound Issues
When your doorbell camera’s audio isn’t working properly, you’ll want to check the most common culprits first.
Troubleshooting sound issues often involves simple fixes that restore clear communication.
- Check physical obstructions – Ascertain the microphone and speaker aren’t covered or blocked, as this prevents clear audio transmission during conversations.
- Test volume settings – Verify that both your doorbell camera and smartphone app have audible volume levels set for effective two-way communication.
- Verify Wi-Fi stability – Confirm your connection is strong and stable, since poor connectivity causes audio delays and interruptions.
- Use built-in diagnostics – Run the camera’s audio test feature to check if both microphone and speaker function correctly, then restart both devices to resolve software glitches.
Troubleshooting Common Connection Issues
Three primary factors typically cause doorbell camera connection failures: network stability, power supply issues, and hardware compatibility problems.
First, confirm your Wi-Fi network is stable and positioned close to your doorbell camera. Double-check you’re entering the correct Wi-Fi password during setup.
Ensure your Wi-Fi signal is strong near the camera and verify you’re using the correct network password.
Next, verify your power supply is functioning properly, as insufficient power prevents network connectivity. After power outages, inspect for potential hardware damage that could affect connection capabilities.
Check your Wi-Fi network frequency compatibility, since some doorbell models only support specific bands like 2.4GHz or 5GHz.
If you’ve verified these factors and connection problems persist, contact your manufacturer’s customer support for additional troubleshooting assistance.
As a last resort, consider performing a factory reset to restore default settings and restart the setup process completely.
Optimizing Wi-Fi Signal Strength
After resolving basic connection issues, you’ll want to maximize your doorbell camera’s Wi-Fi signal strength for reliable performance.
- Position your router strategically – Keep it within 30 feet of your doorbell camera. Distance and obstacles like walls greatly weaken connectivity, so closer placement guarantees stronger signals.
- Choose the right frequency band – Use dual-band routers offering both 2.4 GHz and 5 GHz. The 2.4 GHz band provides longer range, making it ideal for doorbell cameras positioned far from your router.
- Extend your coverage – Add Wi-Fi extenders or mesh network systems to boost signal strength in weak areas where your doorbell camera’s located.
- Monitor signal quality – Use Wi-Fi signal strength apps to measure performance at your camera’s location, targeting -60 dBm to -70 dBm for best functionality.
Finalizing Your Doorbell Camera Installation
Once you’ve optimized your Wi-Fi signal strength, you’re ready to complete the physical installation and final configuration of your doorbell camera.
First, securely attach your camera to the mount using the provided security screw to prevent theft or damage.
Secure your doorbell camera to its mount with the included security screw to deter theft and prevent accidental damage.
Next, install the Ring app on your smartphone and log into your account to begin setup.
Follow the app’s on-screen instructions to connect your camera to your Wi-Fi network, keeping your password handy.
Test the live feed and enable motion detection alerts in the app settings.
Finally, verify everything’s working by testing the two-way audio feature and motion detection alerts to ascertain your security system is functioning properly.
Frequently Asked Questions
How Do I Connect My Doorbell Camera to My Wi-Fi?
Press your doorbell camera’s setup button until you see a spinning white light. Open the corresponding app, scan the QR code, select your Wi-Fi network, enter your password, and wait for connection confirmation.
How to Connect Bell Doorbell to Wi-Fi?
You’ll need to charge your Bell doorbell first, then open the Bell app to add a new device. Press the setup button, select your Wi-Fi network, and enter your password.
Can a Doorbell Camera Work Without Wi-Fi?
Your doorbell camera can’t function properly without Wi-Fi since it needs internet connectivity to send alerts and enable remote viewing. Without Wi-Fi, you’ll lose most smart features and notifications.
Why Won’t My Doorbell Connect to My Wi-Fi?
Your doorbell won’t connect because you’re likely experiencing Wi-Fi range issues, incorrect network frequency, power problems, or previous configuration errors. Try moving closer to your router, checking compatibility, or performing a factory reset.


Leave a Reply