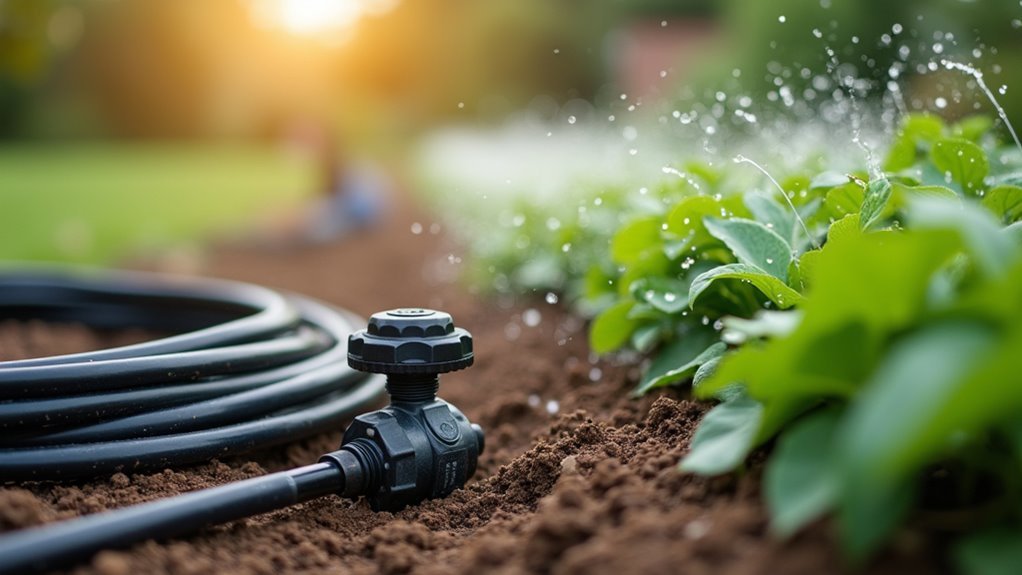
You’ve probably watched your water bill climb while your garden struggles through dry spells, wondering if there’s a better way to keep your plants hydrated without the constant hassle of hand-watering. A drip irrigation system can solve both problems, but only if you install it correctly. The process isn’t as complicated as you might think, though there are three critical steps that’ll determine whether your system becomes a gardening game-changer or an expensive mistake.
Planning Your Drip Irrigation Layout
Where should you begin when installing a drip irrigation system? Start by sketching your garden layout to visualize the entire design. Mark locations of plants, beds, and hardscaping features to create an effective plan. Group plants with similar watering requirements together, ensuring ideal plant health through efficient water delivery.
Next, identify your nearest water source and assess available water pressure to determine system capacity. Plan your main line route and emitter locations based on soil type and drainage capabilities.
Water pressure assessment and soil evaluation determine your drip system’s capacity and optimal emitter placement for maximum efficiency.
Consider where tubing ends will terminate and how they’ll connect to your overall irrigation installation.
Don’t forget to plan for future expansions. Design your layout with flexibility to accommodate additional garden areas, ensuring your drip irrigation systems can grow with your landscape needs.
Installing Components and Water Distribution
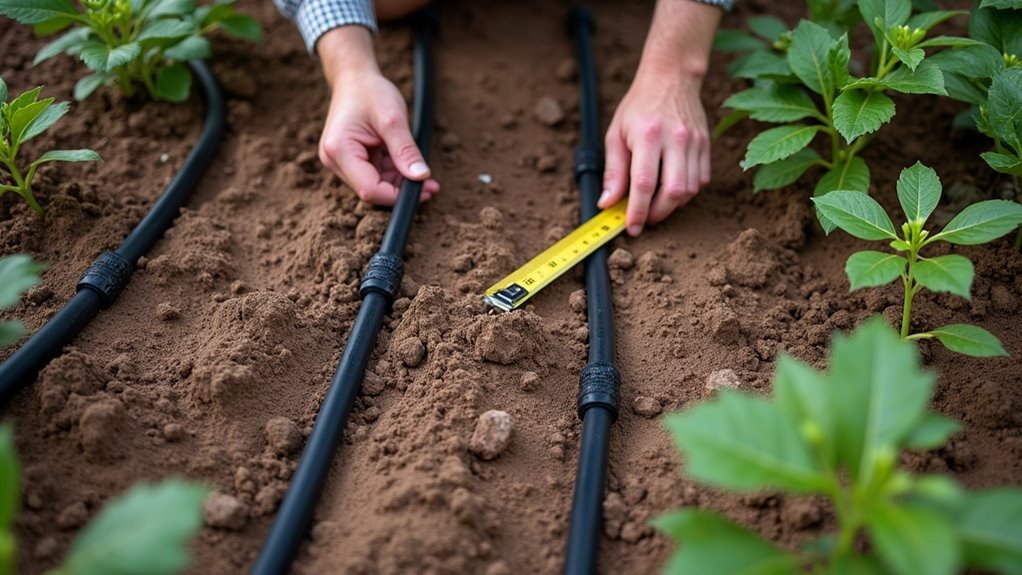
Three essential steps will transform your planned layout into a functioning drip irrigation system. Start by rolling out your main tubing and cutting poly tubing to desired lengths with precision cutters. Use a hole punch to create openings for emitters and barbed fittings, positioning them 6-12 inches from each plant’s base.
| Component | Spacing | Purpose | Installation Tip |
|---|---|---|---|
| Emitters | 6-12 inches from plants | Direct watering | Use hole punch tool |
| Stakes | Every 3-4 feet | Secure tubing | Prevent movement |
| Barbed fittings | At branch points | Connect 1/4-inch lines | Push firmly into holes |
| End clamps | Tubing ends | Seal system | Install after flushing |
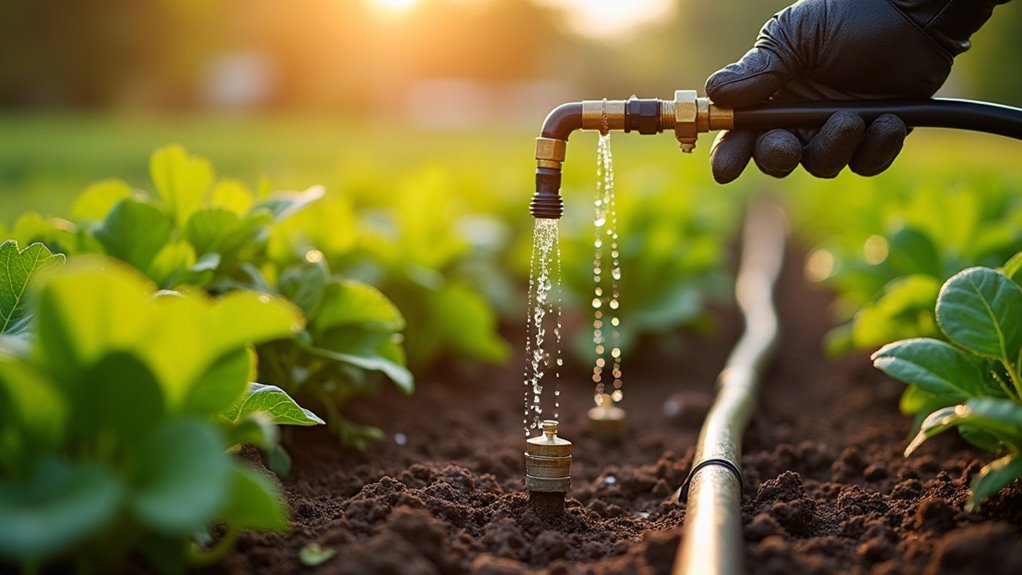
Connect your pressure regulator, then install drip components for ideal water distribution. Finally, flush the system by running water for several minutes before sealing ends with clamps.
Testing and Fine-Tuning Your System
After completing your system installation and flushing, you’ll need to verify that everything operates correctly.
Begin testing by turning on the water and observing each emitter for proper function and even coverage. Monitor water pressure throughout the system, adjusting pressure regulators if areas receive inadequate or excessive pressure.
Test your system by activating water flow and checking each emitter for consistent function while monitoring pressure levels throughout.
Check that flow rates match your soil type—use 0.5-2 GPH emitters for clay soil and 4-20 GPH for sandy soil.
Regularly inspect emitters for clogs and clean filters to maintain peak performance. Soak clogged emitters in vinegar solution to dissolve mineral buildup.
As your plants grow, adjust the layout by repositioning or adding emitters to meet increased water requirements, ensuring all plants receive adequate coverage for healthy growth.
Frequently Asked Questions
How to Install a Drip Irrigation System Step by Step?
You’ll plan your layout, gather materials, install main tubing with emitters, connect to your water source, then test the system. Regular maintenance guarantees peak performance for your plants’ watering needs.
What Is the 30/30 Rule for Drip Irrigation?
The 30/30 rule means you’ll apply water at thirty gallons per hour per hundred square feet, watering for thirty minutes minimum. This guarantees proper root absorption while preventing runoff and water stress.
How Does Drip Irrigation Work Step by Step?
You connect your water source to mainline tubing, which feeds lateral lines with emitters. Water flows through at controlled rates, delivering moisture directly to plant roots while minimizing evaporation and runoff.
Can You Install Drip Irrigation Yourself?
Yes, you can install drip irrigation yourself. It’s rated as an easy DIY project requiring basic tools like tubing cutters and hole punches. You’ll spend about two hours and $50-100 per hundred square feet.


Leave a Reply