You’ve invested in smart home cameras, but without proper motion detection setup, you’re missing half their potential. Most homeowners make critical mistakes during configuration that lead to either missed security events or constant false alerts flooding their phones. The difference between a frustrating system and reliable home security often comes down to understanding a few key principles that transform your cameras from simple recording devices into intelligent guardians.
Understanding Motion Detection Technologies
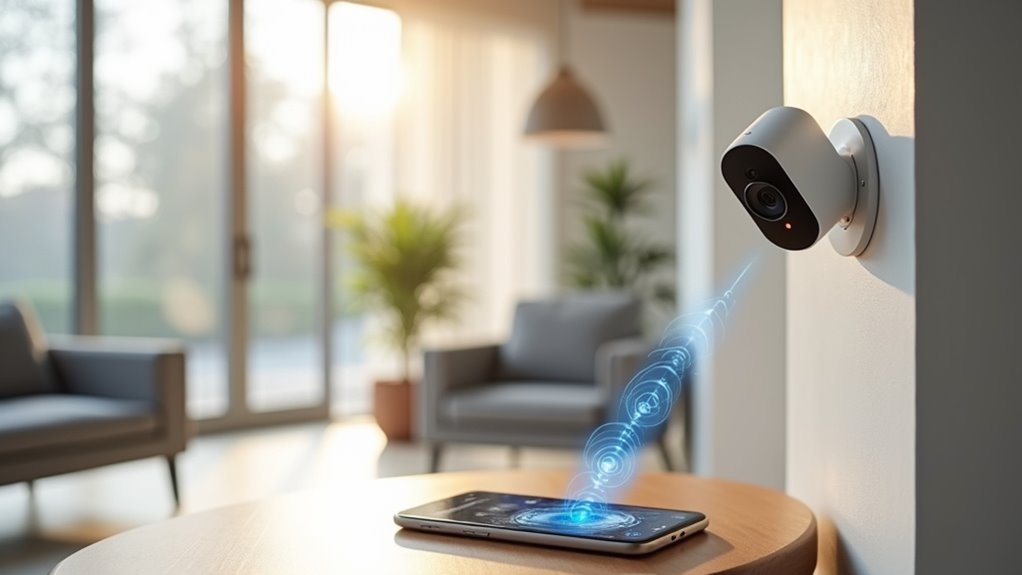
Motion detection serves as the backbone of any effective smart home security system, transforming your cameras from passive recording devices into intelligent guardians.
You’ll encounter two primary technologies: Passive Infrared (PIR) sensors and Pixel Difference Analysis (PDA). PIR sensors detect heat energy from moving objects, making them excellent for identifying human presence. However, they’re prone to false alarms from environmental factors like sunlight and foliage movement.
PDA analyzes differences between consecutive video frames to identify motion. This technology gives you more control through motion detection settings, allowing sensitivity adjustments to minimize false alerts.
Understanding these technologies helps you choose the right approach for your home’s specific needs and optimize your camera’s performance for reliable security monitoring.
Camera Placement for Optimal Motion Detection
You’ll need to carefully select where you position your cameras to maximize motion detection effectiveness.
Strategic placement at entry points, pathways, and critical areas guarantees you’re capturing the activity that matters most.
Environmental factors like lighting conditions, potential obstructions, and weather exposure can greatly impact your camera’s performance and accuracy.
Strategic Location Selection
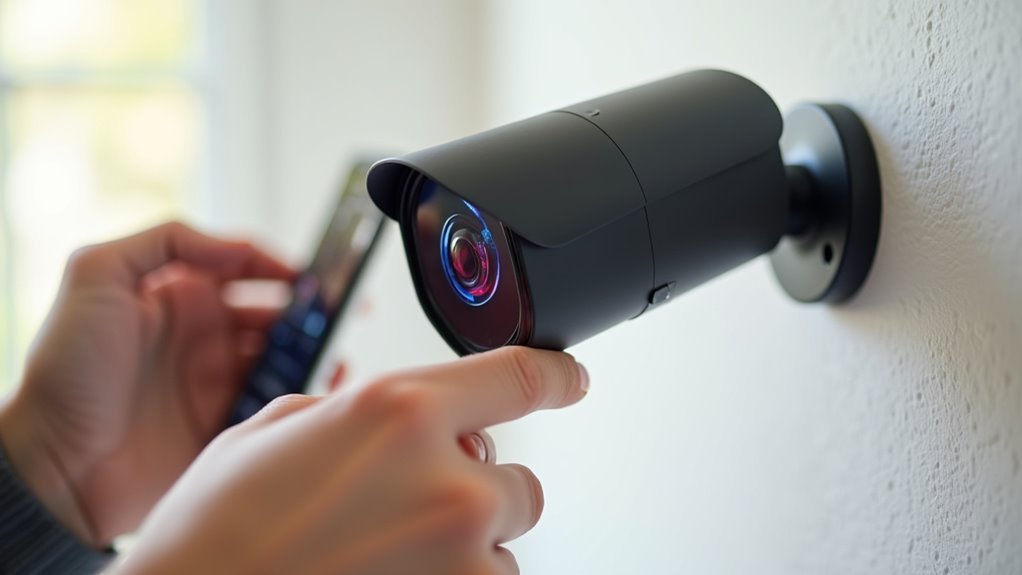
Proper camera placement determines whether your motion detection system becomes a reliable security asset or an expensive disappointment.
You’ll need to strategically position cameras in high-traffic zones where intruders are most likely to pass. Focus on entry points like front doors, back doors, and first-floor windows where break-ins typically occur.
Camera placement requires careful consideration of environmental factors that could compromise detection accuracy:
- Target pathways and driveways where people naturally walk to maximize motion capture opportunities
- Ensure unobstructed views by avoiding trees, furniture, or architectural features that block the camera’s field
- Install weather protection using eaves or weatherproof housings for reliable outdoor performance
- Prioritize well-lit areas to enhance nighttime visibility and motion detection sensitivity
- Create overlapping coverage between multiple cameras to eliminate dangerous blind spots
Environmental Factor Considerations
While strategic placement forms the foundation of effective motion detection, environmental conditions can make or break your system’s performance.
Environmental factors like sunlight and shadows greatly impact detection accuracy, often triggering false alarms when cameras face direct sunlight or moving foliage. You’ll want to avoid these problematic lighting conditions entirely.
Analyze your property’s lighting patterns throughout the day. If you’re using cameras with poor low-light performance, position them in well-lit areas to maintain detection effectiveness during darker hours.
Moving shadows from trees, clouds, or nearby objects can create phantom motion alerts that’ll frustrate you with constant notifications.
Pay attention to seasonal changes too—what works in winter might fail when spring brings new leaf growth that blocks your camera’s view or creates unwanted motion triggers.
Configuring Motion Detection Settings
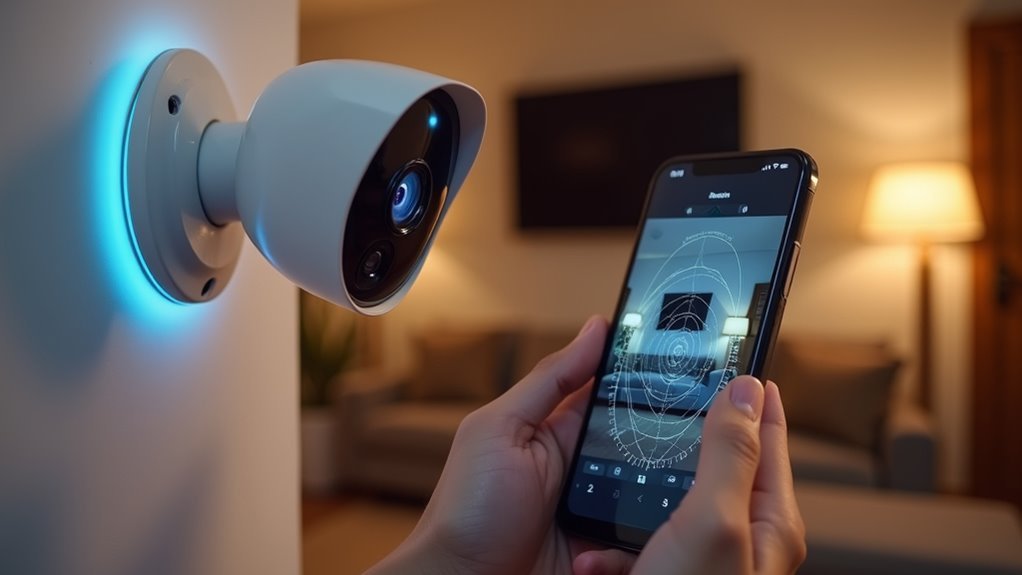
Once you’ve accessed your camera’s settings menu through the web interface or mobile app, activate the motion detection feature and begin fine-tuning the sensitivity level to match your specific environment.
Adjust the sensitivity from low to high based on your surroundings and expected activity levels to minimize false alarms.
Fine-tune motion sensitivity settings according to your environment’s activity patterns to reduce unwanted alerts and optimize detection accuracy.
- Define detection zones – Focus on critical areas while excluding regions that trigger unnecessary alerts
- Test sensitivity levels – Start with medium settings and adjust based on real-world performance
- Save configuration changes – Always confirm your settings are properly stored and applied
- Review zone boundaries – Verify coverage areas align with your security priorities
- Monitor and adjust regularly – Fine-tune settings based on environmental changes and testing results
Setting Up Detection Zones and Areas
After you’ve activated motion detection, creating specific detection zones allows you to target critical areas while filtering out unnecessary activity. Most smart home cameras let you configure detection zones to exclude high-traffic regions and minimize false alerts from pets or moving objects.
For best results, create long, thin boxes that function as tripwires across entry points. This approach provides more effective monitoring than large rectangular zones. You can adjust each zone’s sensitivity individually, typically choosing between low, high, or medium settings based on how much motion should trigger alerts.
Advanced camera models support up to four separate detection zones, enabling customized monitoring for different areas.
Remember to regularly review and adjust your zone settings when environmental changes or new obstructions affect performance.
Adjusting Sensitivity Levels
You’ll need to fine-tune your camera’s sensitivity settings to balance effective motion detection with minimal false alarms.
Most cameras offer sensitivity scales from 1 to 10, where lower numbers require more significant movement to trigger alerts while higher settings respond to the slightest motion.
Finding the ideal detection level for your specific environment guarantees you’ll capture important events without being overwhelmed by unnecessary notifications from swaying trees or passing pets.
Understanding Sensitivity Settings
Getting motion detection right depends heavily on finding the sweet spot for your camera’s sensitivity settings.
These controls determine how responsive your camera is to movement in its field of view. Lower sensitivity requires larger movements to trigger alerts, while higher sensitivity responds to subtle motions.
Most cameras offer sensitivity ranges from 1 to 9, with 5 being the recommended starting point.
You’ll want to test and adjust based on your environment’s specific conditions.
- Start with medium sensitivity (around 5) and adjust based on performance
- Lower sensitivity reduces false alarms from pets or swaying trees
- Higher sensitivity catches smaller movements but increases notifications
- Zone-specific settings let you customize different areas independently
- Regular testing guarantees prime detection without notification overload
Reducing False Alarms
Nothing frustrates smart home users more than constant false alarms from overly sensitive motion detection. You’ll want to adjust your camera’s sensitivity levels to a lower value, reducing unnecessary alerts from minor movements or environmental changes.
Define specific motion detection zones that exclude high-traffic areas and focus on critical spaces only. Regular monitoring helps you fine-tune settings based on actual performance.
| Time Period | Sensitivity Level | Reason |
|---|---|---|
| Daytime | Lower | Normal activity expected |
| Evening | Medium | Moderate movement |
| Nighttime | Higher | Security priority |
Consider environmental factors like lighting and seasonal changes that affect motion detection accuracy. You’ll need to adjust sensitivity throughout the year to minimize false alerts while maintaining security effectiveness.
Optimal Detection Levels
Finding the right sensitivity level requires balancing security needs with practical usability. You’ll need to customize your motion detection settings based on your camera’s specific location and environment.
Most smart cameras offer sensitivity ranges from low (1-4) to high (6-9), giving you flexibility to fine-tune performance. Start with medium settings and adjust based on your results. Lower sensitivity requires more significant movement to trigger alerts, while higher settings respond to subtle motions.
Test different levels in real-world conditions to find what works best.
- Test sensitivity levels during different times of day and lighting conditions
- Monitor for one week before making final adjustments
- Consider seasonal changes that might affect detection accuracy
- Document which settings work best for each camera location
- Review and readjust settings quarterly for peak performance
Creating Recording Rules and Schedules
Three essential steps will transform your smart home camera into an effective motion detection system.
First, navigate to the Video section, select Recording Rules, and click + Add New Rule, choosing Video Motion Detection as your rule type. This foundation is vital for setting up motion detection properly.
Next, fill out the recording rule form by selecting your camera and giving the rule a descriptive name before clicking Save. You’ll want to adjust sensitivity and target size settings to match your environment, which reduces false alarms considerably.
Finally, create schedules that define when motion detection should be active. This guarantees recordings only occur during designated periods, improving efficiency.
Regularly review and test your rules, making adjustments based on performance and environmental changes.
Enabling Push Notifications and Alerts
Real-time alerts guarantee you’ll never miss important activity around your home, making push notifications an essential component of your motion detection setup.
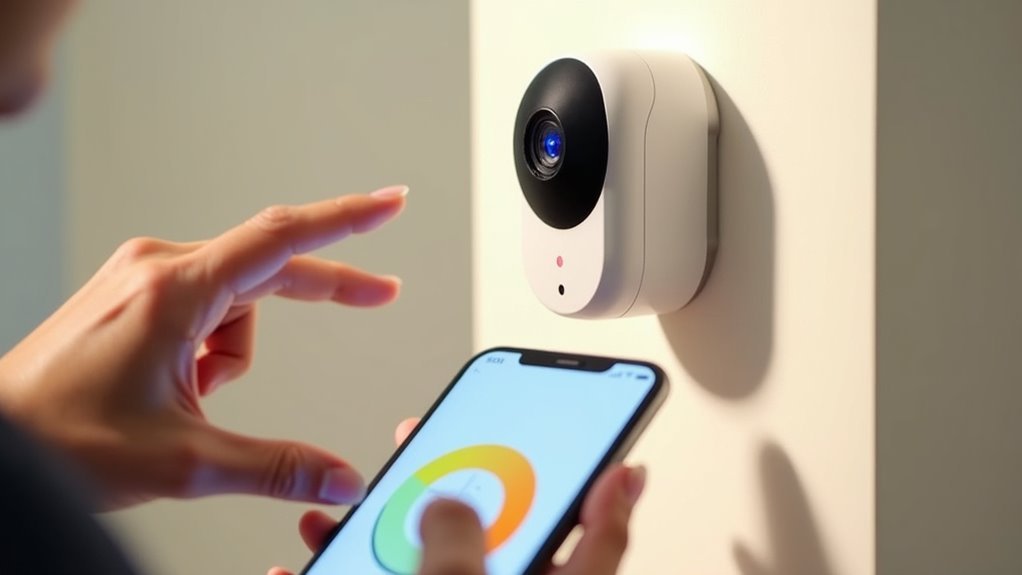
Configure these notifications through your camera’s app settings to receive instant alerts when movement occurs in monitored zones.
- Enable motion detection in your camera settings and adjust sensitivity levels for ideal trigger accuracy
- Configure push notifications in the app to receive real-time alerts on your smartphone or device
- Customize alert timing by choosing immediate notifications or scheduled summaries based on your preferences
- Test notification functionality after setup to verify alerts arrive promptly without delays
- Update notification preferences regularly to prevent alert fatigue and accommodate changing monitoring needs
This proactive approach keeps you informed of all significant activity.
Arming and Disarming Your Camera System
Your smart home camera system starts in a disarmed state by default, so you’ll need to activate motion detection manually before it begins monitoring your space.
You can arm and disarm your cameras instantly through the mobile app, voice commands with Alexa or Google Assistant, or by setting up automated schedules that match your daily routine.
Understanding these control methods guarantees you’re getting the security coverage you want when you need it most.
System Default States
When you first install your smart home camera system, it typically starts in a disarmed state, which means motion detection and notifications won’t activate until you manually arm the system.
This default setting guarantees you won’t receive unwanted alerts during your initial setup and testing phase.
You’ll need to understand how your system’s default states work to maximize your security coverage:
- Manual arming – You can arm your system whenever needed through the app or control panel
- Scheduled activation – Set automatic arming times for consistent daily protection
- Voice control integration – Use Alexa or similar assistants to arm/disarm with simple commands
- Individual camera control – Toggle motion detection on specific cameras independently
- Snooze functionality – Temporarily pause notifications without fully disarming the entire system
Manual Control Methods
Although most systems offer automated scheduling options, manually controlling your camera’s motion detection remains the most reliable method for immediate security adjustments.
To arm or disarm your system, open the app and tap “More” on your camera thumbnail. Select the Motion Detection feature to toggle it On or Off. You’ll see visual icons confirming your system’s current status.
For added convenience, integrate your cameras with smart assistants like Alexa to use voice commands for arming and disarming.
If you need to temporarily reduce interruptions without compromising security, use the Snooze feature. This pauses motion notifications while keeping your cameras armed, ensuring continuous recording when you’ve activated a storage option.
Scheduling Automatic Arms
Most smart camera systems let you create custom schedules that automatically arm and disarm motion detection based on your daily routine.
Scheduling automatic arms eliminates the need for manual intervention while guaranteeing your cameras activate precisely when you need security coverage.
You can set specific days and times for arming or disarming, matching your work schedule or travel patterns.
Many systems integrate with voice assistants like Alexa, allowing you to override schedules with simple voice commands when plans change unexpectedly.
- Set different schedules for weekdays versus weekends to match varying routines
- Configure multiple time slots throughout the day for targeted monitoring periods
- Use scheduling to reduce unnecessary notifications during inactive hours
- Integrate voice control for quick schedule overrides when needed
- Regularly review settings to guarantee schedules function correctly
Managing Privacy Zones
Privacy concerns top the list of considerations when installing smart home cameras, making Privacy Zones an essential feature for responsible surveillance. These zones let you designate specific areas where motion detection and recording won’t occur, protecting sensitive locations from surveillance.
Most smart cameras support up to two Privacy Zones, which appear as gray areas in your camera’s interface. You can’t edit these zones once they’re set, but you can easily delete and recreate them when adjustments are needed.
When Privacy Zones are active, you won’t receive motion notifications or recordings from those areas. This feature’s particularly useful for blocking windows or neighboring properties, helping you comply with privacy regulations while reducing unnecessary alerts and maintaining respectful boundaries.
Testing Motion Detection Performance
After configuring your privacy zones, you’ll want to verify that your motion detection system works reliably across different scenarios. Testing guarantees your camera responds appropriately to real threats while avoiding unnecessary alerts.
Start by walking through your camera’s coverage area at different speeds to evaluate detection accuracy. Adjust sensitivity settings during testing to balance valid motion detection with false alarm reduction from environmental factors like shadows or swaying plants.
- Test motion detection at various walking speeds and distances
- Adjust sensitivity settings to minimize false alarms from environmental factors
- Configure defined motion zones to focus detection on specific critical areas
- Verify alert notifications arrive promptly after motion triggers
- Review recorded clips regularly to assess accuracy and make necessary adjustments
Minimizing False Alarms
While effective motion detection keeps your home secure, excessive false alarms can quickly become frustrating and may cause you to ignore legitimate alerts. To minimize these interruptions, adjust your camera’s sensitivity settings to a lower level, preventing small movements from triggering unnecessary notifications.
Define specific motion detection zones that exclude high-activity areas like busy streets or swaying trees. Focus detection on critical zones where genuine security concerns exist.
Regular lens cleaning prevents dirt and weather obstructions that cause inaccurate readings. Utilize privacy zones to block recording in areas where motion shouldn’t trigger alerts.
Schedule motion detection to activate only when you’re away from home, reducing false alarms during expected household activity periods.
Integrating With Smart Home Systems
You’ll need to verify that your smart cameras support integration with platforms like Home Assistant, SmartThings, or Hubitat before setting up motion-triggered automations.
Once you’ve confirmed compatibility, you can create automation rules that link motion detection events to actions like turning on lights, sending alerts, or activating security protocols.
Consider exploring third-party integration options through IFTTT, voice assistants, or manufacturer-specific apps to expand your camera’s connectivity with other smart devices in your home.
Platform Compatibility Requirements
Before investing in smart home cameras, verify your chosen models work seamlessly with your existing smart home platform. Meeting platform compatibility requirements guarantees you’ll avoid integration headaches and maximize your camera’s motion detection capabilities.
HikVision and Dahua cameras typically offer excellent compatibility with major smart home platforms, while brands like UniFi may lack clear documentation. You’ll need to research specific integration capabilities before making your purchase decision.
Essential Platform Compatibility Requirements:
- Processing power – Confirm your hub handles multiple camera feeds effectively
- Network connectivity – Verify bandwidth supports real-time motion detection
- Binary sensor support – Check if your platform enhances motion detection features
- Documentation availability – Ensure clear integration guides exist for your camera brand
- MotionEye compatibility – Assess if this addon works with your camera types
Automation Rule Setup
Once your cameras integrate properly with your smart home platform, automation rules transform basic motion detection into powerful security responses.
You’ll configure specific sensors to activate when movement’s detected in designated Motion Zones, creating tailored responses like turning on lights or sending instant notifications to your phone.
Start by establishing permissions for third-party applications to access your camera’s motion alerts. This guarantees seamless integration with platforms like Home Assistant, where you can create complex scenarios.
Monitor sensor values regularly to understand your camera’s activity patterns and fine-tune your rules accordingly.
Advanced automations let you combine multiple camera triggers for extensive security. When motion’s detected, you can simultaneously lock doors, activate alarms, and illuminate pathways, creating a coordinated smart home response that enhances both security and convenience.
Third-Party Integration Options
When expanding beyond basic automation rules, integrating your cameras with established smart home platforms opens sophisticated motion detection capabilities.
Home Assistant provides seamless integration with camera brands like HikVision and Dahua, allowing you to create binary sensors that trigger complex automations when motion’s detected. You’ll gain access to advanced features that enhance your security monitoring considerably.
- Connect HikVision or Dahua cameras directly to Home Assistant for real-time motion detection alerts
- Set up IFTTT integrations to link motion detection with diverse smart home devices and services
- Create customized automation responses based on specific motion detection patterns and zones
- Leverage platform compatibility to expand your system’s functionality beyond basic camera features
- Maintain regular firmware updates for ideal performance and continued third-party integration support
Troubleshooting Common Issues
Even with careful initial setup, you’ll likely encounter motion detection issues that require systematic troubleshooting to resolve.
Start by examining your camera’s motion detection settings, ensuring sensitivity levels and detection zones are properly configured to minimize false alarms while catching legitimate activity.
Check for physical obstructions like growing plants or moved furniture that might block your camera’s view or interfere with motion sensing.
Test your system by walking through detection zones to verify alerts trigger correctly, then adjust settings as needed.
Keep your camera firmware and app updated to access bug fixes and performance improvements.
If problems persist, review your network connectivity and power supply, then consult your user manual or contact manufacturer support for additional troubleshooting guidance.
Maintaining Your Motion Detection System
After resolving any technical issues, you’ll want to establish a regular maintenance routine to keep your motion detection system operating at peak performance.
Regular upkeep guarantees your cameras continue detecting movement accurately while minimizing false alerts. Here’s your essential maintenance checklist:
- Clean camera lenses regularly – Remove dirt, dust, and debris that could obstruct the view and impair motion detection effectiveness.
- Test functionality monthly – Walk through coverage areas to verify your cameras respond properly to movement.
- Fine-tune sensitivity settings – Adjust detection zones and sensitivity levels based on testing results to reduce false alarms.
- Verify alert notifications – Check that your notification settings work correctly and recent system changes haven’t affected configuration.
- Review manufacturer resources – Consult user manuals and troubleshooting guides for model-specific optimization tips.
Frequently Asked Questions
What’s the Difference Between Motion Alert and Motion Detection?
Motion detection identifies movement in your camera’s view and can trigger recordings or actions. Motion alerts are just notifications you’ll receive when movement’s detected, but they don’t necessarily record anything.
Why Is My Security Camera Not Picking up Motion?
Your camera might not detect motion due to incorrect sensitivity settings, poor placement, environmental interference like sunlight or shadows, distance limitations, or a dirty lens needing cleaning.
How to Set up a Motion Detector?
You’ll access your camera’s app or web interface, enable motion detection, create detection zones around important areas, adjust sensitivity levels, save your configuration, and test by walking through the coverage area.
Should Motion Detection Sensitivity Be High or Low?
You should start with medium sensitivity around 5, then adjust based on your environment. High settings catch more movement but create false alarms, while low settings miss smaller motions but reduce unwanted alerts.


Leave a Reply