
You’ve probably wondered if growing your own fresh produce year-round is possible without a garden or perfect weather conditions. Home hydroponic systems make this dream achievable, but most beginners feel overwhelmed by the technical aspects and equipment requirements. The truth is, you can create a thriving soilless garden with basic materials and simple techniques. However, there’s one critical mistake that causes 80% of first-time hydroponic attempts to fail completely.
Understanding Deep Water Culture Systems
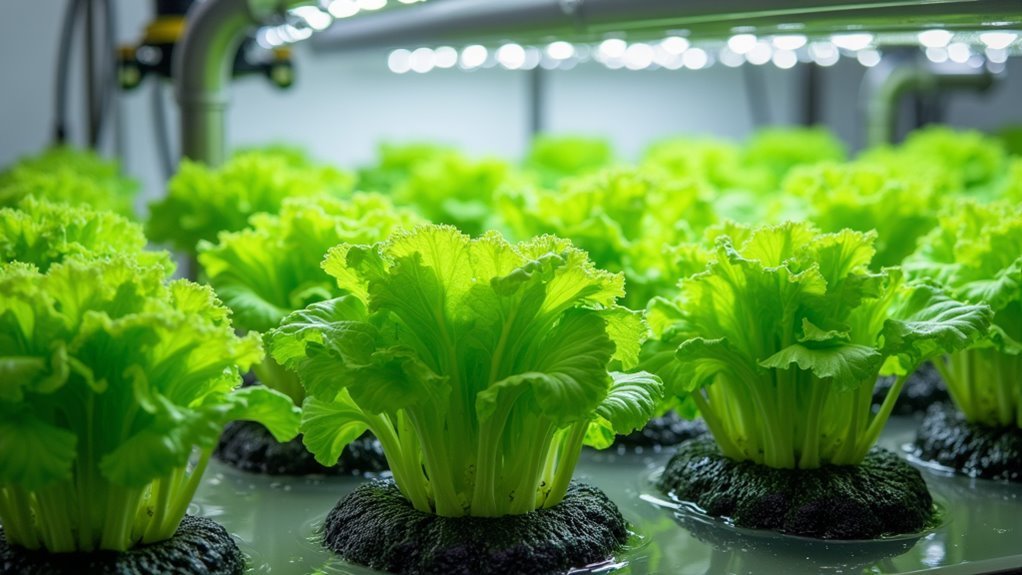
When you’re ready to immerse yourself in hydroponic gardening, Deep Water Culture (DWC) systems offer one of the most straightforward approaches for growing plants without soil. Your plants’ roots suspend directly in a nutrient solution, absorbing essential minerals for healthy growth.
You’ll need an air pump and air stone to provide vital oxygen to submerged roots, preventing dangerous root rot.
DWC systems require minimal maintenance, making them perfect for beginners. You can successfully grow fast-developing crops like lettuce, basil, and kale.
Monitor pH levels between 5.5 and 6.5 for ideal nutrient absorption. Check water levels regularly, especially with young plants.
Change your complete nutrient solution every 14 to 21 days to prevent toxicity buildup and maintain plant health.
Essential Materials and Equipment List
You’ll need specific materials to build your deep water culture system effectively.
The core components include a reservoir container, net pots, an air pump with air stone, and quality nutrient solution.
Optional enhancement tools like pH meters and testing kits can help you optimize your system’s performance and plant health.
Core System Components
Six essential components form the foundation of every successful home hydroponic system.
You’ll need a storage container or bucket as your reservoir to hold the nutrient solution that feeds your plants. Net pots serve as plant holders, providing support while allowing roots to access nutrients freely.
A submersible water pump circulates the nutrient solution throughout your system, ensuring consistent delivery to all plants.
Proper aeration requires an air pump and air stone to oxygenate your nutrient solution, preventing root drowning and promoting healthy growth.
You’ll also need quality hydroponic nutrients like Dyna-Grow to supply essential NPK elements.
Finally, a pH meter helps you maintain ideal pH levels between 5.5-6.5 for maximum nutrient absorption and plant health.
Optional Enhancement Tools
Beyond the foundational components, several optional tools can greatly improve your hydroponic system’s performance and ease of maintenance.
Air stones and air pumps work together to oxygenate your nutrient solution, creating bubbles that deliver essential oxygen directly to plant roots. This enhanced oxygenation promotes healthier root development and accelerates plant growth markedly.
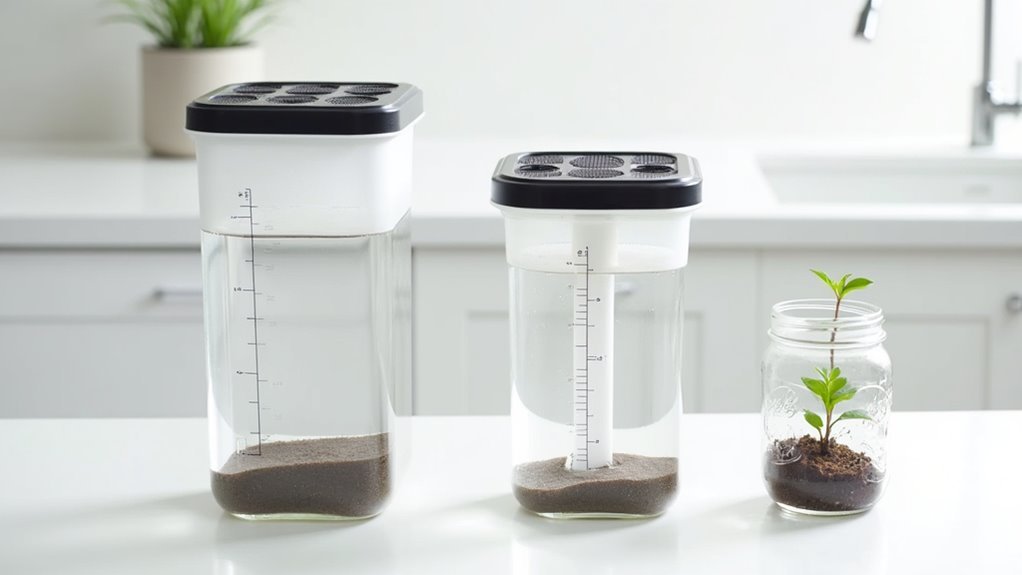
A water level gauge eliminates guesswork when monitoring your system’s fluid levels. You’ll know exactly when to add more nutrient solution, ensuring your plants maintain consistent hydration without constant manual checking.
Full spectrum LED grow lights become essential for indoor setups, providing the complete light spectrum plants need for photosynthesis.
These lights support robust growth throughout all plant development stages, making your hydroponic garden productive year-round regardless of natural sunlight availability.
Selecting the Right Container and Size
While the growing medium and nutrient solution often capture most attention in hydroponic planning, selecting the proper container serves as the foundation that’ll determine your system’s success. You’ll want an opaque storage bin, typically 18-gallons, to prevent algae-promoting light exposure. The depth matters considerably—deeper containers provide stability and support extensive root systems for larger plants.
| Container Feature | Recommendation |
|---|---|
| Material | Opaque storage bin |
| Size | 18-gallon minimum |
| Lid | Secure, reduces evaporation |
| Bottom | Drainage valve for maintenance |
| Aeration | Space for air stones/pumps |
Consider the number of plants you’re growing when drilling lid holes, spacing them according to mature plant size. A drainage valve at the bottom simplifies nutrient solution replacement, while a secure lid minimizes contamination and evaporation.
Preparing Net Pots and Growing Medium
Once your container’s ready, you’ll need to prepare the net pots and growing medium that’ll cradle your plants throughout their development.
Net pots come in various sizes to match different plant types and growth stages, so choose accordingly.
Selecting the right net pot size ensures optimal plant support and healthy root development throughout your hydroponic growing journey.
For growing medium, you’ve got two excellent options. Rockwool provides superior moisture retention and aeration but requires careful handling. Clay pellets offer excellent drainage and stability.
Fill your net pots with your chosen medium, packing it firmly enough to support plants while maintaining loose enough structure for proper airflow.
When planting, create a small hole in the medium, insert your seed or seedling, and cover lightly.
Monitor moisture levels consistently—keep rockwool damp but not waterlogged, while clay pellets need periodic watering for ideal root development.
Installing Aeration Components
Now that you’ve prepared your net pots and growing medium, you’ll need to install aeration components to keep your plants’ roots healthy and oxygenated.
Your aeration system consists of three main elements: selecting the right air pump for your reservoir size, strategically placing air stones for maximum oxygen distribution, and properly connecting everything with airline tubing.
Getting these components installed correctly guarantees your hydroponic system will provide the ideal growing environment your plants need to thrive.
Air Pump Selection
Since proper oxygenation drives healthy root development and nutrient uptake, you’ll need to select an air pump that delivers adequate airflow for your specific setup.
The right pump guarantees your hydroponic system maintains ideal dissolved oxygen levels for thriving plants.
Here’s what you need to take into account when choosing your air pump:
- Size the pump correctly – Select one rated at least 1-2 liters per minute for effective aeration in your container size.
- Match your air stone – Choose a diffuser that complements your pump’s output; larger stones provide more surface area for gas exchange.
- Plan for expansion – Think about dual-output pumps if you’re running multiple containers or air stones.
- Location matters – Install outside your reservoir with a check valve to prevent water backflow and moisture damage.
Air Stone Placement
Proper air stone placement transforms your hydroponic system’s oxygenation efficiency and directly impacts your plants’ root health.
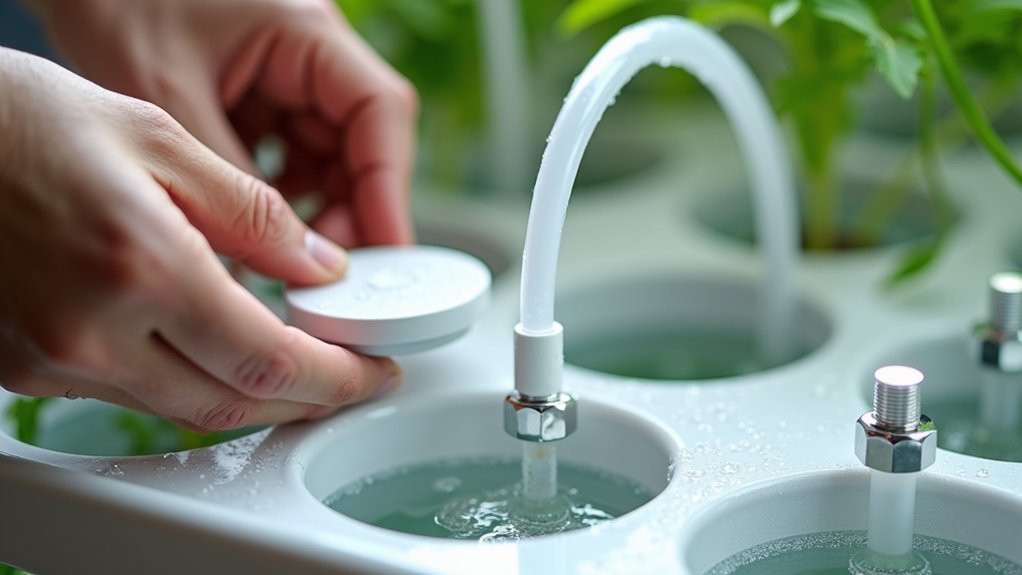
Position your air stone at the reservoir’s bottom to guarantee even oxygen distribution throughout the nutrient solution, maximizing root exposure to dissolved oxygen. Connect it securely to your air pump using airline tubing to prevent operational disconnections.
If you’re using multiple air stones, space them evenly across the reservoir floor. This enhanced aeration promotes consistent root growth throughout your entire system.
Remember to place your air pump outside the reservoir to prevent water damage while maintaining peak performance.
Clean your air stone regularly to prevent clogging, which reduces aeration efficiency. Blocked stones can’t distribute oxygen effectively, compromising your plants’ health and limiting their growth potential.
Tubing Connection Setup
Three essential connections form the backbone of your aeration system’s reliability and performance.
You’ll need to establish secure links between your air pump, airline tubing, and air stones to maintain consistent oxygen flow to your nutrient solution.
Here’s your connection setup process:
- Connect airline tubing to your air pump’s outlet port, ensuring a tight seal without over-tightening.
- Install the check valve midway through the tubing with the arrow pointing away from the pump.
- Attach tubing to your air stones or diffusers, pushing firmly until snug.
- Test all connections by running the system and checking for air leaks or loose fittings.
Properly installed aeration components prevent water backflow and deliver ideal oxygenation throughout your hydroponic system.
Setting Up Water Circulation Systems
When you’re building a hydroponic system, establishing an effective water circulation system forms the backbone of your entire operation.
Position your submersible water pump directly in the reservoir and connect it to tubing that’ll deliver nutrients efficiently to your plants. You’ll want to attach the pump to a timer for automated watering intervals that match your plants’ specific requirements.
For proper root health, connect an air pump to air stones using airline tubing. This oxygenates your nutrient solution, preventing root rot and promoting vigorous growth.
Install a check valve in your air pump setup to prevent contamination from backflow.
Maintain consistent flow to avoid stagnation and monitor water levels regularly to protect your pump from damage.
Mixing Nutrient Solutions Properly
You’ll need to master three critical aspects when mixing nutrient solutions for your hydroponic system.
First, you must follow proper nutrient concentration guidelines to make certain your plants receive the right amount of minerals without causing toxicity or deficiency.
Additionally, you’ll learn how to adjust pH balance correctly and apply effective solution mixing techniques that guarantee uniform distribution throughout your system.
Nutrient Concentration Guidelines
Although nutrient manufacturers provide specific mixing ratios, understanding proper concentration guidelines guarantees your hydroponic plants receive ideal nutrition without encountering deficiencies or toxic buildup.
Here’s how to maintain peak nutrient concentration:
- Start with proper ratios – Mix 1-2 teaspoons of liquid nutrients per gallon of water, following your specific brand’s instructions for baseline concentration.
- Monitor Total Dissolved Solids – Use a TDS meter to maintain 800-1500 PPM for most hydroponic crops, ensuring adequate nutrient availability.
- Adjust the pH regularly – Keep your nutrient solution between 5.5-6.5 pH using a reliable meter for peak plant absorption.
- Check concentration weekly – Test and modify nutrient levels every 1-2 weeks since plants consume nutrients differently throughout their growth stages.
Ph Balance Adjustment
Why does proper pH balance make the difference between thriving plants and struggling crops in your hydroponic system? Your nutrient solution’s pH directly affects how well plants absorb essential minerals. You’ll want to maintain pH between 5.5 and 6.5 for ideal results.
Use a reliable pH test kit or meter to measure your nutrient solution accurately. If pH is too high, add pH Down incrementally. When it’s too low, use pH Up to adjust levels. Always mix thoroughly after each adjustment.
| pH Level | Plant Response | Action Needed |
|---|---|---|
| Below 5.5 | Poor absorption | Add pH Up |
| 5.5-6.5 | Ideal growth | Maintain |
| Above 6.5 | Nutrient lockout | Add pH Down |
| 7.0+ | Severe deficiency | Immediate correction |
| Fluctuating | Stress response | Regular monitoring |
Monitor pH during routine water top-ups, as your hydroponic system’s chemistry changes over time.
Solution Mixing Techniques
The foundation of healthy hydroponic plants starts with properly mixed nutrient solutions that deliver consistent feeding throughout your system.
You’ll need to master these essential mixing techniques to guarantee your plants receive ideal nutrition.
Follow these four critical steps for perfect nutrient solution preparation:
- Start with clean water – Use distilled or reverse osmosis water instead of tap water to avoid chlorine and harmful chemicals.
- Adjust pH first – Test and balance your water’s pH between 5.5 and 6.5 before adding any nutrients.
- Follow manufacturer ratios – Mix nutrients according to package instructions, measuring carefully in milliliters per gallon.
- Stir and aerate – Thoroughly mix the solution, then let it aerate for 30 minutes before introducing it to your system.
Ph Testing and Water Quality Management
When you’re managing a hydroponic system, maintaining proper pH levels becomes one of your most critical responsibilities for plant success. You’ll need to conduct regular pH tests using a reliable pH meter or test kit to guarantee your water quality stays within the ideal 5.5 to 6.5 range. After mixing your nutrient solution, always test and adjust pH levels using pH Up or pH Down solutions as needed.
| Water Quality Issue | Warning Signs | Your Action |
|---|---|---|
| Poor pH Balance | Stunted growth, yellowing leaves | Immediate pH test and adjustment |
| Contaminated Water | Cloudy, foul-smelling solution | Replace entire nutrient solution |
| Root Problems | Slimy, brown roots | Clean system, fresh solution |
Replace your nutrient solution every 14-21 days to prevent toxicity buildup.
Sterilizing Your Complete System
Before introducing fresh plants or starting a new growing cycle, you’ll need to completely sterilize your hydroponic system to eliminate harmful bacteria, fungi, and other pathogens that could sabotage your harvest.
Follow this sterilization process:
- Fill your container with water and add 1 tablespoon of chlorine bleach to create an effective disinfection solution that kills contaminants.
- Allow the solution to aerate for 30 minutes to guarantee thorough disinfection throughout your hydroponic system.
- Rinse all components with clean water after sterilization to remove any residual bleach before reassembling.
- Install a new air stone instead of reusing old ones, as they harbor bacteria from previous setups.
Regular sterilization every few months maintains a healthy growing environment and prevents disease outbreaks.
Planting Seeds and Transplanting Seedlings
Getting your seeds and seedlings properly established sets the foundation for a thriving hydroponic garden. Start by placing your seeds in moistened rock wool cubes or similar germination mediums that provide proper aeration and moisture retention.
Keep the cube’s top visible and never plant in dry cubes to avoid germination damage.
When transplanting seedlings, gently remove them from their starter medium and place them in net cups filled with clay pellets or perlite for anchoring.
Initially, maintain water levels above the net pot bases, then gradually lower them as roots develop and extend into the nutrient solution.
Monitor and adjust your nutrient solution’s pH levels regularly after planting to support healthy growth and prevent nutrient toxicity issues.
Monitoring Water Levels and Root Development
Once you’ve established your seedlings in their growing medium, maintaining proper water levels becomes essential for healthy root development.
Your plants depend on consistent monitoring to thrive in their hydroponic environment.
Success in hydroponic gardening requires daily attention to water levels, pH balance, and root development for optimal plant health.
Here’s how to effectively monitor your system:
- Check water level daily – Keep water above net pot bases initially to support young root systems, then gradually lower it as roots extend into the nutrient solution.
- Install a marking system – Use a water level gauge on your container to easily track fluid levels and maintain ideal conditions.
- Monitor pH levels consistently – Aim for 5.5 to 6.5 range to guarantee proper nutrient uptake.
- Inspect root health – Look for healthy white or light tan roots through net pots, avoiding discolored roots that signal problems.
Regular Maintenance and Solution Changes
While monitoring water levels keeps your plants healthy day-to-day, establishing a consistent maintenance routine guarantees your hydroponic system performs at its finest over time.
Your regular maintenance schedule should include replacing the nutrient solution every 14-21 days to prevent harmful toxicity build-up and deliver fresh nutrients to your plants.
When topping up water, always check the pH level to maintain the ideal 5.5-6.5 range for nutrient absorption.
Use the same method each time you adjust water level or add nutrients—this consistency reduces plant stress and keeps your system stable.
Don’t forget quarterly deep cleaning of your reservoir.
This prevents algae growth and extends your equipment’s lifespan, ensuring your hydroponic system continues producing healthy plants year-round.
Choosing Appropriate Grow Lights
How do you guarantee your hydroponic plants receive the light they need to thrive indoors? Choosing appropriate grow lights is essential for successful home hydroponics.
You’ll need to select lights that provide the proper light spectrum while maintaining energy efficiency.
Here are four key considerations for selecting grow lights:
- Choose LED grow lights for energy efficiency and full spectrum coverage that promotes ideal photosynthesis.
- Consider HID lights (Metal Halide or High-Pressure Sodium) for strong light output in larger systems.
- Position lights correctly – maintain 12-24 inches for LEDs and 24-36 inches for HID lights to prevent leaf burn.
- Monitor the light cycle carefully, providing 14-18 hours daily for vegetative growth and 10-12 hours during flowering stages.
T5 fluorescent bulbs work well for smaller setups growing leafy greens.
Troubleshooting Common Growing Problems
What happens when your carefully planned hydroponic system starts showing signs of distress? Troubleshooting becomes essential to maintain ideal plant health.
Start by checking your pH levels—they should stay between 5.5-6.5 for proper nutrient absorption. Monitor your nutrient solution concentration, adjusting based on growth stages to prevent nutrient burn or deficiencies.
Make sure your water temperature remains between 65°F-75°F to promote healthy roots and prevent algae. Don’t overlook aeration; use air pumps and stones to maintain oxygen levels and prevent root rot.
Finally, inspect plants regularly for pests and diseases. Early detection allows for swift intervention using non-toxic control methods, keeping your hydroponic garden thriving.
Frequently Asked Questions
What Is the Easiest Hydroponic System for Beginners?
You’ll find Deep Water Culture (DWC) is the easiest hydroponic system for beginners. You simply submerge plant roots in nutrient-rich water with an air pump for oxygenation, requiring minimal maintenance.
How to Build a Simple Hydroponics System?
You’ll need a container with lid, drill holes for net pots, install a water pump and air stone for circulation, mix nutrients with water, and monitor pH levels regularly.
What Is the Simplest Form of Hydroponic Systems?
You’ll find Deep Water Culture (DWC) is hydroponics’ simplest form. You submerge plant roots directly in nutrient-rich water without recirculation systems. You’ll need minimal equipment: containers, net pots, air pumps, and air stones.
What Is the Simplest Type of Hydroponic System?
You’ll find Deep Water Culture (DWC) is the simplest hydroponic system. You’re submerging plant roots directly in nutrient-rich water, requiring only basic equipment like containers, net pots, and air pumps for oxygenation.


Leave a Reply