Your thermostat’s connection problems aren’t just annoying—they’re costing you money and comfort every day they persist. Whether you’re dealing with a completely unresponsive unit or one that’s giving you sporadic performance, the issue often stems from surprisingly simple causes that most homeowners overlook. Before you call an expensive repair service or assume you need a replacement, there are nine specific culprits that could be sabotaging your system’s performance right now.
Dead or Low Batteries Preventing Power Supply
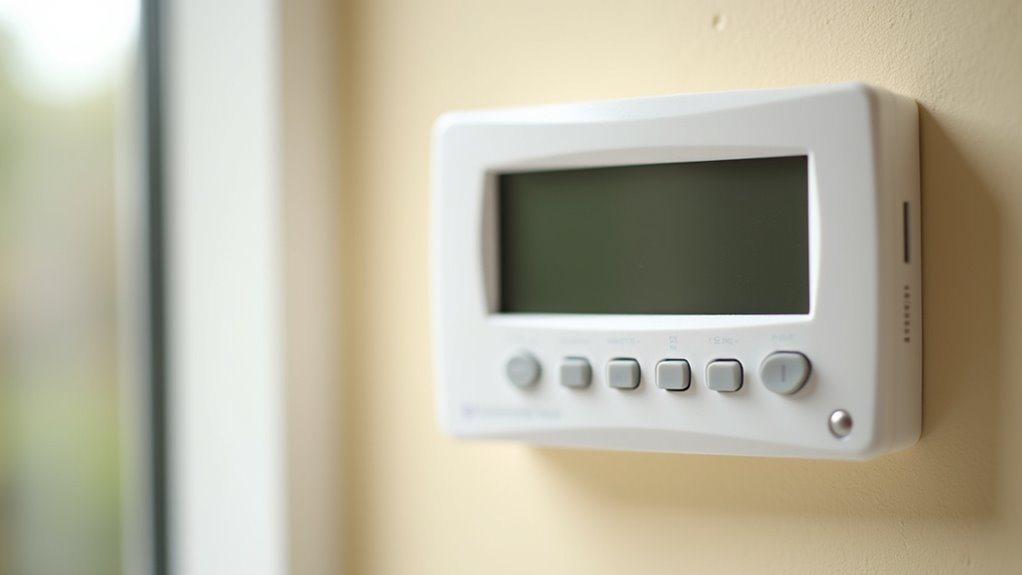
When your thermostat’s display suddenly goes blank or becomes unresponsive, dead batteries are often the culprit behind this frustrating connectivity issue. Your thermostat’s power supply depends on fresh batteries to maintain consistent operation and communication with your HVAC system.
You’ll want to replace batteries every 1-2 years as part of routine thermostat troubleshooting. Check your user manual for the correct battery type to avoid damaging your device. Many thermostats feature a low battery indicator that warns you when power levels drop dangerously low – don’t ignore this alert.
If you’re using rechargeable batteries, make certain they’re adequately charged. Poor battery performance disrupts connectivity and prevents your thermostat from communicating effectively with your heating and cooling system.
Loose or Corroded Wiring Connections
Your thermostat’s wiring connections can become loose over time or develop corrosion that blocks proper electrical flow between the device and your HVAC system.
You’ll need to identify these connection problems by safely inspecting the terminal screws and wire conditions after turning off power at the circuit breaker.
Once you’ve spotted loose connections or corroded wires, you can fix these wiring issues by tightening terminals or replacing damaged wires with the same gauge to restore reliable communication.
Identifying Connection Problems
Loose or corroded wiring connections often lurk behind thermostat connectivity issues, silently disrupting the essential communication between your device and HVAC system.
These connection problems create barriers that prevent proper electrical flow, causing your thermostat to behave erratically or become completely unresponsive.
You’ll need to examine the wiring connections at both your thermostat and HVAC unit carefully. Look for visible signs of loose wiring, including terminal screws that aren’t fully tightened or wires that appear disconnected.
Check for corroded wiring, which typically appears as greenish or white buildup around connection points. This corrosion acts like a roadblock, preventing electricity from flowing smoothly through the circuit.
Don’t overlook damaged insulation or exposed wire sections, as these create additional connectivity problems that compromise your system’s reliability.
Fixing Wiring Issues
Before attempting any wiring repairs, you must turn off power to your HVAC system at the circuit breaker to ascertain your safety.
Loose connections and corroded wiring can disrupt communication between your thermostat and HVAC system, causing unresponsive or erratic behavior.
To fix these wiring connections issues:
- Carefully inspect all wire terminals for loose connections or corrosion signs requiring attention.
- Tighten any loose wire terminals to guarantee secure fastening and prevent intermittent power issues.
- Replace damaged wires using the same gauge to maintain compatibility and efficient conductivity.
- Clean corroded connections or replace them entirely if deterioration is severe.
Regular maintenance of your wiring connections prevents future problems and guarantees reliable thermostat performance over time.
Tripped Circuit Breaker Cutting Off Power
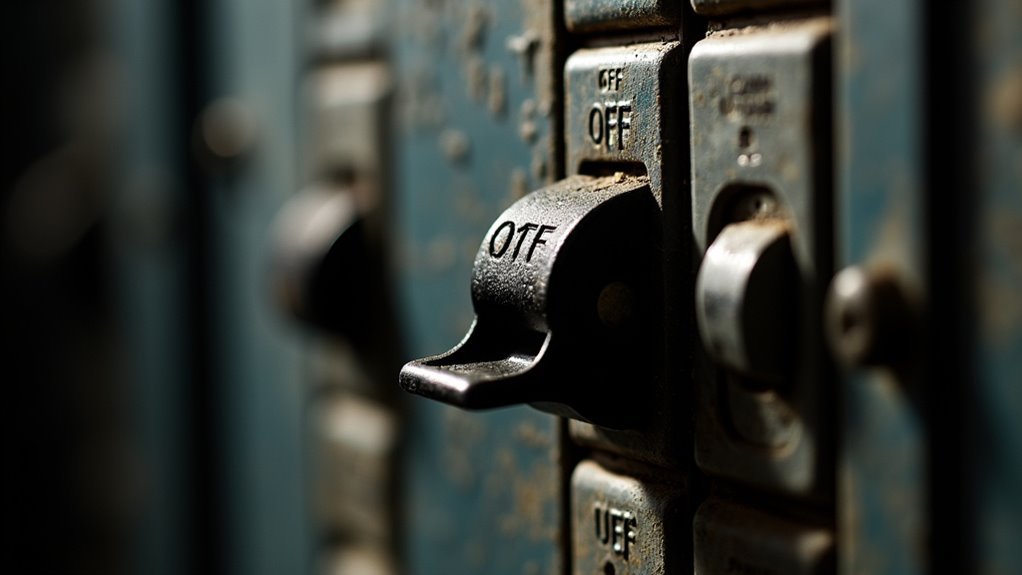
When your thermostat suddenly stops connecting to Wi-Fi or responding to commands, a tripped circuit breaker might be the culprit that’s interrupted its power supply.
Circuit breakers trip due to electrical overloads, short circuits, or faulty wiring, creating thermostat connectivity issues.
To restore power, locate your circuit breaker panel and identify the breaker connected to your thermostat. Switch it back to the “on” position.
If it trips again shortly after resetting, you’re likely dealing with a deeper electrical problem requiring professional diagnosis and repair.
Regular maintenance of your electrical system, including checking breakers and wiring, helps prevent future connectivity problems.
Don’t ignore frequent breaker trips—they signal underlying issues that need immediate attention to protect your home’s electrical safety.
Incorrect Thermostat Placement Affecting Performance
Even if your thermostat receives adequate power, improper placement can sabotage its ability to maintain consistent connectivity and accurate temperature control.
Poor thermostat placement undermines both connectivity and temperature accuracy, regardless of adequate power supply to the device.
Incorrect thermostat placement creates inaccurate temperature readings that confuse your system’s operation.
You’ll want to avoid these problematic locations:
- Areas near doors, windows, or vents where drafts affect sensor performance
- Spots receiving direct sunlight or near heat sources that skew readings
- Corner locations that don’t represent your home’s overall temperature
- Uneven surfaces that prevent proper leveling of mechanical units
Central locations work best for thermostat installation, ensuring your device accurately monitors your home’s true temperature.
When your thermostat can’t get reliable readings due to environmental interference, it struggles to communicate effectively with your HVAC system, leading to connectivity issues and inconsistent performance.
Dirty Sensors Blocking Temperature Readings
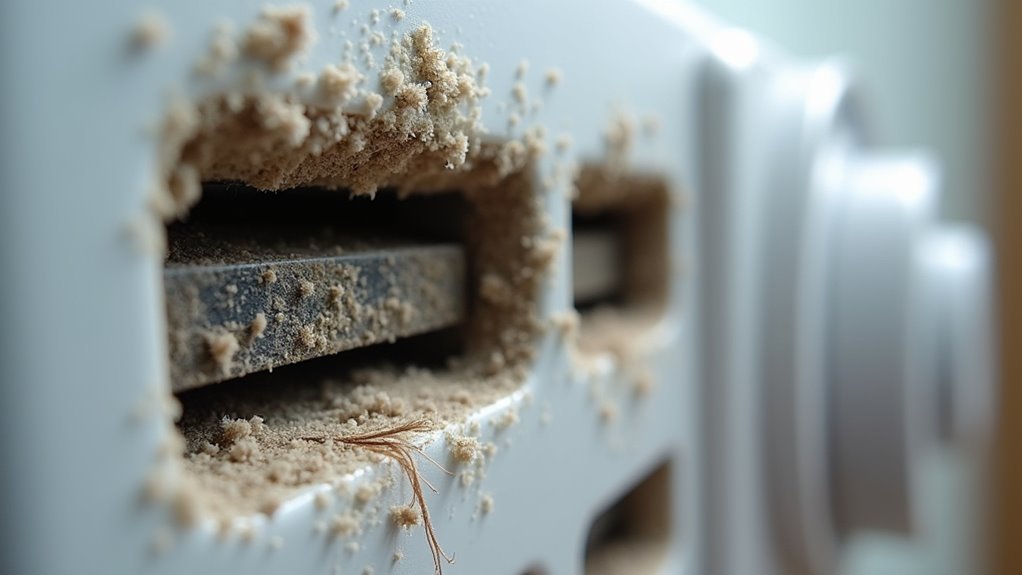
Beyond placement issues, dirty sensors create another major barrier to proper thermostat connectivity.
When dust and debris accumulate on your thermostat’s sensors, they can’t provide accurate temperature readings to your HVAC system. This misinterpretation causes your system to operate inefficiently, leading to uncomfortable temperatures throughout your home.
The solution is straightforward: regular cleaning.
Use a soft-bristled brush to gently remove accumulated dirt from the sensors. You should inspect and clean these components at least twice yearly during routine maintenance checks.
Neglecting dirty sensors has costly consequences.
Your HVAC system works harder to compensate for inaccurate readings, dramatically increasing energy consumption. This extra strain not only raises utility bills but also reduces your system’s lifespan, making sensor maintenance a critical aspect of proper thermostat function.
Programming Errors and Wrong Mode Settings
Your thermostat might seem unresponsive simply because you’ve selected the wrong operating mode or entered incorrect programming settings.
When your system’s set to “Off” instead of “Heat” or “Cool,” or when temperature setpoints don’t match your actual needs, the HVAC won’t respond as expected.
These programming missteps can make it appear your thermostat isn’t connecting properly when it’s actually following the wrong instructions you’ve inadvertently given it.
Incorrect Mode Selection
Smart thermostats particularly struggle with programming issues that create these problems:
- Incorrectly configured temperature setpoints prevent proper system operation
- Inadvertent mode changes occur from slight adjustments or accidental touches
- Manual calibration settings create temperature discrepancies when improperly set
- Seasonal changes require active mode switching that homeowners often forget
Regular verification of your thermostat settings prevents most connection issues.
Check your user manual for specific programming instructions, as different models use unique methods for changing modes and configurations.
Faulty Programming Setup
Programming errors compound connection problems when your thermostat’s schedule doesn’t match your actual heating and cooling needs. A faulty programming setup occurs when you’ve incorrectly configured your thermostat’s schedule, causing it to ignore temperature adjustments or user commands entirely.
First, verify your thermostat is set to the correct mode—Heat, Cool, or Off—that aligns with your climate control requirements. An wrong mode prevents your HVAC system from activating properly.
Smart thermostats offer extensive customization, but misconfigured schedules create unexpected temperature fluctuations. You’ll need to review programming settings regularly, especially after power outages or battery replacements that reset configurations.
Different models require unique programming methods, so consult your user manual for specific instructions and troubleshooting guidance to restore proper connectivity and functionality.
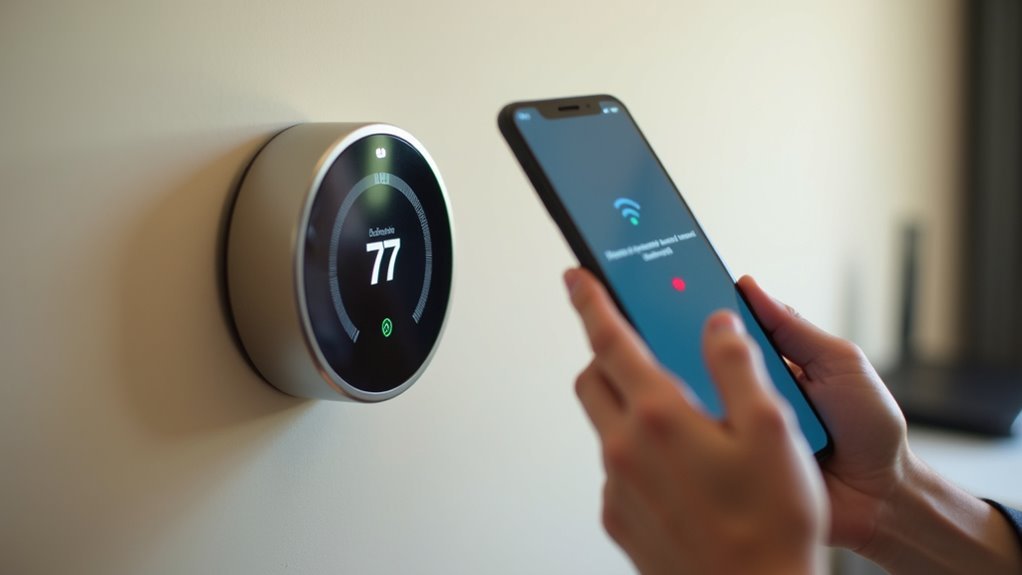
Poor WiFi Signal Strength and Network Issues
One of the most common culprits behind thermostat connectivity problems is an inadequate Wi-Fi signal reaching your device’s location.
Weak Wi-Fi signals are the leading cause of smart thermostat connection failures and remote access issues.
Physical obstructions like walls and floors considerably weaken signals, making remote access nearly impossible.
Here’s how to address these connectivity issues:
- Check signal strength – Test your Wi-Fi signal directly at the thermostat’s location to identify weak spots
- Reposition strategically – Move your thermostat closer to the router when possible to bypass physical obstructions
- Manage network congestion – Limit active devices during setup to reduce bandwidth competition
- Restart equipment – Power cycle both your thermostat and router to re-establish stable connections
Regular monitoring of your Wi-Fi signal strength helps prevent thermostat performance issues before they disrupt your home’s climate control system.
Incompatible HVAC System Configuration
While Wi-Fi issues often steal the spotlight, your thermostat’s connection problems might actually stem from fundamental incompatibilities between the device and your HVAC system.
Incompatible HVAC system configurations can prevent your thermostat from connecting properly since not all models work with every heating and cooling system type.
Your thermostat and HVAC system must match specific voltage requirements—typically 24V for conventional systems.
Smart thermostats also rely on compatible communication protocols like Z-Wave or Zigbee, and mismatches create connectivity failures.
Many thermostats require a C-wire for power and connectivity, which older HVAC systems often lack.
Without this common wire, you’ll experience connection problems that compromise proper functionality.
Always verify compatibility before installation to avoid operational failures and system inefficiencies.
Faulty Control Board Communication Problems
Your thermostat’s connection issues might stem from a faulty control board that’s disrupting communication between your thermostat and HVAC system.
You’ll notice erratic system behavior, unresponsive controls, or complete shutdowns when the control board fails to relay signals properly.
Identifying these failures early and repairing the communication disruptions can save you from costly system replacements and restore reliable temperature control.
Identifying Control Board Failures
The control board serves as the brain of your HVAC system, and when it fails, communication between your thermostat and heating or cooling equipment breaks down completely.
Control board failure creates communication issues that manifest through various warning signs you can’t ignore.
Watch for these telltale symptoms of a faulty control board:
- Blank or unresponsive thermostat display that won’t turn on
- Erratic system cycling with random heating or cooling activation
- Complete lack of response when you adjust temperature settings
- Inconsistent temperature control throughout your home
These problems often stem from damaged circuitry, burnt components, or corrosion within the control board.
Since these complex electrical systems aren’t easily accessible, you’ll need professional diagnosis.
An experienced HVAC technician has the specialized knowledge and tools required to properly identify and replace faulty control boards.
Repairing Communication Disruptions
Once you’ve identified a faulty control board, you’ll need to address the communication disruptions it’s causing before your HVAC system can function properly again.
Start with basic troubleshooting tips like resetting your thermostat by turning off power for thirty seconds, then restoring it. Check for loose wire connections between the control board and thermostat.
If you’re experiencing software-related thermostat problems, updating firmware might resolve communication disruptions. However, visible damage like burnt components or corrosion requires professional intervention.
Don’t attempt control board replacement yourself, as improper installation can worsen communication issues or damage your HVAC system.
Contact a qualified technician who can accurately diagnose the problem and safely install replacement components to restore proper thermostat functionality.
Blown Fuses Interrupting Power Flow
One blown fuse can instantly shut down your thermostat’s power supply, leaving you with a blank display and completely unresponsive controls.
Your HVAC system depends on a dedicated fuse that protects its electrical components from damage.
A dedicated fuse acts as your HVAC system’s electrical guardian, preventing costly damage to sensitive components.
To diagnose this issue, head to your electrical panel and locate the fuse connected to your heating system.
Here’s what to check:
- Inspect the fuse for visible damage or broken filaments
- Look for signs of electrical overloads or short circuits
- Replace any damaged fuses immediately
- Investigate underlying causes to prevent future blown fuses
Regular maintenance helps guarantee consistent power flow to your thermostat.
Don’t ignore recurring fuse problems—they often signal deeper electrical issues that need professional attention before they cause more extensive system damage.
Thermostat Not Properly Calibrated or Level
Improper calibration turns your thermostat into an unreliable temperature gauge that can’t accurately sense your home’s actual conditions.
When your thermostat’s not properly calibrated, it’ll deliver false temperature readings that cause your HVAC system to overheat or underperform. If you’ve got a mercury bulb model, check that it’s level using a carpenter’s level—these units require precise positioning to function correctly.
An improper installation location near heat sources or drafts will worsen calibration problems and lead to a thermostat not working effectively.
You can adjust the anticipator lever on applicable models to fine-tune calibration for better temperature regulation. Regular checks guarantee your thermostat remains level and accurate, preventing the frustrating temperature control issues that make your home uncomfortable.
Child Lock Settings Preventing Access
Your thermostat might appear unresponsive because you’ve accidentally activated the child lock feature, which blocks all temperature adjustments and can display a locked status indicator.
You’ll need to identify whether this safety feature is engaged by checking your display for lock symbols or unresponsive controls.
Once you’ve confirmed the child lock is active, you can regain access by following the specific button combination outlined in your user manual or through your smart thermostat’s mobile app.
Identifying Child Lock Activation
Why does your thermostat display seem unresponsive when you’re trying to adjust the temperature?
You’re likely dealing with an activated child lock feature that’s blocking your access to temperature settings.
To confirm child lock activation, look for these indicators:
- Lock icon or message – Check your thermostat display for a visible lock symbol or “child lock” notification
- Unresponsive buttons – Test if pressing temperature adjustment buttons produces no changes to settings
- User manual reference – Consult your device’s user manual for specific lock indicators unique to your model
- Smart thermostat alerts – Review notifications on connected apps that may indicate child lock status
Identifying the child lock quickly prevents unnecessary troubleshooting and gets you back to controlling your home’s comfort efficiently.
Disabling Safety Lock Features
Once you’ve confirmed child lock activation, disabling this safety feature requires following your thermostat’s specific release procedure.
You’ll need to consult your user manual for exact instructions, as the process varies considerably between different models and brands. Most thermostats require pressing and holding a specific combination of buttons for several seconds to disable the child lock feature.
During this process, watch your thermostat’s display screen carefully. The lock icon should disappear once you’ve successfully deactivated the safety feature, indicating you can now access thermostat settings freely.
After disabling the child lock, you’ll be able to make necessary temperature adjustments and programming changes. Remember to check this setting regularly to avoid future confusion when you need to modify your thermostat’s configuration.
Overheated HVAC System Safety Shutoffs
When your HVAC system overheats, built-in safety shutoffs automatically kick in to protect expensive components like compressors and motors from catastrophic damage.
These shutoffs temporarily halt operation until your system cools down, preventing costly repairs.
Several factors cause overheated HVAC systems to trigger these protective measures:
• Blocked airflow restricts proper ventilation and heat dissipation
- Dirty filters force your system to work harder than necessary
- Malfunctioning components that strain the entire system
- Poor maintenance leading to accumulated debris and wear
You can prevent most safety shutoffs through regular maintenance.
Clean or replace filters monthly, make certain vents aren’t obstructed, and schedule routine inspections.
If safety shutoffs occur frequently, don’t ignore the warning signs.
Contact an HVAC professional immediately to diagnose underlying issues before they escalate into expensive repairs.
Damaged High Voltage Wires Disrupting Signals
Damaged high voltage wires create a cascade of communication breakdowns between your thermostat and HVAC system, resulting in everything from minor temperature inconsistencies to complete system failures.
These wires serve as your thermostat’s primary power source, enabling essential signal transmission to your HVAC system. When they’re compromised, you’ll notice operational failures like inconsistent heating, cooling irregularities, or flickering thermostat displays.
You can identify damaged high voltage wires by inspecting visible connections for fraying, corrosion, or burn marks.
These electrical issues often manifest as complete power loss or erratic system behavior.
Don’t attempt repairs yourself – damaged wiring poses serious safety risks. Instead, contact a qualified HVAC professional who can safely replace compromised wires and restore proper communication between your thermostat and system.
Frequently Asked Questions
Why Is My Thermostat Not Pairing?
Your thermostat isn’t pairing because you’re likely too far from your router, using an incorrect password, or have outdated firmware. Try restarting both devices and checking your network settings.
How Do You Fix a Thermostat That Is Not Communicating?
Check your thermostat’s power source first, then inspect wiring connections for damage. Verify system compatibility, reset to factory settings, and guarantee strong Wi-Fi connectivity for smart models.
Why Is My Thermostat Not Connecting to My HVAC System?
Your thermostat won’t connect to your HVAC system due to loose wiring, power supply problems, incorrect settings, poor placement near heat sources, or lack of regular maintenance checks.
Why Is My Thermostat Not Reading Correctly?
Your thermostat’s inaccurate readings likely stem from dirty sensors, poor placement near heat sources or drafts, calibration issues, or misalignment. Clean sensors regularly and check placement away from environmental factors.


Leave a Reply