You’ve invested in a solar doorbell to boost your home’s security, but poor setup can leave you frustrated with dead batteries and missed alerts. The difference between a reliable system and a constant headache often comes down to simple installation choices you’ll make in the first hour. From positioning mistakes that cut solar efficiency in half to motion settings that drain power overnight, these critical decisions determine whether your doorbell becomes a trusted security partner or an expensive disappointment.
Choose the Optimal Location for Maximum Sun Exposure
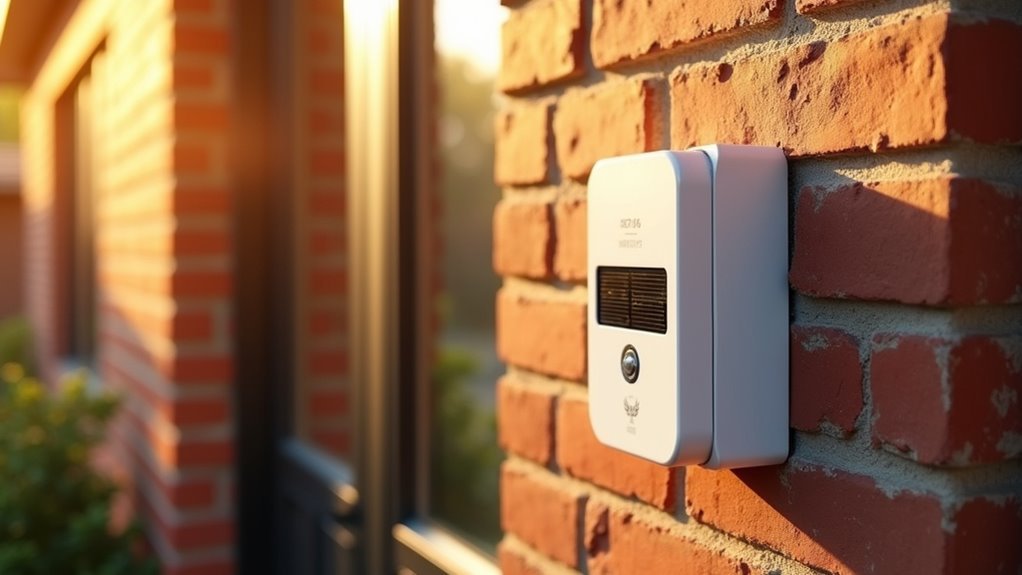
The first step in enhancing your solar doorbell’s performance is selecting a location where the solar panel receives at least a few hours of direct sunlight daily.
You’ll want to avoid shaded areas like spots under eaves or near trees, which can greatly reduce charging efficiency. For ideal sun exposure throughout the day, install your solar panel facing south if you’re in the Northern Hemisphere or north if you’re in the Southern Hemisphere.
Don’t forget to take into account seasonal variations in sunlight patterns. A location that’s perfectly sunny in summer might become shaded in winter.
Choose a spot that remains consistently sunny year-round. Additionally, you’ll need to regularly monitor and clean the solar panel’s surface, as dirt and debris can obstruct sunlight and diminish charging effectiveness.
Gather Essential Tools and Hardware Before Starting
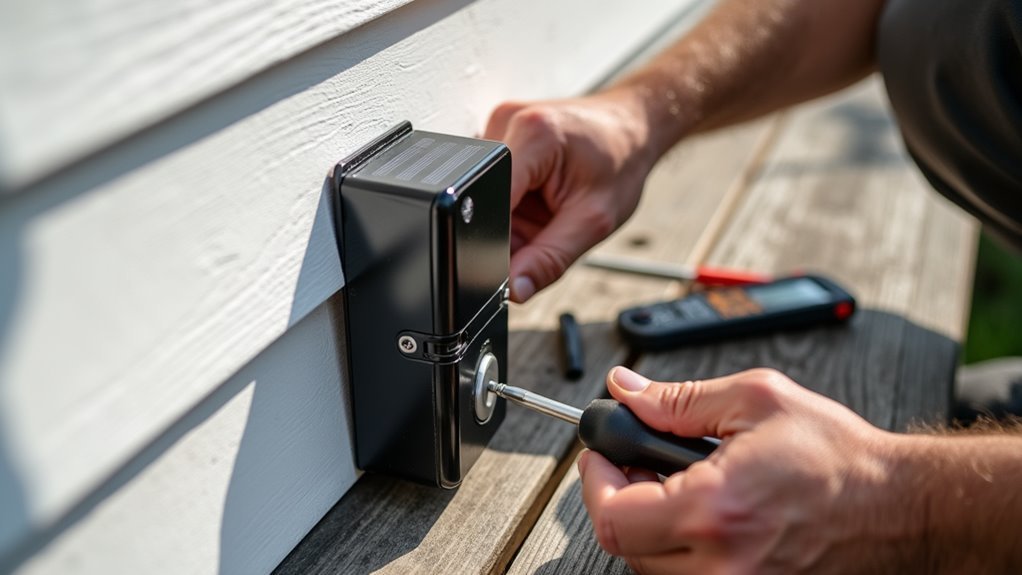
Once you’ve identified the perfect sunny spot for your solar doorbell, you’ll need to collect the right tools and hardware to complete the installation efficiently.
Start by gathering essential tools: a screwdriver, drill (optional), and hammer for anchors. Check that you have all included mounting hardware, such as screws and anchors, which are necessary for securely attaching both the solar panel and doorbell to your wall.
Essential tools include a screwdriver, drill, and hammer, plus all mounting hardware like screws and anchors for secure installation.
Verify your installation surface is suitable for mounting. Materials like brick, concrete, wood, or vinyl will determine which anchors and screws you’ll use.
Keep a level tool handy to guarantee your doorbell sits perfectly straight. Consider using a pencil to mark screw hole positions beforehand—this allows for precise alignment and eliminates frustrating re-drilling during installation.
Test Battery Performance Before Solar Panel Installation
Before mounting your solar panel, you’ll want to establish how well your doorbell’s battery performs on its own. Start by fully charging your doorbell battery to create a baseline reference point.
Monitor the battery percentage for one full week, noting how it naturally drains during regular usage—typically dropping to around 20%. Test all doorbell functions including motion detection and video streaming to understand what triggers affect battery life.
Key monitoring points for accurate assessment:
- Track daily battery percentage drops to identify usage patterns
- Test motion sensitivity settings that could drain power faster
- Note weather conditions since cold temperatures below 40°F reduce efficiency
- Document event frequency from visitors and motion triggers
This baseline data helps you measure your solar panel’s effectiveness later.
Mount the Solar Panel at the Correct Angle for Your Region
You’ll need to calculate the best angle for your solar panel based on your geographic location and latitude to maximize energy absorption.
The ideal tilt typically equals your latitude plus 15 degrees during winter months and your latitude minus 15 degrees during summer months.
Consider whether you want to adjust the angle seasonally for maximum efficiency or set it at a fixed compromise angle that works year-round.
Optimal Angle Calculation
Since your solar doorbell’s performance hinges on capturing maximum sunlight, you’ll need to mount the panel at an angle that matches your geographical location—typically between 30-45 degrees.
For precise ideal angle calculation, use a solar angle calculator or smartphone app that considers your specific coordinates and seasonal variations. Face your solar panel true south in the Northern Hemisphere or true north in the Southern Hemisphere.
Remember to account for winter’s shorter days by increasing the angle slightly during colder months.
- Maximize your investment by positioning panels where they’ll capture every precious ray of sunlight
- Protect your home’s security with consistent power that keeps your doorbell functioning reliably
- Eliminate frustrating dead zones that leave you wondering who’s at your door
- Achieve peace of mind knowing your system works year-round without constant maintenance
Seasonal Adjustment Considerations
When seasons change, your solar panel’s efficiency can drop dramatically unless you adapt the mounting angle to match the sun’s shifting path across the sky.
During winter months, tilt your solar charger at a steeper angle between 30-45 degrees to capture sunlight as the sun travels lower. In summer, adjust to a more horizontal position since the sun sits higher and provides direct overhead lighting.
You’ll need to regularly check that new foliage or structures aren’t blocking your panel’s access to sunlight throughout different seasons.
Monitor local weather patterns closely—extended cloudy or rainy periods may require angle adjustments to maximize any available light.
Face your solar charger true south in the Northern Hemisphere or true north in the Southern Hemisphere for ideal year-round performance.
Adjust Motion Detection Settings to Minimize Battery Drain
Although motion detection keeps your solar doorbell functional and secure, improper settings can quickly drain your battery and leave you with a non-responsive device.
You’ll need to balance security coverage with power conservation to maintain reliable operation.
Start by adjusting your motion sensitivity to low, reducing false triggers from nearby movement. Fine-tune your motion zones to cover only essential areas, preventing unnecessary alerts from occurring.
Keep your camera’s view clear of moving shadows or objects that might accidentally activate motion detection.
- Protect your family by ensuring your doorbell stays powered when you need it most
- Save money by extending battery life and reducing maintenance frequency
- Sleep peacefully knowing you won’t receive constant false alerts throughout the night
- Stay secure with optimized settings that capture real threats without battery waste
Secure All Connections Using Proper Wire Management
Loose connections represent the most common cause of solar doorbell failures, turning your security investment into a frustrating cycle of troubleshooting and repairs.
Poor connections turn your reliable security system into an endless source of headaches and costly repair bills.
You’ll want to verify fork connector cables and micro-USB connections stay tightly secured to prevent disconnection or power loss that drains your doorbell battery. Use the wire spacers included in your installation kit to maintain organized connections for easier troubleshooting later.
During solar panel installation, don’t pinch or strain cables, as this causes premature wear and potential failure.
Install cable management clips or ties to keep excess wiring neat and prevent tangling that leads to accidental disconnections. You should regularly inspect all connections, especially after storms or harsh weather, to maintain consistent power supply to your doorbell battery system.
Monitor Charging Performance During Different Weather Conditions
Weather conditions directly affect your solar doorbell’s charging performance, so you’ll need to track battery levels throughout different seasons.
Cold temperatures below 40°F greatly reduce lithium-ion charging rates, while cloudy days can prevent adequate power generation from the 1.7W solar panel.
You should position your doorbell where it receives several hours of direct sunlight daily, as even partial shade can impact the panel’s ability to maintain ideal battery levels.
Cold Weather Charging Impact
When temperatures drop below 40°F, your solar doorbell’s charging efficiency plummets drastically, and you’ll need to monitor its performance closely to prevent complete battery drain.
Your Solar Panel’s output decreases notably in cold conditions, causing lithium-ion batteries to stop charging entirely at -4°F. You’ll notice your battery dropping to 20% within just a week during harsh weather.
Cold weather creates multiple challenges that’ll impact your doorbell’s reliability:
- Watch helplessly as your battery drains faster than your solar panel can replenish it
- Feel frustrated when frequent motion alerts accelerate power consumption in live mode
- Experience anxiety knowing your home security depends on maintaining 65% battery levels
- Face disappointment when ideal charging becomes impossible despite proper installation
Regular performance checks during winter months guarantee you’ll catch charging issues before complete failure occurs.
Cloudy Day Performance
Overcast skies can slash your solar doorbell’s charging capacity by up to 70%, forcing you to actively monitor battery levels during extended periods without direct sunlight.
During cloudy conditions, your solar panel’s output drops to just 1.7W, which often can’t keep pace with your doorbell’s power demands, especially if motion detection and video recording are frequently triggered.
You’ll notice your battery draining to 20% within a week when solar input becomes minimal.
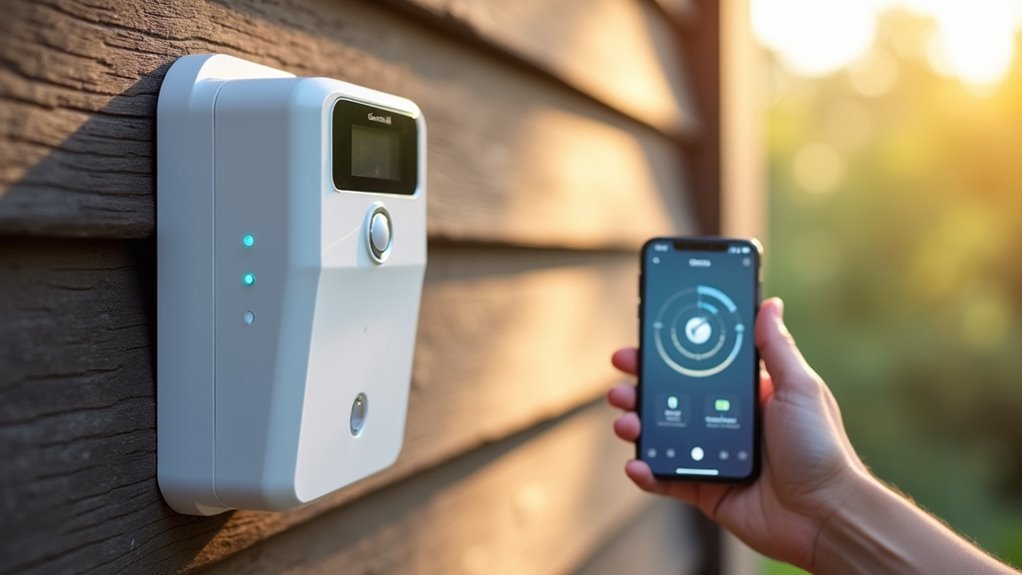
Check your app’s battery indicator regularly to track performance under varying weather conditions.
If you’re experiencing consecutive overcast days, consider temporarily reducing motion sensitivity or video quality settings to conserve power.
This proactive approach guarantees your doorbell maintains reliable operation even when weather conditions limit solar charging efficiency.
Optimal Sunlight Requirements
Your solar doorbell’s charging performance hinges on receiving several hours of direct sunlight daily, though you’ll need to actively track how different weather patterns affect its power generation capabilities.
Meeting ideal sunlight requirements becomes essential for maintaining consistent operation, especially with devices like the Ring Video Doorbell that demand reliable power.
Geographic location and seasonal variations greatly impact charging effectiveness, making performance monitoring vital. Check your doorbell’s app regularly to assess battery levels and adjust the panel’s angle when needed.
- Never miss another visitor – consistent charging guarantees your doorbell stays operational when it matters most
- Avoid costly battery replacements – proper sunlight exposure extends your battery’s lifespan considerably
- Stay connected to your home – reliable power means uninterrupted security monitoring
- Peace of mind guaranteed – ideal charging performance keeps your family protected
Position Your Doorbell at the Recommended Height and Distance
Proper positioning forms the foundation of effective solar doorbell installation, and getting the height right makes all the difference in performance. Mount your doorbell at 1.2 meters (4 feet) from ground level for ideal accessibility and visitor interaction. Position it beside your front door with an unobstructed view to maximize motion detection capabilities.
| Installation Factor | Recommended Specification | Impact on Performance |
|---|---|---|
| Height from Ground | 1.2 meters (4 feet) | Ideal motion detection |
| Distance from Door | Immediately adjacent | Clear visitor visibility |
| Line of Sight | Unobstructed view | Maximum capture range |
| Landscaping Clearance | No blocking elements | Enhanced motion sensing |
| Level Installation | Use level tool | Professional functionality |
Avoid mounting too high or low, as this compromises detection accuracy and user experience.
Clean and Maintain Solar Panels for Peak Efficiency
Setting the perfect position for your solar doorbell means nothing if dirty panels can’t capture sunlight effectively. Your solar panel requires regular maintenance to deliver consistent performance and keep your doorbell functioning reliably.
Clean your solar panel monthly using a soft cloth with water and mild soap. Avoid abrasive cleaners that’ll scratch the surface and reduce efficiency.
Inspect for damage, debris, or wear every few months, paying attention to mounting angles that maximize direct sunlight exposure.
- Don’t let dirt steal your home’s security – blocked panels mean missed visitors
- Protect your investment – proper maintenance extends your doorbell’s lifespan
- Ensure reliable performance – clean panels guarantee consistent power delivery
- Monitor battery health – declining performance signals maintenance needs
Troubleshoot Common Installation Issues and Know When to Contact Support
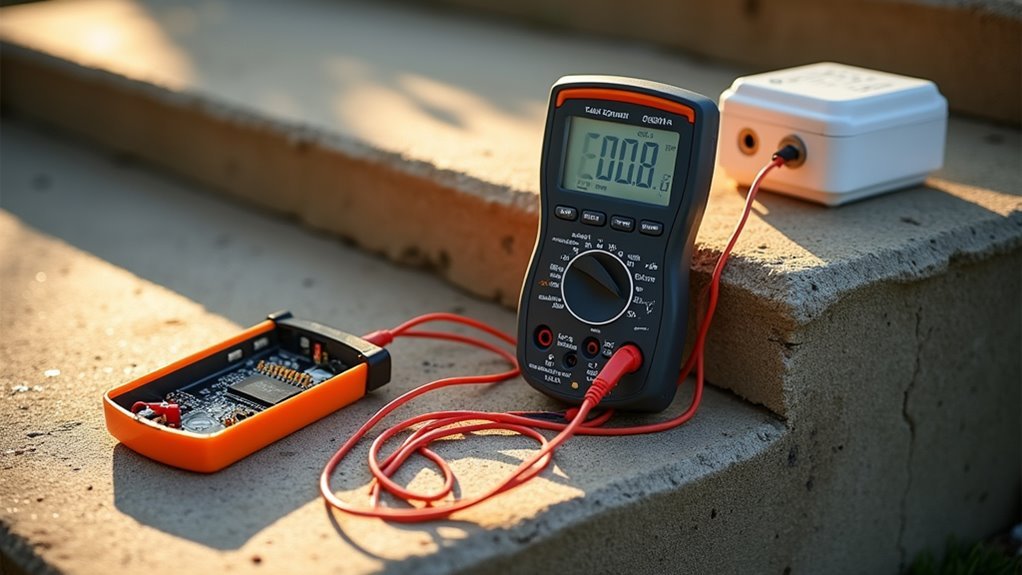
Why does your solar doorbell seem to work perfectly during installation, only to fail weeks later? Common issues often stem from environmental factors and improper troubleshooting. When your Wasserstein Solar panel displays an infinity sign but won’t charge, test the voltage output with a multimeter—you should see 14-24 volts AC.
| Issue | Solution |
|---|---|
| Battery drains quickly | Adjust motion sensitivity settings |
| No charging in winter | Monitor temperatures below 40°F |
| Voltage problems | Check connections and test output |
Cold weather dramatically reduces charging efficiency, stopping entirely at -4°F. If motion detection events trigger frequently, limit your camera’s view of moving objects to conserve power. When troubleshooting efforts fail, including disconnecting the solar panel or charging indoors, contact customer support for replacement assistance.
Frequently Asked Questions
Why Isn T My Solar Panel Charging My Ring Doorbell?
Your solar panel isn’t charging your Ring doorbell because it’s likely not getting enough direct sunlight, has dirty surfaces blocking light, or has loose connections between the panel and doorbell.
Does Ring Doorbell Solar Charger Need Direct Sunlight?
Yes, your Ring doorbell solar charger needs direct sunlight to work effectively. You’ll want several hours of daily sun exposure for ideal charging performance, as shaded areas greatly reduce the panel’s efficiency.
How to Set up Solar Panel for Ring Doorbell?
Complete your Ring doorbell setup first, then mount the solar panel where it’ll receive direct sunlight. Use the mounting arm as a template, adjust the angle for ideal sun exposure, and connect using the appropriate connector.
How Can I Improve My Ring Doorbell Quality?
Mount your doorbell straight using a level tool at 1.2 meters height for ideal viewing angles. Clean your solar panel regularly and adjust its angle seasonally to maximize sun exposure and improve overall performance.


Leave a Reply