
You’ve probably experienced the frustration of struggling with a voice TV remote that won’t respond to your commands or simply won’t connect to your television. While these modern remotes promise convenience and hands-free control, they can be tricky to set up properly without the right approach. The difference between a seamless viewing experience and constant technical headaches often comes down to following seven specific setup steps that most people overlook.
Verify Device Compatibility and Initial Connection Requirements
Before you can enjoy the convenience of voice control, you’ll need to verify that your voice remote is compatible with your specific TV model by checking the manufacturer’s specifications. Not all remotes work with every television, so this step prevents frustration later.
Ensure both your TV and voice remote are powered on with fresh batteries installed. Low battery levels can disrupt the pairing process and affect overall performance.
Fresh batteries are essential for successful voice remote pairing and optimal performance throughout your streaming experience.
Set your TV to the correct input source where your streaming device connects.
Position your voice remote within the recommended range of your TV or streaming device for ideal signal strength. If you’re using a Roku device, confirm it’s properly connected via HDMI and running updated software.
These preparations enable you to use your voice remote to control your entertainment system effectively.
Install Fresh Batteries and Check Remote Power Status
Since proper power is essential for voice remote functionality, you’ll want to install fresh, high-quality AA alkaline batteries as your first step. This guarantees peak performance and prevents connectivity issues with your TV.
Follow these steps for proper battery installation:
- Check polarity indicators inside the battery compartment to align batteries correctly.
- Insert fresh AA alkaline batteries following the positive and negative markings.
- Secure the battery cover firmly to prevent accidental removal during use.
- Test the remote by pressing the power button to confirm it’s working.
If your remote doesn’t power on, double-check the battery installation and replace them if necessary.
Watch for low battery notifications on your TV screen, which prompt you to replace batteries before the remote becomes unresponsive.
Complete the Pairing Process Between Remote and Device
Once you’ve confirmed your remote has fresh batteries and proper power, you’ll need to complete the pairing process to establish communication between your voice remote and Roku device.
Start by verifying your Roku is powered on and within range. Press and hold the pairing button on your remote for 3-5 seconds until the status light flashes.
Watch your TV screen for an on-screen pairing confirmation message. If it doesn’t appear, restart your Roku device or double-check battery installation.
Remove any obstructions between the remote and device, moving closer if needed to strengthen the signal.
Once paired successfully, test the remote’s functionality and verify voice commands work properly to ascertain complete connection.
Enable Voice Assistant Features in System Settings
Now that you’ve paired your remote with your device, you’ll need to access your system settings menu to enable voice assistant features.
Navigate to “Settings” or “System Preferences” and look for options like “Voice Control” or “Voice Assistant” to activate voice commands.
You’ll also want to integrate your preferred assistant app, such as Google Assistant or Alexa, by linking your account for full functionality.
Access System Settings Menu
Before you can use voice commands with your TV remote, you’ll need to enable voice assistant features through your device’s system settings menu. Accessing these settings is straightforward and essential for optimizing your home theater experience.
Here’s how to reach the system settings menu:
- Navigate to Settings – From your device’s main interface, locate and select the “Settings” option.
- Find Voice Control – Look for “Voice Control” or “Accessibility” sections within the settings.
- Toggle Voice Search – Activate voice search functionality by switching the setting to “On.”
- Check Pairing Options – Some devices require compatible voice remote pairing through these settings.
Once you’ve accessed the menu, you’ll have complete control over your voice control preferences and can customize features to enhance your viewing experience.
Activate Assistant App Integration
After accessing your system settings menu, you’ll need to activate the specific voice assistant app that powers your remote’s voice commands.
Look for options labeled “voice control” or “assistant integration” within your system settings. Install and activate the required voice assistant app, such as Google Assistant, to enable voice functionality.
Confirm your TV maintains a stable internet connection, as these features require online access to process commands effectively.
You may need to link your personal account to the voice assistant for customized functionality. Follow the on-screen prompts to sign in when prompted.
Once activation is complete, test the setup by pressing and releasing the mic button on your remote. Speak a simple command to verify proper voice recognition and response functionality.
Configure TV Control Functions and Brand-Specific Settings

Several steps will guide you through configuring TV control functions and brand-specific settings on your voice remote. The process guarantees your remote can properly communicate with your specific TV model and execute commands effectively.
To configure TV control functions, follow these essential steps:
Proper TV control configuration requires following precise steps to ensure seamless communication between your voice remote and television.
- Navigate to “Settings,” select “Remote & devices,” then choose “Set up TV controls” to begin the configuration process.
- Select your TV brand from the provided list to guarantee correct signal compatibility for power and volume adjustments.
- Follow on-screen instructions carefully, testing controls to confirm successful TV function operation.
- For Fios remotes, access “Menu,” select “Settings,” then “Voice control,” and choose “Program Voice Remote” for brand-specific settings.
After programming, test volume and power controls while ensuring infrared signals remain unobstructed for peak performance.
Test Voice Commands and Microphone Button Operation
Once you’ve configured your remote’s TV control functions, testing voice commands and microphone button operation guarantees your device responds accurately to spoken instructions.
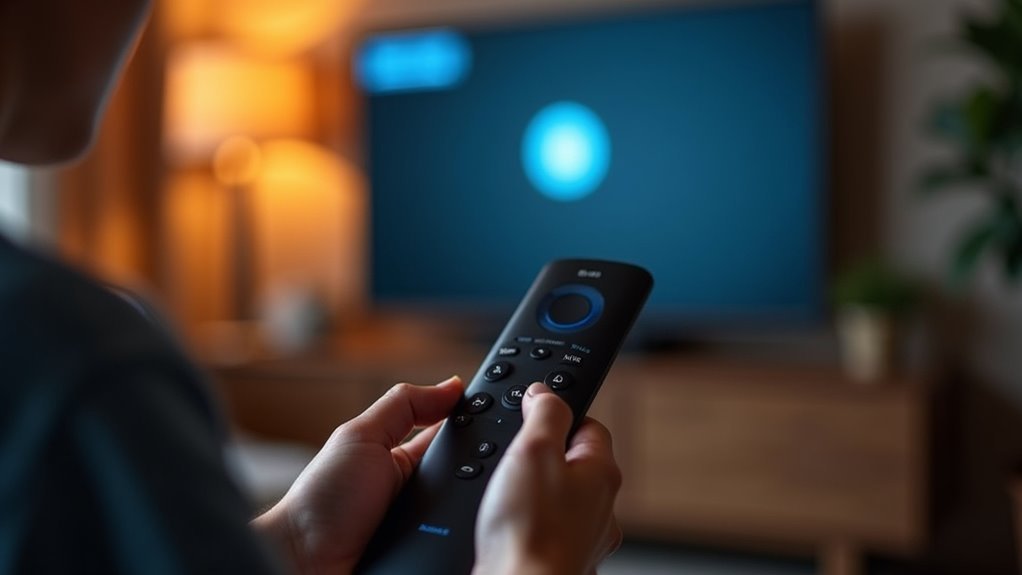
Press and hold the Mic button while positioning yourself about 12 inches from the remote for ideal clarity. Watch for the blue light to flash, confirming the remote’s actively listening. Test voice commands using specific phrases like “What’s on tonight?” or “Play [show name]” to verify proper recognition and execution.
Ensure your remote has fresh batteries and maintains proper pairing, as low power affects microphone functionality. If the blue light stays on or doesn’t respond correctly, check for obstructions and aim the remote directly at your TV.
This systematic testing confirms your voice remote operates reliably.
Troubleshoot Common Setup Issues and Signal Problems
When your voice remote encounters setup difficulties or signal transmission problems, identifying the root cause requires a systematic approach to common troubleshooting steps.
Start with fundamental hardware checks to guarantee ideal signal performance:
- Check battery status – Install fresh batteries properly and watch for low battery notifications on your screen to prevent pairing and signal issues.
- Clear line of sight – Remove any obstacles between your remote and TV or streaming device that could block signal transmission.
- Restart your device – Reboot your Roku or Fios TV One when the remote becomes unresponsive, as this often resolves connectivity problems.
- Verify pairing distance – Stay within recommended range and press the pairing button correctly for the required duration during setup attempts.
Frequently Asked Questions
How Do I Pair the Voice Command Remote Control to My TV?
You’ll need to insert fresh batteries, then press and hold the pairing button for 3-5 seconds until the light flashes. Follow the on-screen prompts that’ll appear on your TV.
How to Set a Voice Remote?
You’ll need to insert fresh batteries and press the pairing button for 3-5 seconds until it flashes. Wait for the on-screen confirmation, then access settings to configure your specific TV brand.
How Do I Set up Voice Control on My Smart TV?
Connect your smart TV to the internet, access settings to find “Voice Control,” pair your remote following on-screen instructions, configure your preferred voice assistant, then test commands using the mic button.
How Do I Use Voice Control on My Fetch Remote?
Press and hold the voice button on your Fetch remote while speaking clearly. Keep the remote about 12 inches away and use natural language commands to search shows or control playback functions.


Leave a Reply