Looking to add voice control to your DIY projects? You can build seven impressive gadgets: a basic Arduino lamp, smart desk lamp with AI recognition, VoicePuck mini assistant, voice-controlled robotic arm, custom coffee maker, portable music player, and multi-room command relay system. These projects use microcontrollers like Arduino or ESP32 with voice recognition modules for hands-free operation. Start with simpler builds to master fundamentals before tackling advanced features. The following projects will transform how you interact with technology in your home.
Basic Voice-Controlled Lamp With Arduino

While many commercial smart home products offer voice control features, building your own voice-activated lamp with Arduino provides a rewarding way to understand the technology behind these systems.
You’ll need an Arduino board, a voice recognition module like Elechouse V3.1, a relay module, and basic wiring components. The relay safely isolates your Arduino from high-voltage lamp circuits, preventing electrical hazards.
Using Arduino IDE, you’ll program the microcontroller to recognize specific voice commands and trigger the relay accordingly. The voice module can typically store 7-10 offline commands, ensuring privacy and faster response times compared to cloud-based solutions.
Local voice command processing offers greater privacy and responsiveness than sending your data to the cloud.
For best results, train your voice commands in a quiet environment and consider housing your components in a protective enclosure. Smart speakers like Amazon Echo use a wake word to activate listening mode before processing commands.
This project teaches valuable skills in circuit design, programming, and embedded systems.
Smart Desk Lamp With AI Command Recognition
You’ll need to choose a microcontroller like Arduino UNO as the brain of your smart desk lamp project.
For voice recognition capabilities, connect specialized hardware such as a dedicated speech recognition module that can interpret your spoken commands.
Programming custom voice commands requires writing conditional logic in your Arduino code that maps specific spoken phrases to corresponding lamp functions.
The project includes WS2812B LED strips for creating customizable lighting effects that respond to your voice commands or music.
Microcontroller Selection Process
The heart of any voice-activated smart desk lamp lies in selecting the right microcontroller—a decision that will determine your project’s success or failure.
You’ll need to balance several critical factors before making your choice.
First, assess your power requirements. If you’re building a battery-operated lamp, consider low-power options like STM32L4 or Cortex-M0+ MCUs. For computational needs, verify your microcontroller offers at least 40-50MHz clock speed and 80KB RAM to handle voice recognition models. Ensure your selected MCU can deliver effective voice recognition while maintaining power consumption in the milliwatt range.
The Arduino ESP32 provides an excellent balance of performance and connectivity, while Raspberry Pi Pico offers good value for moderate processing demands.
Check that your selection includes sufficient ADC capabilities for microphone input and enough GPIO pins for controlling your lamp’s features.
Don’t overlook RTOS support and energy-saving modes—they’ll maximize your lamp’s responsiveness and battery life.
Voice Recognition Hardware
Selecting the right voice recognition hardware forms the foundation of any smart desk lamp project.
You’ll need to choose between offline modules like Elechouse VR (supporting up to 80 commands without internet) or cloud-based solutions like Google AIY Voice Kit that leverage powerful AI assistants.
For ideal voice capture, consider ReSpeaker’s far-field microphone arrays or MEMS microphones that offer superior noise suppression. Look for components that support integration with voice control functions like on/off, color temperature, and brightness adjustment capabilities.
- Imagine controlling your workspace lighting with just your voice, no more fumbling for switches in the dark during late-night work sessions.
- Feel the satisfaction of building a truly personalized assistant that responds only to your custom wake word.
- Experience the pride of showing friends a smart lamp that understands commands from anywhere in your room.
Custom Command Programming
Programming custom commands for your smart desk lamp requires mastering both the technical fundamentals and creative possibilities of voice recognition software.
You’ll need to choose appropriate speech recognition platforms like Azure Cognitive Services to build your command infrastructure.
Python is typically your best bet for scripting these commands, allowing you to connect your lamp to various APIs and voice assistants. Tools like TAZTI and Serenade can simplify development considerably.
When implementing commands, leverage pre-built voice command libraries to accelerate your progress. For enhanced functionality without internet dependency, consider using the VC-02 Kit which enables completely offline voice command processing.
For ideal results, incorporate Natural Language Processing and machine learning algorithms that improve recognition accuracy over time. This allows your lamp to respond more intuitively to your spoken instructions.
As you build your system, focus on creating commands that feel natural while providing precise control over brightness levels and power functions.
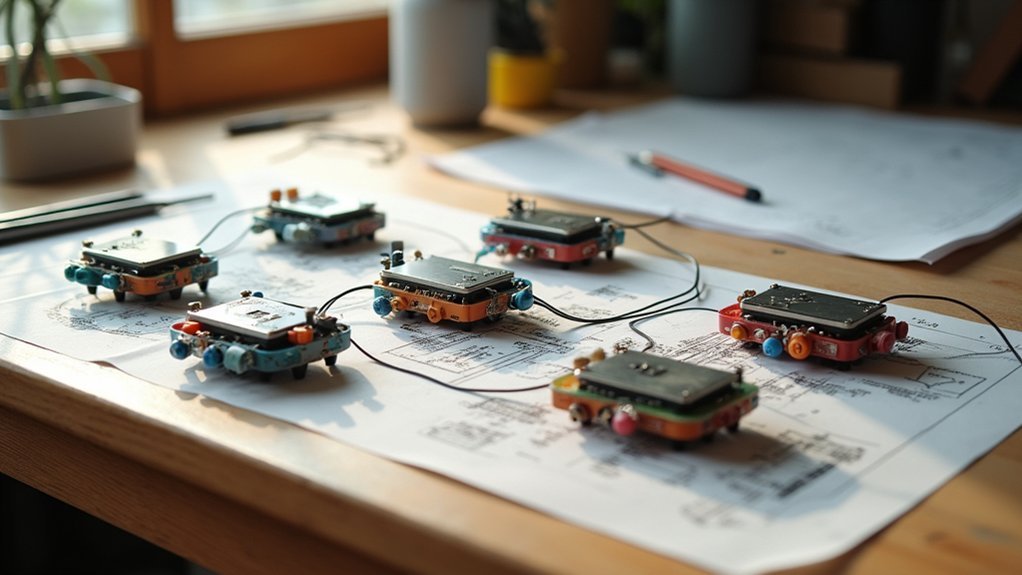
DIY VoicePuck Mini Assistant for Home Control
You’ll need the ESP32-S3-powered VoicePuck hardware with its dual microphones and XMOS audio processor to begin your home automation journey.
Setting up voice recognition is straightforward with the plug-and-play integration to Home Assistant, which auto-discovers the device on your network and guides you through configuration.
You can program custom voice commands to control everything from climate systems to lighting through the open-source firmware, taking advantage of the device’s physical expansion options like the Grove port for additional sensors. Similar to MINI’s voice assistant, the VoicePuck enables hands-free operation for convenient control of your smart home features.
Hardware Components Needed
To build your own DIY VoicePuck Mini Assistant, you’ll need to gather several key hardware components that work in harmony to create a responsive voice-controlled device.
Start with a Raspberry Pi 3 Model B or newer as your central brain, though a Pi Zero W works for simpler projects. Pair this with quality audio hardware: a 2″ speaker, mono amplifier with shutdown capability, and microphone module. Alternatively, you could use the ESP32-S3-BOX for better stability, as implemented in Version 2 of the VoicePuck project.
- The thrill of bringing dormant electronic parts to life as they transform into your personal AI assistant
- The satisfaction of conquering the hardware hunt, tracking down rare components on eBay or maker marketplaces
- The pride of seeing your custom-designed enclosure perfectly house your creation
Don’t forget power supplies, connection hardware, and sensors for expanded functionality.
Voice Recognition Setup
With your hardware components assembled, the real magic begins in setting up the voice recognition system for your DIY VoicePuck Mini Assistant.
You’ll need to configure Home Assistant’s voice pipeline with four essential elements: conversation agent, speech-to-text (Whisper), text-to-speech (Piper), and wake word detection (Open Wake Word).
Generate a secure token in your Home Assistant profile settings to authorize the connection between your VoicePuck and server. This protects your voice data during transmission.
Configure voice activity detection (VAD) to effectively process commands—”web RTC vad” works well for low-power devices like Raspberry Pi.
Fine-tune your microphone settings for maximum sensitivity and adjust noise suppression parameters to enhance recognition accuracy. This setup allows you to trigger home automations with custom wake words like “Oken NAU” or “Hey Jaras.”
Remember to clean build files before compiling to prevent system stalls and guarantee stable performance.
Custom Command Programming
Custom command programming forms the heart of your DIY VoicePuck Mini Assistant, transforming it from a simple voice recorder into a powerful home automation controller.
Using trigger words and area-based commands in Home Assistant’s YAML configuration, you’ll create tailored interactions for different rooms. Set up request and response sensors to track commands and provide feedback through your LEDs when commands are processed. You can create automation setup for specific trigger phrases like what time is it to control functionality.
- Freedom in your hands – Create completely personalized commands that respond exactly how you want, without corporate limitations
- Privacy guaranteed – Process everything locally, keeping your voice data in your home where it belongs
- Endless possibilities – Expand functionality by integrating with APIs, custom sensors, and home automation systems
Define custom templates to handle complex commands, giving your assistant the intelligence to understand context and deliver the right response every time.
Voice-Activated Robotic Arm for Your Workspace
Five key components form the foundation of any voice-activated robotic arm system for your workspace.
You’ll need an Arduino Uno microcontroller, servo motors (like s3003 or mg90s), a robotic arm kit (OWI arms cost around $55-60), a Bluetooth module (HC-05/HC-06), and a power supply.
Assembly involves attaching servos to acrylic sheets, connecting jumper wires, and setting up the electrical components.
Once built, you’ll control the arm using smartphone apps that send voice commands via Bluetooth.
Your arm can execute commands like “up,” “down,” and “grip,” allowing hands-free manipulation.
While challenges exist with recognition accuracy and payload capacity, you’ll enjoy the flexibility of wireless operation.
Future upgrades can enhance motion smoothness and expand your command vocabulary as you customize the system to incorporate optical mouse sensors for improved positioning feedback, as suggested by the robotics community.
Custom Voice-Controlled Coffee Maker
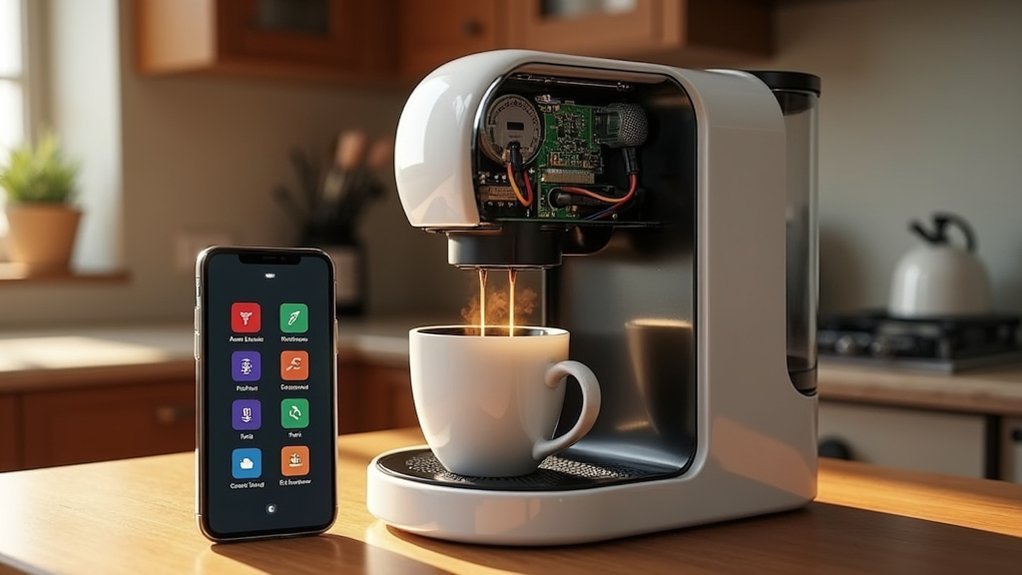
A modern coffee maker with voice-control capability transforms your morning routine by eliminating physical contact with buttons and dials.
Using components like Arduino Nano or PSoC microcontrollers paired with MEMS microphones, you’ll build a system that recognizes commands for different coffee types and customizations.
The heart of your voice-controlled coffee system lies in clever microcontrollers and sensitive microphones that translate your caffeine wishes into morning reality.
Your DIY coffee maker can incorporate servo motors and relay modules to control existing machine functions, while proximity sensors prevent spills. This innovative setup can be enhanced with an OLED display for visual feedback about your selected beverage and preparation status.
Voice recognition software processes commands through embedded AI or platforms like Picovoice, mapping your requests to specific brewing actions.
- Wake up to the aroma of freshly brewed coffee just by speaking your preference
- Impress friends with your personal barista that remembers exactly how you like your latte
- Free your hands for multitasking while your perfect cup prepares itself
Portable Voice-Activated Music Player
Building your own portable voice-activated music player offers the same hands-free convenience as your voice-controlled coffee maker, but with entertainment on the go.
The Arduino Uno paired with a MOVI shield forms the ideal foundation for voice recognition. You’ll need a DFPlayer Mini module for audio playback—it communicates with Arduino via UART and connects directly to speakers.
Include push buttons as manual backups for voice commands. For best performance, train the system to recognize specific commands like “play,” “pause,” and individual song titles. The system can be programmed to respond only to a key phrase like “Play song” while ignoring other commands.
Store your music on a microSD card and consider adding a small LCD display for visual feedback. Power your creation with a rechargeable battery and house everything in a compact enclosure.
Add Bluetooth functionality if you want wireless control from your phone.
Multi-Room Voice Command Relay System
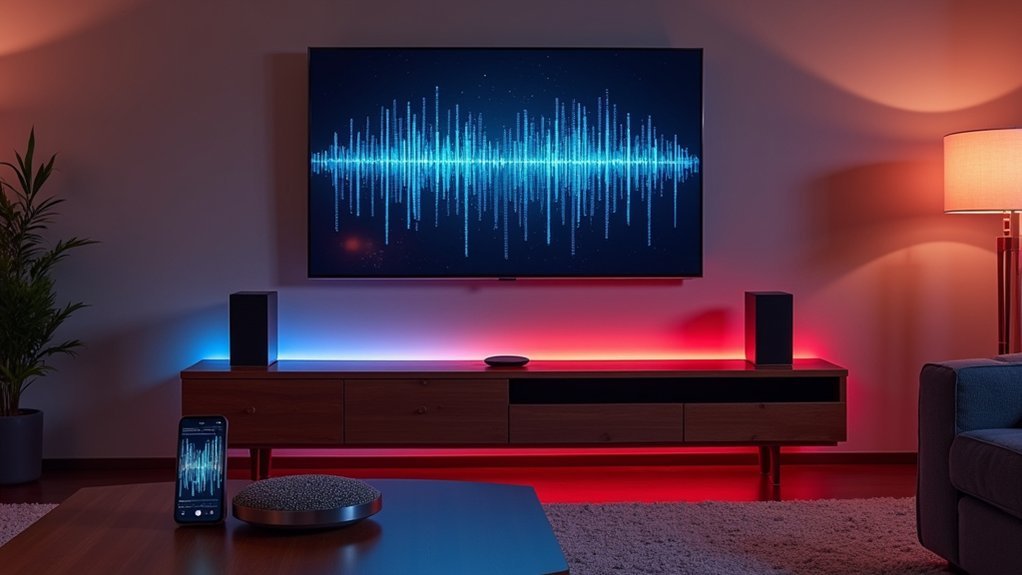
Creating a multi-room voice command relay system lets you control devices throughout your home with simple vocal instructions. Connect a Raspberry Pi or Arduino as your central controller to relay modules rated for household appliances, then add voice recognition through open-source APIs. This setup provides extensive benefits, especially for elderly and disabled individuals who may have difficulty manually operating devices.
You’ll need 5V/12V power supplies and appropriate wiring with screw terminals for easy installation.
- Feel the rush of power as lights, fans, and appliances respond instantly to your voice from any room
- Experience the freedom of controlling your environment hands-free while cooking, relaxing, or entertaining guests
- Enjoy the satisfaction of building a custom smart home solution for under $100 that rivals commercial systems costing much more
Frequently Asked Questions
How Can I Prevent False Activations of Voice-Controlled Devices?
You can prevent false activations by using spatial filtering, implementing anti-spoofing algorithms, setting up multi-factor authentication, and keeping software updated. Position devices away from noise sources and customize your wake word sensitivity settings.
What Microphones Work Best in Noisy Household Environments?
In noisy households, you’ll want dynamic microphones like the Shure SM58 or SM7B. They’re less sensitive to background noise than condensers. Choose cardioid patterns and position them close to your mouth for best results.
How Much Power Do These DIY Voice Gadgets Typically Consume?
Your DIY voice gadgets typically consume 50-100mA while idle and more when active. You’ll see lower power usage with event-based designs using VAD technology instead of always-on processing, extending battery life considerably.
Can These Projects Recognize Multiple Languages or Accents?
Yes, your DIY voice projects can recognize multiple languages and accents. You’ll need to use APIs with multilingual support and may need to train models on diverse datasets for better accent recognition.
What Security Measures Protect Voice-Activated Devices From Unauthorized Access?
Your voice-activated devices are protected by voice recognition, multi-factor authentication, strong passwords, encryption, and regular updates. You’ll want to implement access control lists and avoid using voice commands for high-security functions.
In Summary
You’ve now got all the tools you need to bring voice control into your home through DIY projects. Whether you’re starting with a simple lamp or building a whole-house command system, you’ll find these projects both satisfying and practical. Don’t worry if you’re new to electronics—start small and work your way up. Soon you’ll be controlling your environment with nothing but your voice!


Leave a Reply