You’re probably thinking water leak detection sounds complicated, but connecting these sensors to Alexa is actually straightforward once you know the right steps. Whether you’re using a SwitchBot detector, SmartThings hub, or third-party device, the setup process varies greatly depending on your chosen method. Most people make critical mistakes during the initial pairing that prevent proper alerts from reaching their phones when disaster strikes.
Essential App Requirements and Version Compatibility
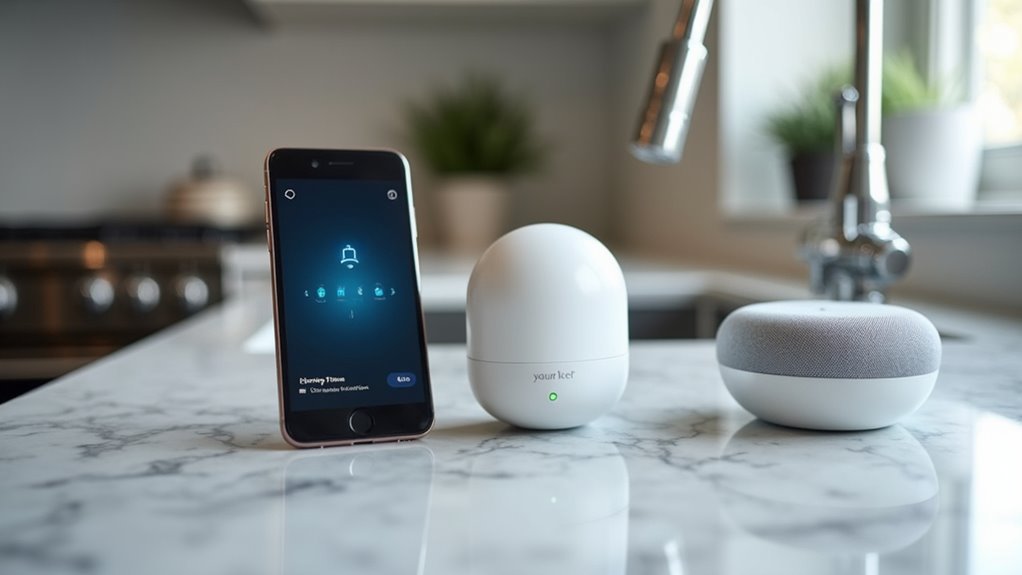
Before you can integrate your SwitchBot Water Leak Detector with Alexa, you’ll need to assure your SwitchBot App is running version 8.1 or newer. This SwitchBot App version assures full compatibility with the Water Leak Detector’s features and prevents integration issues.
First, check your current app version in your device’s app store. If you’re running an older version, update immediately to access the latest compatibility improvements.
Once you’ve confirmed the proper SwitchBot App version is installed, verify that your SwitchBot Water Leak Detector appears in the app’s device list.
The device must be successfully added to your SwitchBot App before attempting Amazon Alexa integration. Without proper app setup and version compatibility, the linking process between your SwitchBot Water Leak Detector and Amazon Alexa won’t function correctly.
SwitchBot Water Leak Detector Initial Setup
With your SwitchBot App properly updated, you can now begin the initial setup process for your Water Leak Detector. This vital step establishes the foundation for your smart home protection system.
First, add your SwitchBot Water Leak Detector to the SwitchBot App following the standard pairing procedure. Once connected, verify that the device responds properly and shows active status within the app interface.
Next, prepare for Amazon integration by accessing your detector’s settings. Navigate to the gear icon and locate Cloud Services. Enable “Amazon Alexa” functionality to establish the connection bridge.
- Peace of mind knowing your home is protected 24/7
- Instant alerts preventing costly water damage disasters
- Smart automation through customizable Alexa Routine triggers
This setup guarantees seamless communication between your detector and Alexa ecosystem.
Method 1: Alexa App Integration Process
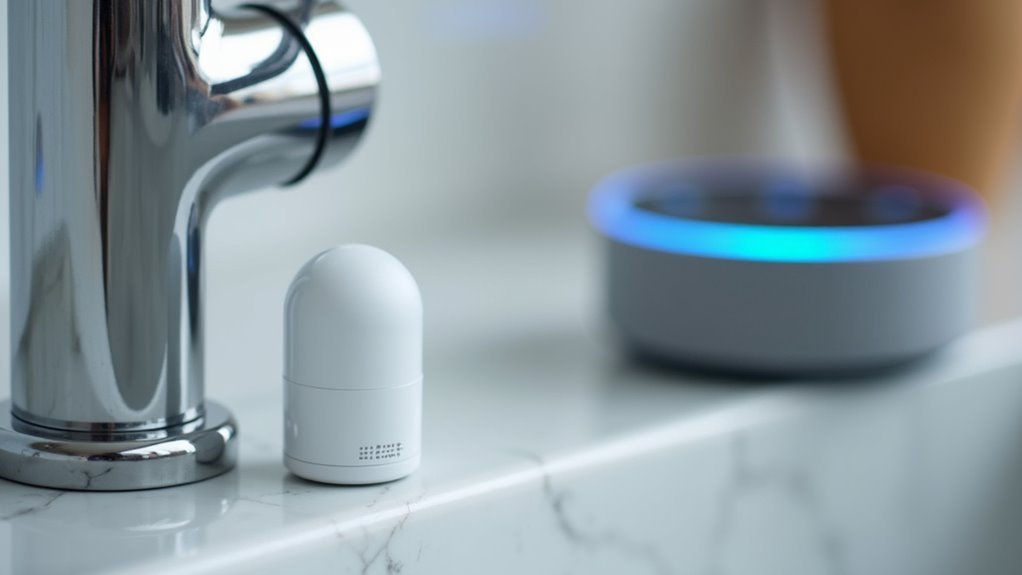
| Step | Action | Result |
|---|---|---|
| 1 | Search SwitchBot skill | Skill appears in results |
| 2 | Enable skill | Account linking prompt |
| 3 | Link accounts | Device recognition |
Follow the prompts to link your SwitchBot account with Amazon. Your SwitchBot Water Leak Detector will appear as a contact sensor in Alexa, enabling you to create custom routines for leak detection alerts and notifications.
Method 2: SwitchBot App Integration Process
You can also integrate your SwitchBot Water Leak Detector with Alexa directly through the SwitchBot App instead of using the Alexa app.
This method requires you to set up the SwitchBot App first, then link your Amazon account through the app’s cloud services feature.
The process involves accessing your device settings and establishing the connection between both platforms for seamless voice control.
SwitchBot App Setup
Alternative integration occurs through the SwitchBot App itself, offering a streamlined approach for users who prefer managing their smart home devices from a single interface.
You’ll begin by launching the SwitchBot App and logging into your account. Next, locate your Water Leak Detector in the device list and tap the gear icon for settings access.
Within the settings menu, navigate to “Cloud Services” and select “Amazon Alexa” to begin linking your accounts. You’ll enter your Amazon credentials when prompted, establishing the connection needed for voice control functionality.
- Peace of mind knowing your home’s protected even when you’re away
- Instant alerts that could save thousands in potential water damage
- Effortless voice commands through your custom Alexa Routine for immediate status updates
Amazon Account Linking
Once you’ve accessed the Cloud Services section within your SwitchBot App settings, the Amazon account linking process becomes straightforward and secure.
Tap on “Amazon Alexa” to begin establishing the connection between your Water Leak Detector and Alexa’s ecosystem. The system will prompt you to enter your Amazon login credentials, which authenticates your account and creates a secure bridge between the SwitchBot App and your existing Alexa setup.
After entering your credentials successfully, the linking completes automatically. Your Water Leak Detector will now appear as a recognized device within your Alexa App’s smart home devices list.
This integration enables voice commands and allows you to incorporate your water sensor into custom automation routines, providing seamless control over your home’s leak detection system through Amazon Alexa.
SmartThings Water Leak Sensor Hub Configuration
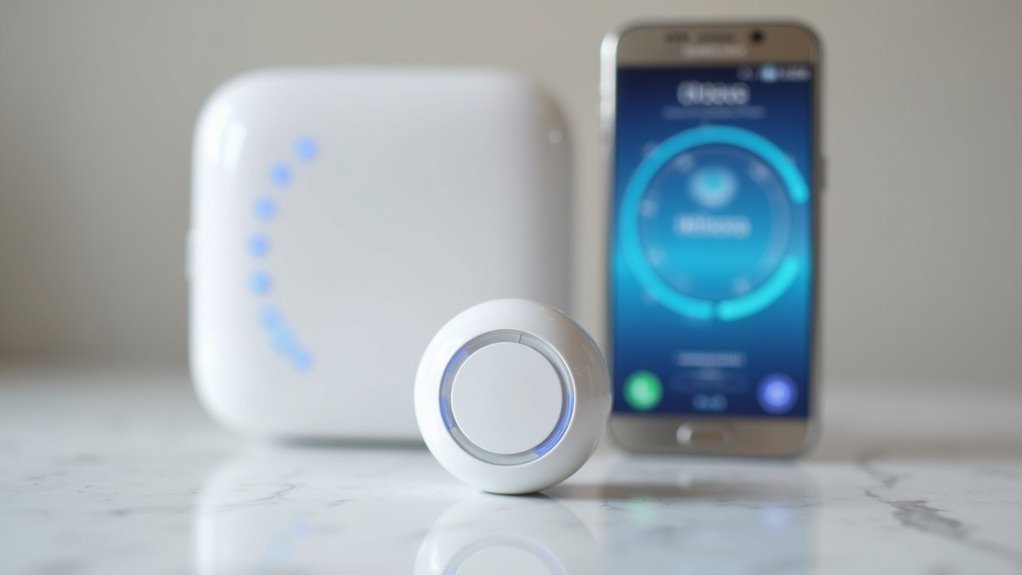
Since the SmartThings Water Leak Sensor relies on Zigbee technology, you’ll need either a SmartThings Station hub or an Aeotec hub to establish connectivity.
Without proper hub integration, your Water Leak Sensor becomes completely non-functional, leaving your home vulnerable to costly water damage.
Both hub options support vital protocols for Alexa integration, though they differ in capabilities.
The SmartThings Station supports Zigbee, Thread, and Matter protocols, while the Aeotec hub additionally includes Z-Wave support for broader device compatibility.
Consider these significant factors when selecting your hub:
- Peace of mind: Proper configuration guarantees 24/7 water monitoring protection
- Convenience: Seamless Alexa voice control lets you check sensor status instantly
- Prevention: Early leak detection saves thousands in potential repair costs
Choose the hub that best matches your existing smart home ecosystem.
Creating Virtual Contact Sensors for Advanced Integration
While Alexa doesn’t directly recognize water leak sensors as routine triggers, you can bypass this limitation by creating virtual contact sensors in SmartThings that act as intermediaries.
These software-based devices change states from open to close when activated, enabling your water leak sensor to trigger Alexa routines indirectly.
To set this up, create a SmartThings routine linking your water leak sensor’s output to the virtual contact sensor. When the leak sensor detects water, it’ll trigger the virtual device to change states.
This state change can then activate your Alexa routines for notifications or other smart device actions.
Ensure your SmartThings and Alexa accounts are properly linked for seamless communication.
Test your configuration regularly and adjust settings as needed to maintain reliable leak detection performance between platforms.
YoLink Water Sensor Installation and App Setup
Installing your YoLink Water Sensor requires just a few straightforward steps to get extensive leak protection up and running. First, power on your Water Leak Detector by pressing the SET button until the LED flashes red then green.
Download the YoLink App from Google or Apple stores and create your account for seamless setup.
Getting started is simple – just download the YoLink App from your device’s app store and set up your new account.
Place your sensor on the floor with the cupped part facing up in leak-prone areas like near water heaters or HVAC units. Test functionality using a damp paper towel to confirm proper detection.
- Sleep peacefully knowing your home’s protected from costly water damage 24/7
- Receive instant alerts the moment leak sensors detect even minor water presence
- Prevent thousands in potential flood damage with early detection technology
Verify your sensor shows “Normal” status and maintains cloud connectivity for real-time notifications.
Optimal Sensor Placement Strategies
You’ll maximize your water leak sensor’s effectiveness by positioning it in critical detection zones where water damage typically starts.
Each appliance in your home requires specific sensor placement strategies to catch leaks before they become costly disasters.
Your water heater, HVAC system, sump pump, and other water-using equipment need tailored positioning approaches for ideal protection.
Critical Detection Zones
Although water damage can strike anywhere in your home, strategic sensor placement in high-risk areas dramatically increases your chances of catching leaks before they become costly disasters.
Critical zones for your SwitchBot Water Leak Detector include areas under sinks, near water heaters, and basements where water naturally flows and pools. Position water sensors on floors with cupped parts facing up to detect accumulation effectively.
For HVAC systems, place sensors in condensate pans or near overflow spots to catch early condensation leaks.
Larger areas benefit from multiple sensors or Water Leak Sensor 2 models that can encircle vulnerable spots like sump pumps.
- Your family’s safety depends on early leak detection
- Thousands in water damage can be prevented with proper placement
- Peace of mind comes from knowing you’re protected 24/7
Appliance-Specific Positioning
Major household appliances create unique leak patterns that require tailored sensor positioning for maximum protection.
For water heaters, you’ll want to position your leak detector at the base where problems typically originate, preferably on sloped flooring that directs water toward drains.
Place sensors in condensate pans or near air conditioning units’ floors to catch overflow and condensation issues effectively.
When monitoring sump pumps, situate the sensor within the dry sump or along its edge for quick water accumulation detection.
For aquariums, install your detector on the floor behind tanks to capture leaks from both the tank and filtration equipment.
Consider using Water Leak Sensor 2 models to encircle larger appliances, providing extensive coverage against potential incidents.
Setting Up Alexa Routines for Water Leak Alerts
Once your SwitchBot Water Leak Detector connects to both the SwitchBot App and Amazon Alexa App, you can create automated routines that instantly notify you of potential water damage.
Launch your Alexa App and navigate to “Routines,” then tap the “+” icon to create your new routine. Under Smart Home actions, select your Water Leak Detector and set the condition to “Open” for leak detection triggers.
Customize Alexa’s response by selecting “Alexa Says” and entering your personalized alert message. Finally, choose your output device like an Echo Dot or Echo Show.
- Peace of mind knowing you’ll be instantly alerted to potential flooding
- Protection of your valuable belongings and home from costly water damage
- 24/7 monitoring even when you’re away from home
Customizing Voice Notifications and Responses
While the basic alert functionality provides essential leak detection, you’ll want to personalize your voice notifications to match your specific needs and preferences. To customize voice notifications for your SwitchBot Water Leak Detector in your Leak Detector Alexa Setup, create a new routine with “Alexa Says” as the action, then enter your desired response message.
| Routine Component | Setting | Purpose |
|---|---|---|
| Event Condition | “Open” | Triggers when leak detected |
| Action Type | “Alexa Says” | Enables custom voice response |
| Output Device | Echo Dot/Show | Selects notification location |
| Message Content | Custom text | Personalizes alert information |
| Timing Order | Adjustable | Controls notification sequence |
When configuring the routine, use “Open” as the event condition since the water leak detector functions as a contact sensor. Select your preferred Echo device for output location and test your setup by simulating a water leak to verify proper functionality.
Troubleshooting Common Connection Issues
When your SwitchBot Water Leak Detector won’t show up in Alexa or stops responding to voice commands, you’re likely dealing with device recognition problems that stem from connectivity or integration issues.
App sync failures between the SwitchBot and Alexa platforms can also prevent your detector from functioning properly, leaving you without the voice notifications you’ve set up.
Let’s examine the most effective solutions for getting your water leak detection system back online and responding to Alexa commands.
Device Recognition Problems
Several factors can prevent your SwitchBot Water Leak Detector from appearing in Alexa’s device list. Device recognition issues often stem from outdated app versions or incomplete account linking between your SwitchBot App and Alexa App.
First, verify you’re running SwitchBot App version 8.1 or newer, as older versions can’t properly communicate with Alexa. Next, confirm your Amazon Alexa App is correctly linked to your SwitchBot account through the Cloud Services section.
Check these critical steps:
- Confirm LED indicators are functioning – No lights mean connection failure
- Review connection status in both apps – Mismatched statuses indicate communication problems
- Reset and re-link your device – This resolves most stubborn recognition issues
If connectivity problems persist, the reset-and-relink process typically restores proper device recognition.
App Sync Failures
App synchronization failures between your SwitchBot Water Leak Detector and Alexa often occur when the devices can’t maintain consistent communication.
When experiencing app sync failures, first check your connection status in both the SwitchBot App and Amazon Alexa App. Ascertain you’re running the latest versions, with the SwitchBot App being version 8.1 or newer to prevent compatibility issues.
Test your water leak detector directly in the SwitchBot App to confirm it’s responsive before troubleshooting the Alexa connection.
Verify that your device is properly configured within the SwitchBot App first. If synchronization problems persist after checking these basics, contact us via SwitchBot support through the app for specialized troubleshooting guidance and access to help articles addressing common connection problems.
Third-Party Device Alternatives and Compatibility
While Amazon doesn’t manufacture dedicated water leak sensors, you’ll find numerous third-party device alternatives that integrate seamlessly with Alexa through different protocols and connectivity methods.
SmartThings Water Leak Sensors work excellently but require a SmartThings or Aeotec hub for Zigbee compatibility. Since these sensors can’t directly trigger an Alexa Routine, you’ll need to create virtual contact sensors in SmartThings as workarounds.
Wi-Fi water sensor options eliminate hub requirements entirely, offering straightforward leak detection without complex setup procedures. You can enhance your system by adding smart plugs that automatically respond to leak alerts through SmartThings integration.
- Protect your home from costly water damage with reliable detection systems
- Gain peace of mind knowing you’ll receive instant leak notifications
- Save thousands by preventing catastrophic flooding scenarios
Community forums provide invaluable guidance for integrating various third-party sensors effectively.
Testing and Maintenance Best Practices
You’ll need to test your water leak sensor regularly to guarantee it’s working when you need it most.
Check the sensor’s status in your app monthly to confirm it shows “Normal,” and perform a quick functional test by touching the electrodes with a damp paper towel.
Replace the batteries on schedule using fresh alkaline or lithium non-rechargeable batteries to maintain reliable performance.
Regular Sensor Testing
Nothing beats the peace of mind that comes from knowing your water leak sensor works when you need it most.
Regular testing guarantees your Water Leak Detector responds properly when water’s detected. You’ll want to touch the sensor’s electrodes with a damp paper towel to simulate a leak condition.
After testing, check the SwitchBot App to verify the sensor registers the alert and shows proper functionality.
Once you’ve confirmed detection works, completely dry the sensor to maintain its watertight design and prevent false alarms. The app should display “Normal” status after drying, indicating everything’s working correctly.
- Protect your home from thousands in water damage
- Sleep soundly knowing you’ll get instant alerts
- Save money on insurance claims and repairs
Battery Replacement Schedule
Because your water leak detector depends entirely on battery power, establishing a consistent replacement schedule prevents unexpected failures during critical moments. Your SwitchBot Water Leak Detector requires new alkaline or lithium non-rechargeable batteries every 6 to 12 months for peak functionality.
| Battery Type | Replacement Frequency | Performance Notes |
|---|---|---|
| Alkaline | 6-8 months | Standard performance |
| Lithium | 10-12 months | Extended life |
| Mixed (old/new) | Avoid | Performance issues |
| Rechargeable | Not recommended | Device incompatibility |
Don’t wait for low battery notifications—they’re warning signs you’re cutting it close. After replacement, test functionality by touching electrodes with a damp paper towel. Make sure the bottom shell and rubber pads are tightly secured to maintain watertight design. Regular app status checks confirm your sensor remains operational.
Advanced Automation and IFTTT Integration
While basic leak detection provides essential alerts, integrating your SwitchBot Water Leak Detector with IFTTT (If This Then That) transforms it into a powerful automation hub that can trigger multiple smart home responses simultaneously.
You’ll create customized applets that automatically send phone alerts, shut off smart plugs, or activate an Alexa Routine when water’s detected.
Setting up IFTTT requires connecting your SwitchBot account and other smart devices, enabling seamless communication between them. You can design multiple applets for varied responses based on leak severity.
- Never worry about coming home to flood damage – your smart home responds instantly
- Sleep peacefully knowing your basement’s protected even when you’re away
- Feel confident your valuable belongings are safeguarded 24/7
Remember to regularly update your applets for peak performance.
Frequently Asked Questions
How to Install a Water Leak Detection System?
Install a compatible water leak detector by powering it on through the SET button, downloading the SwitchBot App, placing sensors near water sources, and connecting to Alexa for automated alerts.
How to Set up a Yolink Water Sensor?
Press the SET button to turn on your YoLink sensor until the LED flashes red then green. Download the YoLink App, create an account, and place the sensor cupped-side up on your floor.
How Much Does It Cost to Install a Water Leak Detection System?
You’ll spend $50-$150 per sensor for basic systems, plus $200-$600 for professional installation. Smart detectors cost $100-$300 each. Add $20-$50 annually for maintenance, but you’ll avoid potential $2,000-$10,000 water damage costs.
How to Reset a Water Leak Detector?
To reset your water leak detector, locate the SET button and hold it for 20-30 seconds until the LED blinks red and green. Release when flashing stops to complete the reset.


Leave a Reply