You’ve probably experienced that frustrating moment when your carefully planned lighting setup doesn’t match the day’s actual weather conditions. Your outdoor shoot looks flat under overcast skies, or your indoor scenes feel disconnected from the natural atmosphere just outside your windows. Weather-driven lighting systems can automatically adapt to these changing conditions, but getting the setup right requires understanding how environmental data translates into practical lighting decisions that enhance your creative vision.
Understanding Natural Light Patterns and Weather Triggers

When you’re planning photography sessions, understanding how natural light transforms throughout the day becomes your foundation for capturing compelling images.
Natural light patterns shift dramatically from harsh midday sun to the coveted golden hour that occurs shortly after sunrise and before sunset. This warm-toned lighting creates ideal conditions for portrait and landscape photography.
The blue hour follows during twilight, offering balanced ambient light perfect for cityscapes.
Blue hour’s balanced twilight illumination transforms urban landscapes, creating that perfect sweet spot between day and night for stunning cityscape photography.
Weather conditions markedly impact your lighting opportunities. An overcast sky acts as nature’s softbox, diffusing harsh shadows and creating soft light that’s excellent for portraits.
Misty mornings and foggy evenings enhance depth and atmosphere in your compositions.
Even rainy weather provides unique reflection opportunities, especially when combined with blue hour lighting for dramatic results.
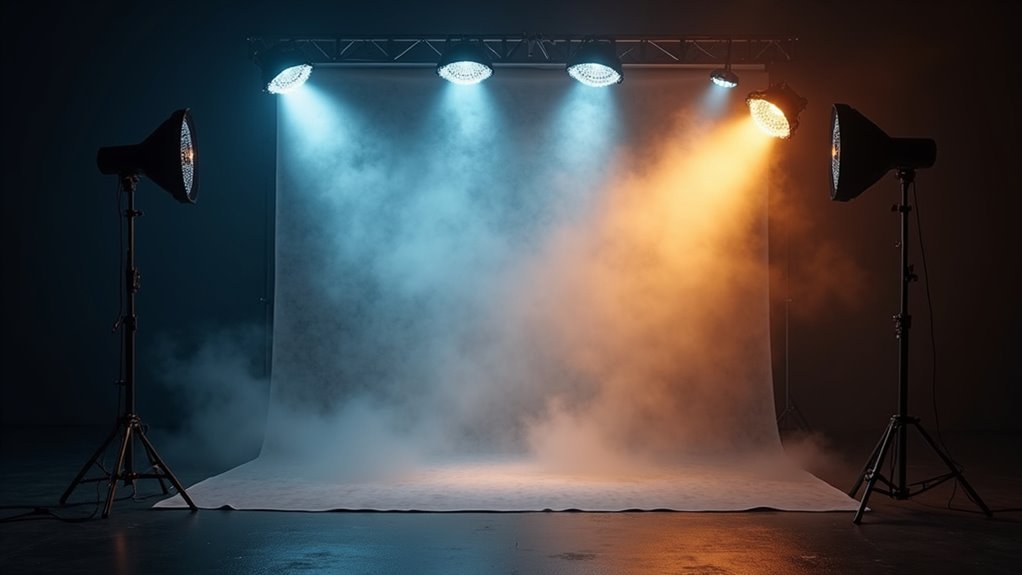
Essential Equipment for Weather-Responsive Lighting Systems
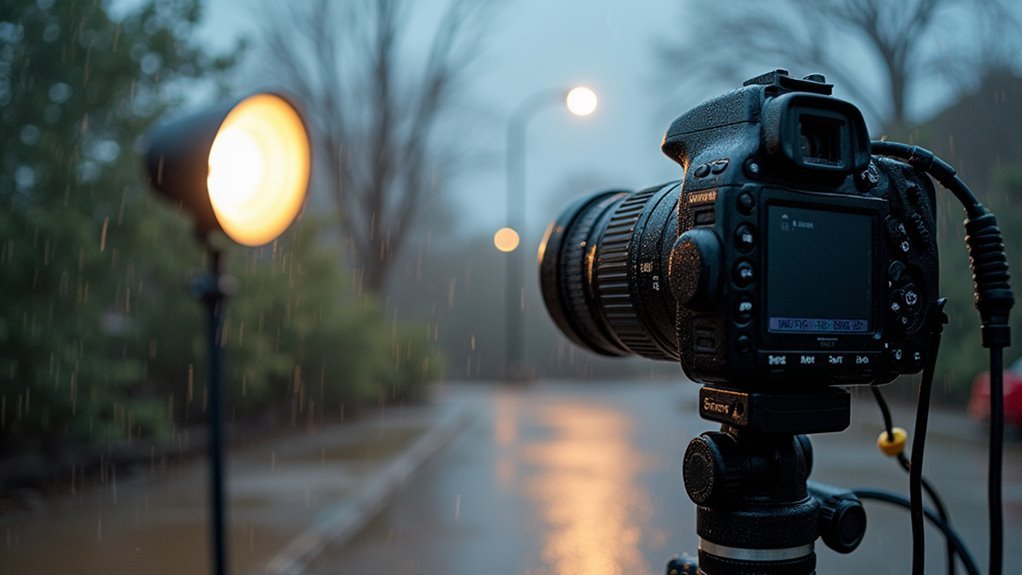
While natural light provides the foundation for weather-driven photography, you’ll need specialized equipment that can adapt to changing conditions and deliver consistent results.
Weather-sealed cameras and lenses form the backbone of weather-responsive lighting systems, protecting against moisture and debris during unpredictable conditions. Sturdy tripods guarantee stability for longer exposures in low-light scenarios like rain or fog, while remote shutter releases minimize camera shake in windy conditions.
Lighting modifiers such as umbrellas and softboxes help diffuse harsh light on sunny days or enhance overcast conditions.
Don’t forget essential equipment like rain covers and portable LED lights—they’ll enhance your flexibility and guarantee consistent lighting quality regardless of weather challenges you encounter during your shoots.
Programming Automated Scene Transitions Based on Weather Data
As weather conditions shift throughout the day, your lighting system can automatically respond by integrating real-time weather APIs that trigger specific scene changes. You’ll program temperature and precipitation thresholds to activate different lighting setups automatically.
For instance, when the weather forecast indicates a cloudy day, your system can adjust the ambient light to warmer tones while increasing intensity to compensate for reduced natural illumination.
Configure your light source to shift smoothly between scenes using machine learning algorithms that analyze historical weather patterns. This creates more accurate predictions and nuanced responses.
Schedule scene shifts to align with predicted conditions, ensuring your lighting setup enhances visual storytelling. Temperature drops can trigger cooler blue tones, while sunny conditions activate warmer yellows and oranges, creating immersive experiences that mirror nature’s mood.
Configuring Motion Sensors and Ambient Light Detection
You’ll need to strategically position your motion sensors in high-traffic areas while avoiding false triggers from pets or moving objects like curtains.
Set your ambient light thresholds to prevent unnecessary activation during bright daylight hours, typically around 500-1000 lux depending on your space’s natural lighting conditions.
Program your sensors to work seamlessly with weather data so they can automatically adjust sensitivity and activation patterns when storms reduce natural light or when seasonal changes affect daylight duration.
Sensor Placement Strategies
Since proper sensor placement forms the foundation of any effective weather-driven lighting system, you’ll need to evaluate both technical specifications and environmental factors when positioning your motion detectors and ambient light sensors.
For peak performance, consider these strategic placement guidelines:
- Mount motion sensors at 6-8 feet height to maximize detection range while preventing false alarms from small animals.
- Position ambient light sensors with unobstructed access to natural lighting source for accurate readings during overcast days.
- Face outdoor motion detectors toward high-traffic areas while avoiding direct sunlight to prevent exposure issues.
- Install dual-technology sensors combining PIR technology for enhanced reliability across varying weather conditions.
- Test and recalibrate all sensors after severe weather events to maintain accuracy.
Strategic sensor placement guarantees your weather-driven lighting responds appropriately to both motion detection and changing ambient light conditions.
Light Threshold Settings
Calibrating your light threshold settings correctly determines when your motion sensors will activate based on available ambient light, preventing unnecessary triggering during bright daylight hours while guaranteeing reliable operation as darkness falls.
You’ll typically configure these settings within a 1 to 10 lux range, allowing precise customization for your specific environment. Lower values create higher sensitivity to ambient light changes, while higher settings require darker conditions before activation.
Properly configured thresholds prevent false triggers from passing clouds or vehicle headlights, extending your lighting systems’ lifespan by reducing unnecessary cycles.
You should regularly test and recalibrate these settings seasonally, as natural light patterns shift throughout the year. This ongoing maintenance guarantees ideal performance and adapts your weather-driven scenes to changing environmental conditions.
Weather Response Programming
When atmospheric conditions shift throughout the day, your weather response programming automatically adapts lighting behavior by interpreting data from both motion sensors and ambient light detectors.
You can configure these systems to enhance energy efficiency while maintaining consistent safety and security standards.
- Motion sensors activate lighting only when movement’s detected, conserving energy during low-activity periods while responding to weather changes.
- Ambient light detection automatically adjusts lighting levels based on current conditions, ensuring ideal visibility throughout varying weather.
- Weather forecasts integration allows preemptive adjustments, increasing brightness during dusk or reducing output during heavy rain.
- Customizable thresholds let you fine-tune activation points, accommodating different weather patterns and personal preferences.
- Combined sensor technology enhances outdoor area illumination by responding to both human activity and atmospheric conditions.
Creating Custom Lighting Profiles for Different Weather Conditions
You’ll need to establish weather-specific light ratios that match each condition’s natural characteristics, from the soft 1:2 ratios perfect for overcast skies to the dramatic 1:8 ratios that complement bright sunny days.
Your adaptive color temperature settings should automatically shift from the cool 5500K-6500K range during overcast conditions to warmer 3200K-4000K tones when storm clouds roll in.
Dynamic fill adjustments become essential as you’ll want your system to detect ambient light changes and compensate accordingly, boosting fill light during heavy cloud cover while reducing it when natural light breaks through.
Weather-Specific Light Ratios
Different weather conditions demand specific light ratios to achieve natural-looking results that complement the existing atmospheric qualities.
You’ll need to adjust your key light and fill light ratios based on the ambient light each weather scenario provides.
Here are weather-specific light ratios to guide your setup:
- Sunny conditions: Use a 2:1 ratio to maintain shadow detail while letting natural sunlight create defined shadows without overwhelming your subject.
- Overcast days: Apply a balanced 1:1 ratio to work with the soft, diffused ambient light and minimize harsh shadows.
- Golden hour: Position your key light low with a 3:1 ratio to create warm glows while preserving shadow detail.
- Foggy conditions: Reduce intensity with 1:2 ratios to maintain atmospheric depth.
- Night photography: Employ dramatic 4:1 ratios for striking silhouettes.
Adaptive Color Temperature
How can you guarantee your artificial lighting seamlessly blends with nature’s ever-changing color palette? Master adaptive color temperature adjustments that respond to specific weather conditions.
On overcast days, you’ll want a cooler color temperature between 5500K to 6500K to complement the soft, diffused natural light. During golden hour, simulate warmer temperatures around 3000K to 4000K, matching the natural sunlight to enhance the overall aesthetic of your shots.
In rainy conditions, push your settings closer to 7000K to capture cool environmental tones while making colors pop through wet surface reflections.
For foggy conditions, cooler temperatures create an ethereal quality, softening details and adding compositional depth. You’re fundamentally creating custom lighting profiles that harmonize with each weather scenario.
Dynamic Fill Adjustments
While adaptive color temperature sets the foundation for weather-responsive lighting, dynamic fill adjustments complete the equation by controlling shadow depth and subject illumination across varying atmospheric conditions.
You’ll need to modify your fill light intensity and positioning based on ambient light conditions to guarantee shadows are softened and your subject remains well-illuminated regardless of weather variations.
- Overcast days: Use higher fill ratios (1:2) to compensate for diffused light and enhance detail in portrait photography.
- Sunny conditions: Apply lower ratios (1:4 or 1:8) for pronounced shadows while maintaining highlight detail.
- Rainy/misty weather: Soften fill intensity to counteract scene flatness and preserve depth.
- Blue hour changes: Gradually decrease fill intensity as ambient light diminishes.
- Shadow management: Adjust positioning to achieve even lighting across your composition.
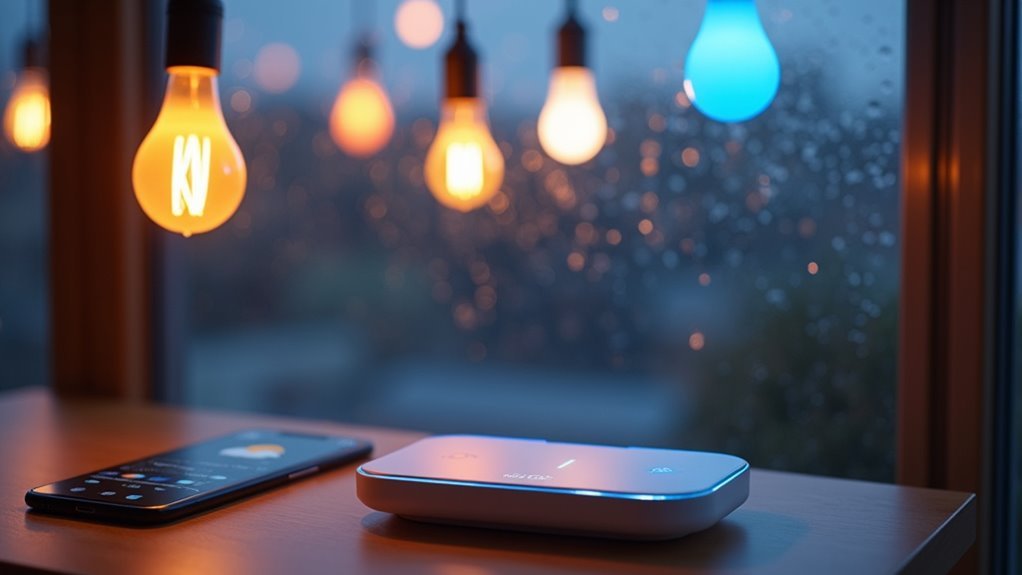
Integrating Smart Home Platforms With Weather APIS
Since smart home platforms can now communicate directly with weather APIs, you’re able to create lighting systems that automatically respond to real-time atmospheric conditions.
You can integrate services like OpenWeatherMap or Weatherstack to access current weather data and forecasts, enabling your smart lighting systems to make proactive adjustments. These integrations let you automate lighting based on cloud cover, sunset times, and precipitation levels.
Your system can adjust ambient light intensity during overcast days to maintain consistent illumination levels.
You’ll also control color temperature automatically—warmer tones during stormy weather and cooler hues on bright days. This automated approach enhances energy efficiency by dimming lights when natural sunlight is abundant and brightening them when weather conditions reduce available daylight, creating ideal comfort throughout changing weather patterns.
Troubleshooting Common Weather-Driven Lighting Issues
Despite the sophisticated integration between weather APIs and smart lighting systems, you’ll encounter several common issues that can disrupt your automated lighting scenes.
- Overcast days trigger insufficient ambient light – Your sensors might fail to activate bright enough settings, leaving spaces dimly lit when you need the best light for daily activities.
- Harsh shadows appear during sunny conditions – Automated systems often can’t distinguish between direct sunlight streaming through windows and general daylight levels.
- Shutter speed synchronization problems – Smart bulbs may flicker or cycle inconsistently with camera equipment during photography sessions.
- Exposure compensation conflicts – Weather-based brightness adjustments might override manual lighting preferences you’ve set.
- API delays cause timing mismatches – Weather data updates lag behind actual conditions, creating poorly timed lighting shifts.
Advanced Scheduling and Override Controls for Manual Adjustments
When weather-driven automation fails to meet your specific needs, advanced scheduling and override controls become your safety net for maintaining perfect lighting conditions. You’ll gain precise control over exposure settings, allowing manual adjustments that respond instantly to changing conditions.
| Feature | Function | Weather Application |
|---|---|---|
| Advanced Scheduling | Set specific capture times | Optimize for forecasted conditions |
| Override Controls | Manual exposure adjustment | Fine-tune key/fill/backlighting |
| Smart Apps | Real-time updates | Track weather changes instantly |
| Time-lapse Settings | Document gradual changes | Capture light quality shifts |
| Emergency Modes | Quick setting changes | Handle unexpected weather changes |
These systems work together to capture unique lighting conditions like golden hour, even when storms threaten your shoot timeline.
Frequently Asked Questions
What Is the Best Weather for Photography?
You’ll find overcast days offer ideal portrait lighting with soft, diffused conditions. Golden hour provides warm, flattering light for landscapes. Don’t overlook rainy or foggy weather—they create unique moods and atmospheric effects you can’t replicate.
What Time Is the Best Lighting for Photography?
You’ll find the golden hour shortly after sunrise and before sunset offers the best lighting for photography. The soft, warm light enhances colors and creates flattering shadows that’ll make your images shine.
What Is the Best Lighting for Outdoor Photography?
You’ll find golden hour provides the best outdoor lighting, creating warm tones and flattering shadows. Don’t overlook overcast days though – they’ll give you soft, even light that’s perfect for portraits and detailed shots.
What Is the Best Weather for Black and White Photography?
You’ll find overcast days ideal for black and white photography since diffused light eliminates harsh shadows. Foggy conditions, snowy scenes, and rainy weather also create atmospheric depth and striking contrasts perfect for monochrome images.


Leave a Reply