You’ve probably watched your garden struggle through inconsistent watering—too much rain one week, drought the next, and your manual watering schedule that’s anything but reliable. Setting up an automated irrigation system isn’t as complicated as you might think, and you can tackle it over just a few weekends. The key lies in understanding which plants need what, when they need it, and how to deliver water efficiently without waste or guesswork.
Assess Your Garden Layout and Water Zones
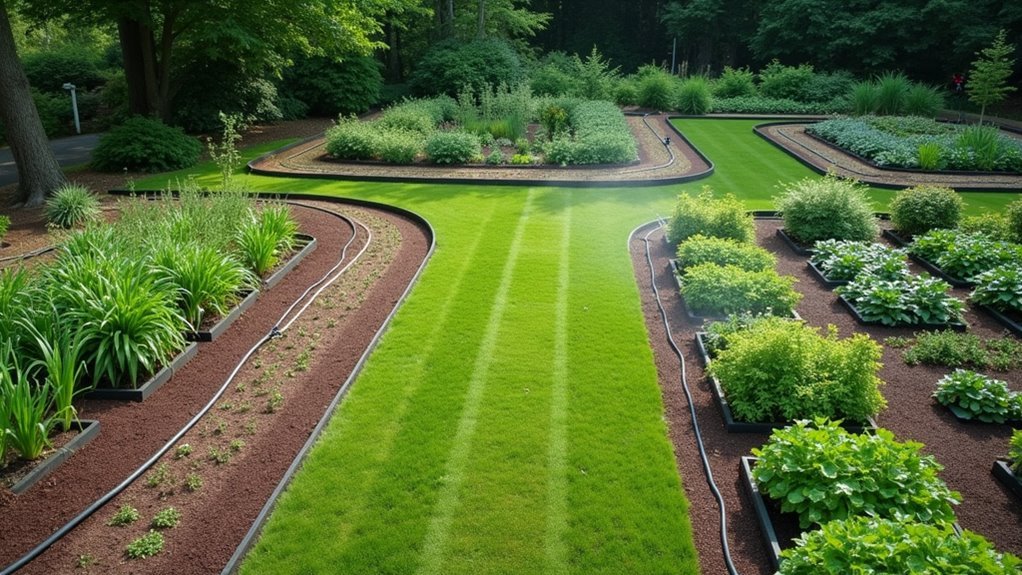
Before installing any irrigation system, you’ll need to create a detailed map of your garden that identifies each plant type, size, and spacing requirement. This garden layout serves as your foundation for establishing effective watering zones based on specific plant requirements.
Group plants with similar water needs together to maximize irrigation efficiency.
Install a rain gauge to monitor natural precipitation and adjust your automated system accordingly. Consider sun exposure when designing zones – full-sun areas need more frequent watering than shaded spots.
Plan your water supply routes strategically, determining where drip irrigation works best for precise delivery and where soaker hoses suit broader coverage areas. This careful assessment guarantees you’ll automate the watering process effectively while conserving water and promoting healthy plant growth throughout your garden.
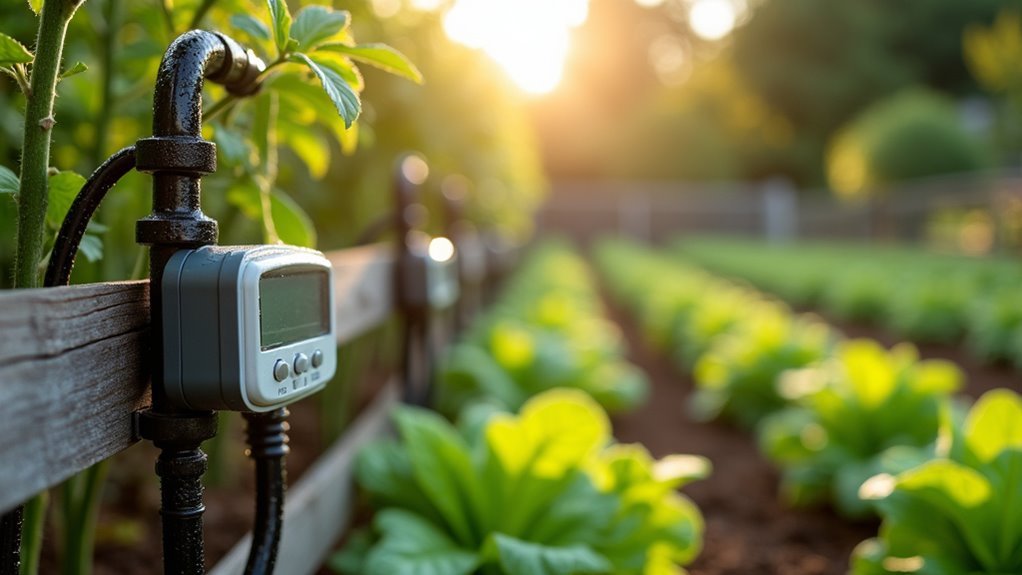
Install Smart Timers and Connect to Water Source
After mapping your garden zones, you’ll begin setting up the automated watering system by installing smart timers at your water source.
- Attach T connector to outdoor spigot – This allows continued water use while connecting your automatic timer. Use plumbers tape for tight connections that prevent leaks.
- Connect pressure regulator – Attach this to the timer’s bottom if not included. It manages water flow for drip irrigation and low-flow spray heads effectively.
- Run non-holed tubing – Lay tubing from the timer to your garden area, ensuring it reaches all designated plant zones properly.
- Program watering schedule – Set start times and durations for early morning hours to maximize absorption and minimize evaporation efficiently.
Set Up Drip Lines and Tubing Network
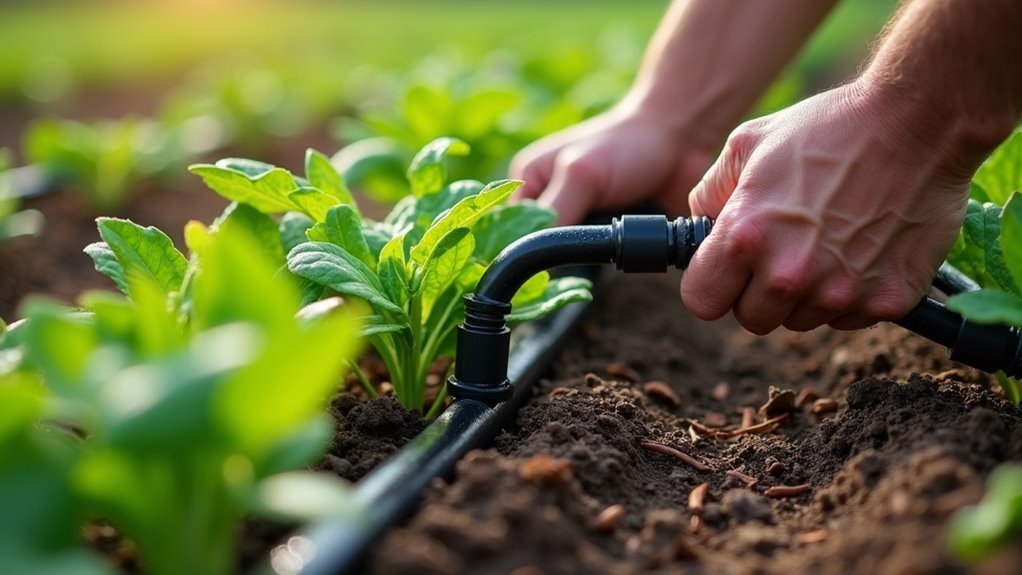
With your timer programmed and water source connected, you’ll create the drip irrigation network that delivers water directly to each plant’s root zone.
Start by laying out your drip irrigation kit’s main supply tubing across your garden beds without cutting it first. This 13mm tubing forms the backbone of your system.
Lay out your 13mm main supply tubing across garden beds first – this backbone supports your entire drip irrigation system.
Next, connect 4mm tubing from the main supply to individual plants, installing emitters at each connection point. Secure all tubing using landscape stakes to prevent movement and guarantee consistent watering patterns.
Check for leaks at every connection point to maintain system efficiency.
Once installed, your automatic timer will water your plants precisely, delivering moisture exactly where needed while eliminating waste.
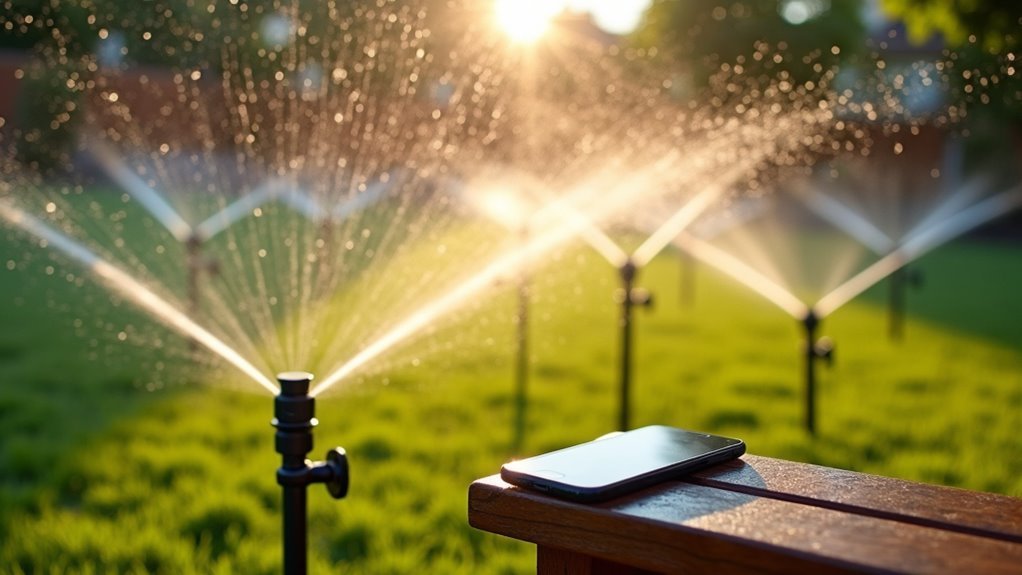
Program Automated Watering Schedules
Once you’ve installed your drip irrigation network, you’ll need to program your automatic timer to deliver water at ideal times and intervals.
Setting up your automated watering schedules properly guarantees efficient water usage while maintaining healthy garden plants.
- Set early morning watering times – Program your automatic watering system to run around 4-5 a.m. to reduce evaporation and maximize water absorption before heat peaks.
- Calculate proper run time – Configure irrigation systems to deliver approximately one inch of water weekly for most garden plants.
- Monitor weather conditions – Use rain gauges to adjust schedules and prevent overwatering during wet periods.
- Check soil moisture levels – Regularly monitor plant health and adjust programming based on seasonal needs and extreme temperatures.
Test System Performance and Make Adjustments
Before your garden reaches peak growing season, you’ll want to conduct a thorough test of your irrigation system by running it through a complete cycle. This helps identify leaks, blockages, or uneven watering patterns that need immediate attention.
After installation, monitor performance regularly for at least a month. Make adjustments to emitter placements and watering frequency based on observed plant health and soil moisture levels.
Monitor your irrigation system closely for the first month, adjusting emitter positions and watering schedules based on plant response and soil conditions.
Install a rain gauge to measure rainfall and modify your automatic timer settings accordingly—this prevents overwatering during wet periods.
Check timer batteries every six months to guarantee consistent operation.
Be prepared to make seasonal adjustments, increasing watering frequency during peak summer heat and reducing it in cooler months to maintain ideal plant health throughout the year.
Frequently Asked Questions
What Is the Best Way to Automate Garden Watering?
You’ll want to install a drip irrigation system with a programmable timer. Add a pressure regulator to control water flow and consider a hose faucet manifold for multiple zones controlled through smartphone apps.
How Can I Automatically Water My Plants While on Vacation?
You’ll want to install programmable timers with drip irrigation or soaker hoses that deliver water directly to roots. Add moisture sensors to prevent overwatering and use manifolds for multiple zones.
What Is the 200/200 Rule for Drip Irrigation?
The 200/200 Rule means you’ll space drip emitters 200 square feet apart, with each delivering 200 gallons hourly. This guarantees uniform water distribution, prevents over-watering, and maximizes your irrigation system’s efficiency.
How to Make a Circuit to Automatically Water Your Plants?
Connect a water timer to your outdoor tap, then attach a pressure regulator and manifold system. Use non-holed tubing to deliver water to drip emitters. Program watering schedules based on plant needs.


Leave a Reply