You’re about to transform your home security, but one wrong move during installation could leave you with dead zones and blind spots that defeat the entire purpose. Setting up multi-room WiFi cameras isn’t just about mounting devices on walls—it’s a strategic process that requires precise planning, proper equipment selection, and network optimization. Miss any of these critical steps, and you’ll end up with a system that’s more frustrating than protective.
Planning Your Multi-Room Camera Layout
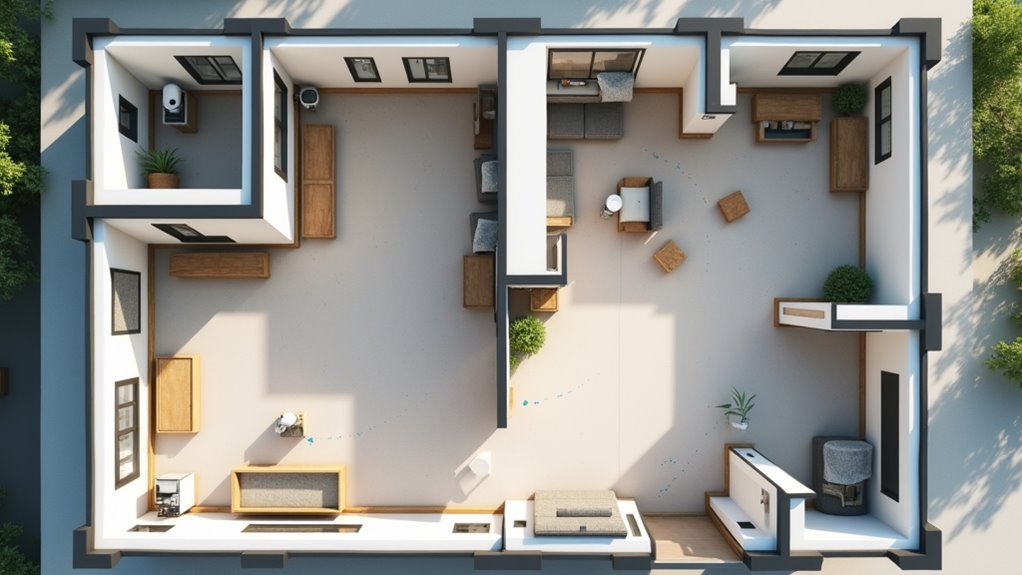
Before installing your first WiFi camera, you’ll need to map out a strategic layout that maximizes your home’s security coverage.
Start by identifying critical areas where you’ll place security cameras, including all entry points, main living spaces, and high-traffic zones. Test your Wi-Fi network signal strength at each proposed location to prevent connectivity issues that could compromise your camera system’s performance.
Create a detailed floor plan marking your camera placements, ensuring clear sight lines without obstructions from walls or furniture.
Calculate how many cameras you’ll need based on your home’s size—typically one per entrance plus additional units for extensive coverage of other essential areas.
Finally, verify power source availability at each location, choosing between wired connections or battery-operated options for ideal placement flexibility.
Choosing Between Wired and Wireless WiFi Cameras
Once you’ve mapped your camera locations, you’ll face a fundamental decision that affects both installation complexity and long-term maintenance: selecting wired or wireless WiFi cameras for each position. Your choice impacts everything from camera placement flexibility to your security system’s reliability.
| Factor | Wired Security | Wireless Cameras |
|---|---|---|
| Installation Process | Complex cable routing | Simple mounting |
| Wi-Fi Signal Dependency | Minimal reliance | Complete dependency |
| Power Management | Continuous power | Battery maintenance |
| Video Quality | Consistently high | Variable quality |
| Repositioning Ability | Fixed placement | Flexible movement |
Consider your home’s layout when deciding. Areas with poor Wi-Fi signal strength benefit from wired connections, while battery-powered cameras excel in temporary monitoring situations. Your comfort with the installation process also matters considerably.
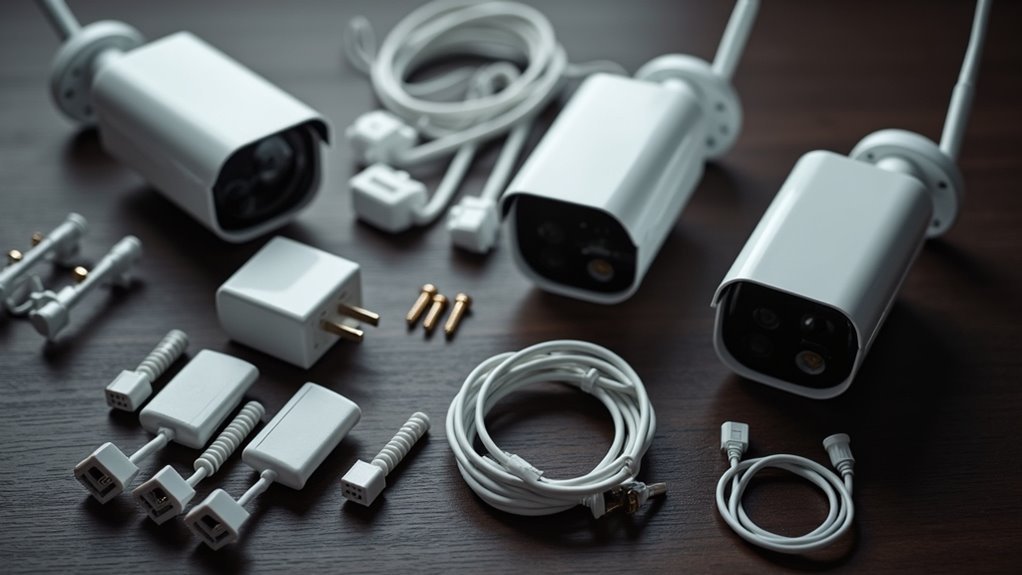
Essential Tools and Equipment for Installation
Having the right tools ready transforms your multi-room camera installation from a frustrating ordeal into a smooth, professional-quality project.
You’ll need essential tools including a drill for mounting, screwdrivers for securing, and a level to install security cameras straight and angled correctly. A measuring tape and pencil are crucial for marking ideal camera placement locations, ensuring complete coverage of entry points and common areas.
Don’t forget a wall scanner to locate electrical wires and plumbing, preventing costly damage during drilling.
You’ll need a ladder to reach the recommended 8-10 foot mounting height. Keep cable clips handy for wired connections, creating neat installations while reducing tripping hazards throughout your home.
Setting Up Your Camera Hub and Network Connection
You’ll need to strategically position your camera hub in a central location that maximizes Wi-Fi coverage throughout your home while maintaining a direct Ethernet connection to your router.
Start by connecting the hub to your dual-band or tri-band router using an Ethernet cable to establish the most stable network foundation possible.
Once connected, you’ll configure the network settings through your smartphone app, entering your Wi-Fi credentials and testing signal strength at each planned camera location.
Hub Placement and Range
Central placement of your camera hub forms the foundation of a dependable multi-room surveillance system.
You’ll want to position your hub centrally within your home to maximize coverage and minimize dead zones for all connected cameras. Most hub systems offer up to 100 feet of range in open areas, but wall interference reduces this distance considerably.
Monitor signal strength during setup to guarantee each camera maintains stable Wi-Fi connectivity. Weak signals cause intermittent disconnections and poor performance.
Consider upgrading to a dual-band router if you’re running multiple high-definition camera streams simultaneously.
For ideal network stability, assign static IP addresses to each camera connected to your hub. This prevents connectivity issues and guarantees consistent performance across your entire surveillance system.
Network Configuration Steps
Before connecting your first camera, establish a robust network foundation by selecting a dual-band or tri-band router that can handle multiple high-definition video streams without degrading performance.
This guarantees your cameras can reliably connect to the internet without bandwidth bottlenecks.
Create a dedicated guest network exclusively for your security cameras. This isolates them from your primary devices while maintaining connectivity.
Configure static IP addresses for each camera to prevent connection drops and simplify device management.
- Set up a separate guest Wi-Fi network for camera isolation
- Assign static IP addresses to prevent connectivity issues
- Use each camera’s companion app for initial setup and configuration
- Test live footage streaming to verify successful connection
Monitor network performance regularly and adjust settings as needed to maintain peak functionality across all cameras.
Installing Cameras in Entry Points and Common Areas
You’ll need to focus on three critical aspects when positioning your WiFi cameras: where to place them at entry points, how to cover common areas effectively, and getting the height and angles just right.
Strategic placement at doors and windows creates your first line of defense, while common area coverage guarantees you’re monitoring movement throughout your home.
Proper height and angle optimization maximizes your camera’s effectiveness while keeping the equipment secure from tampering.
Strategic Entry Point Placement
When establishing your multi-room WiFi camera system, strategic placement at entry points forms the foundation of effective home surveillance.
You’ll want to position your security cameras at front and back doors to monitor everyone entering and exiting your property. These outdoor cameras should capture clear footage of potential intruders approaching your home.
For ideal installation, mount cameras 8-10 feet high to maximize visibility while preventing tampering. This height guarantees thorough coverage of entry points and deters unwanted visitors.
- Position cameras at all primary entry points including front doors, back doors, and garage entrances
- Install in common areas like hallways and living rooms for thorough interior monitoring
- Respect privacy laws by avoiding bedrooms and bathrooms completely
- Maintain neighbor privacy by making sure cameras don’t record adjacent properties
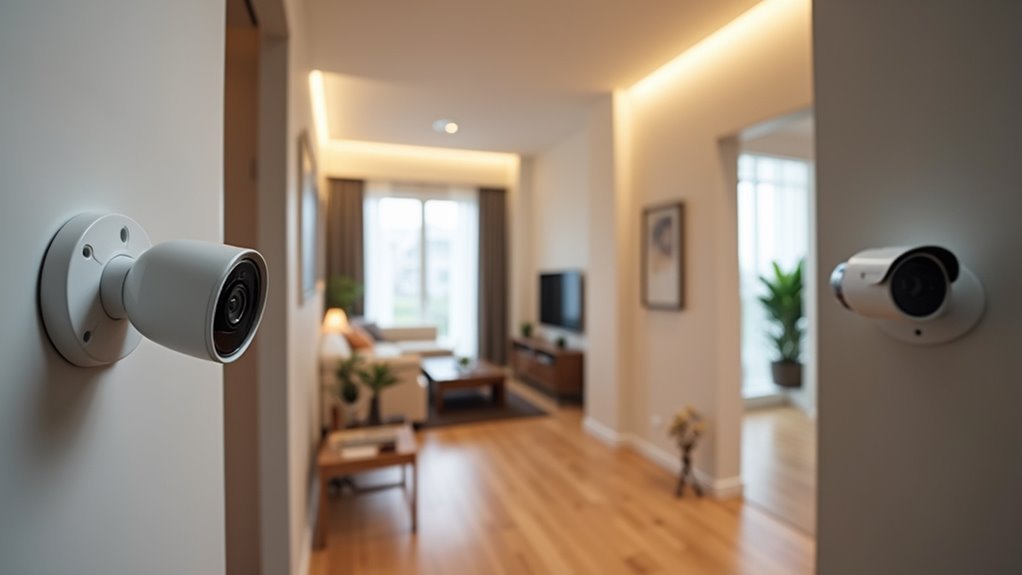
Common Area Coverage
Beyond securing your home’s perimeter, expanding camera coverage into common areas creates an extensive surveillance network that monitors movement throughout your property.
You’ll want to position home security cameras in living rooms, hallways, and staircases where intruders typically pass through after entering through front doors or back doors. These high-traffic zones provide ideal monitoring of anyone moving between rooms.
Mount wireless cameras 8-10 feet high in these spaces to capture clear footage while preventing tampering. Adjust motion detection sensitivity to minimize false alerts from pets or family members while maintaining security effectiveness.
Remember that privacy laws restrict camera placement, so avoid bedrooms and bathrooms entirely. Focus your common area coverage on spaces where surveillance is legally permissible and strategically valuable for thorough home protection.
Height and Angle Optimization
Strategic camera positioning at the correct height and angle transforms ordinary surveillance into thorough security coverage.
You’ll achieve superior results by installing cameras 8-10 feet high, preventing tampering while maintaining clear facial recognition capabilities.
Position cameras at 30-45 degree downward angles to maximize your field of view and effectively monitor high-traffic zones.
Focus your camera placement on entry points like front and back doors, where most intrusions occur.
You’ll enhance motion detection by ensuring unobstructed line of sight, avoiding furniture and walls that compromise image quality.
- Install cameras 8-10 feet high to prevent tampering and capture clear facial details
- Angle cameras downward 30-45 degrees for enhanced field of view coverage
- Prioritize entry points as primary surveillance locations for maximum security effectiveness
- Maintain clear line of sight by avoiding obstructions that hinder motion detection
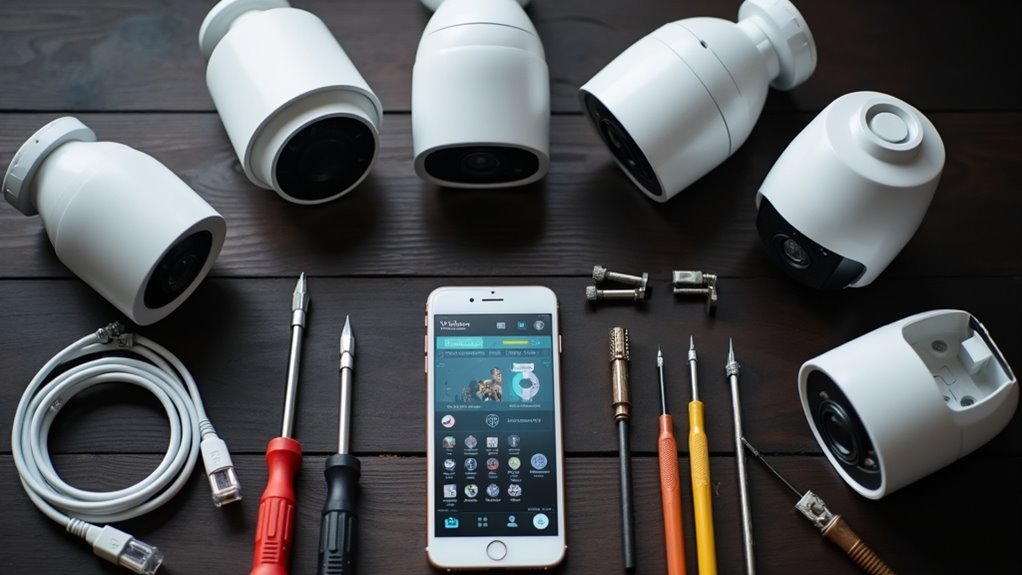
Configuring Camera Settings Through Mobile Apps
Three essential steps will transform your newly installed WiFi cameras into a personalized security system through your mobile app.
First, you’ll complete initial setup by connecting each camera to your home network following the app’s guided process. The mobile app streamlines this connection phase while ensuring proper installation across all rooms.
Second, customize your camera settings to match your specific security needs. Adjust motion sensitivity levels for each room, configure notification preferences to avoid false alerts, and establish recording schedules that work with your routine.
These personalized settings enhance your system’s effectiveness.
Third, establish remote access to monitor live video feeds from anywhere. Enable automatic updates to receive the latest security enhancements and new features, keeping your multi-room system current and fully functional.
Optimizing WiFi Signal Strength Across Multiple Rooms
Even after you’ve configured your cameras perfectly through the mobile app, poor WiFi signal strength can undermine your entire multi-room security system’s performance.
Your router’s placement and capabilities directly impact how well your cameras maintain stable connections across different rooms.
To maximize coverage and eliminate dead zones, you’ll need to strategically enhance your network infrastructure:
- Position your router centrally and elevated, away from walls and large furniture that block signals
- Use a dual-band router to efficiently manage both 2.4 GHz and 5 GHz frequencies for various smart devices
- Install WiFi extenders or mesh systems to create seamless coverage across larger areas
- Regularly test signal strength using apps to identify weak spots and adjust camera placement accordingly
Keep cameras within 100 feet of access points for ideal connection stability.
Syncing All Cameras for Centralized Control
You’ll need to configure your hub network to establish a unified control system that connects all your Wi-Fi cameras through a single management interface.
Start by ensuring each camera connects to the same wireless network and is compatible with your chosen app or central hub.
The device synchronization process involves adding each camera to your account through the app’s setup wizard, which typically requires scanning QR codes or entering device-specific codes.
Hub Network Configuration
When setting up a centralized hub network for your multi-room WiFi cameras, you’ll need to verify that all devices are compatible with your chosen hub before beginning the syncing process.
Once confirmed, gather your Wi-Fi credentials and download the companion app to start configuration.
The setup process requires careful attention to distance limitations, as most hubs maintain ideal connections within 100 feet in open areas. Use the companion app to connect the camera to your hub, monitoring signal strength throughout installation.
- Verify camera compatibility with your central hub before starting
- Position cameras within 100 feet of the hub for ideal connectivity
- Input correct Wi-Fi credentials during the companion app setup
- Monitor signal strength and reposition devices if connectivity issues occur
After syncing, organize your cameras through the app and configure motion detection rules to enhance your security system.
Device Synchronization Process
With your hub configured and cameras positioned within suitable range, begin the device synchronization process by verifying all cameras are powered on and connected to the same Wi-Fi network.
Open your companion app and select “Add Camera” to begin connecting each Wi-Fi camera individually. Follow the on-screen prompts to establish network connection for every device. The app will create a centralized hub where you’ll manage all cameras from one interface.
Check for firmware updates during synchronization to guarantee peak performance and compatibility.
Once syncing completes, configure custom notifications and motion detection rules for each camera through the app. This allows you to tailor alerts and monitoring preferences according to your specific security needs across all rooms.
Testing Camera Coverage and Adjusting Angles
After mounting your cameras in their designated positions, testing camera coverage becomes the critical next step to confirm your security system functions effectively.
Testing camera coverage after installation is the critical next step to confirm your security system functions effectively.
Position each camera at least 8-10 feet high for ideal visibility and proper angle adjustments. Use your camera’s live feed through its app to verify all desired areas are captured without blind spots.
- Adjust angles by tilting or rotating cameras to frame critical entry points and high-traffic areas
- Test during different times to assess performance in varying lighting conditions and verify night vision capabilities
- Monitor connectivity and signal strength between multiple units to prevent interference
- Check for obstructions that could block views, especially near walls or physical barriers
This extensive testing confirms your multi-room security system provides thorough coverage.
Setting Up Remote Access and Monitoring Features
Once you’ve confirmed proper camera placement and coverage, establishing remote access transforms your multi-room WiFi system into an all-encompassing monitoring solution you can control from anywhere.
Connect your security cameras to your home network using the manufacturer’s app, entering your correct WiFi credentials for seamless integration.
Create an account within the app to enable remote monitoring through your smartphone or tablet whenever you have an internet connection.
Test the live feed feature to verify each camera’s accessibility outside your home.
Customize motion detection alerts and recording schedules to match your surveillance preferences.
For enhanced protection, enable two-factor authentication, which greatly reduces unauthorized access risks to your camera feeds.
Frequently Asked Questions
How to Set up Wifi Security Cameras?
You’ll download the camera’s app, connect to Wi-Fi, position cameras at entry points, mount securely near power outlets, test the livestream, adjust motion detection settings, and maintain regularly.
Can a Wifi Camera Work Without Internet?
Yes, you can use a WiFi camera without internet for local recording if it has storage like a microSD card, but you’ll lose remote viewing and cloud features.
How Do I Extend My Wi-Fi Range for My Security Camera?
You can extend your Wi-Fi range by upgrading to a dual-band router, installing Wi-Fi extenders or mesh systems, positioning your router centrally, and checking signal strength at camera locations.
Can You Mix and Match Wireless Security Cameras?
You can mix and match wireless security cameras from different brands, but you’ll need to guarantee they’re compatible with your chosen hub or app and operate on the same Wi-Fi frequency.


Leave a Reply