You’ve installed your Z-Wave motion sensors, but they’re not performing as expected. Maybe they’re triggering false alarms, missing actual motion, or draining batteries faster than anticipated. The difference between a frustrating smart home experience and a seamlessly automated one often comes down to five critical setup steps that most people overlook. These configuration tweaks can transform unreliable sensors into the backbone of your home automation system.
Configure Light Sensing and Ambient Sensitivity Settings
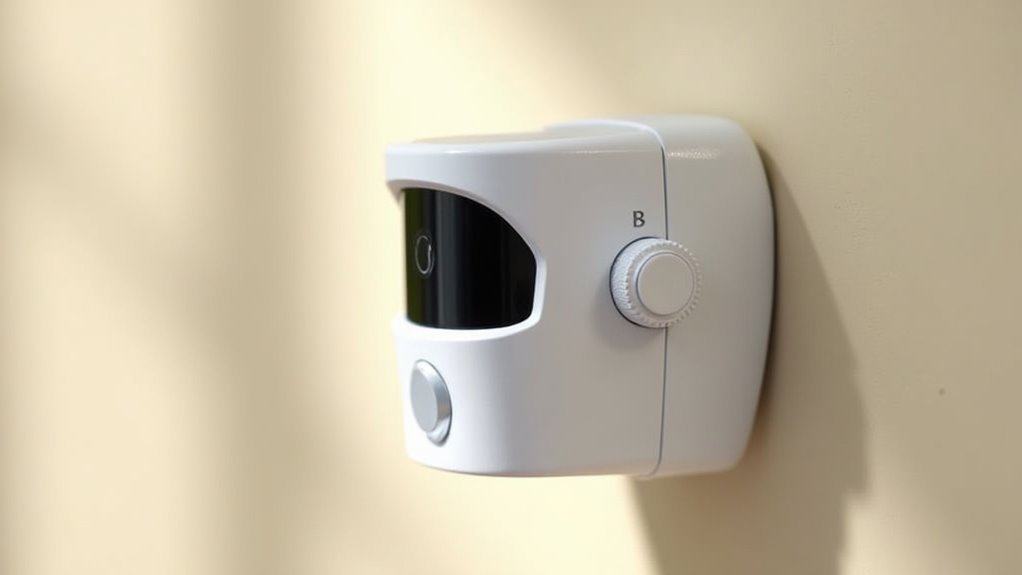
Why does your Z-Wave motion sensor sometimes trigger lights during daylight hours or fail to activate in dim conditions? The issue typically stems from improper light sensing configuration.
Set your light sensing interval to 90 seconds for peak responsiveness to ambient light changes. Adjust the ambient light sensitivity based on your room’s specific conditions—darker spaces need lower thresholds while brighter areas require higher settings.
After configuring these parameters, wake your motion sensor to confirm new settings take effect. Your home automation system needs time to communicate these changes properly.
Allow several days for the sensor to establish stable light level readings post-installation. Monitor your control interface regularly to verify that ambient light sensitivity adjustments save correctly and function as intended for reliable automation performance.
Set Up Separate ON and OFF Automations
Once you’ve enhanced your motion sensor’s light detection capabilities, you’ll need to create separate automations for turning lights on and off rather than relying on a single toggle command.
This Z-Wave Motion Home Assistant set-up approach gives you precise control over your lighting behavior.
Create your ON automation first, triggering it immediately when motion’s detected to eliminate activation delays.
For your OFF automation, implement a timer that turns lights off after a predetermined inactivity period. This conserves energy while ensuring lights don’t shut off prematurely.
Reset the OFF timer whenever new motion’s detected, keeping lights active during continuous use.
Monitor these automations through Home Assistant’s developer tab to troubleshoot quick state changes and refine your settings for peak performance.
Wake Your Sensor After Configuration Changes
After you’ve configured your Z-Wave motion sensor settings, you’ll need to manually wake the device to guarantee it receives and implements your changes.
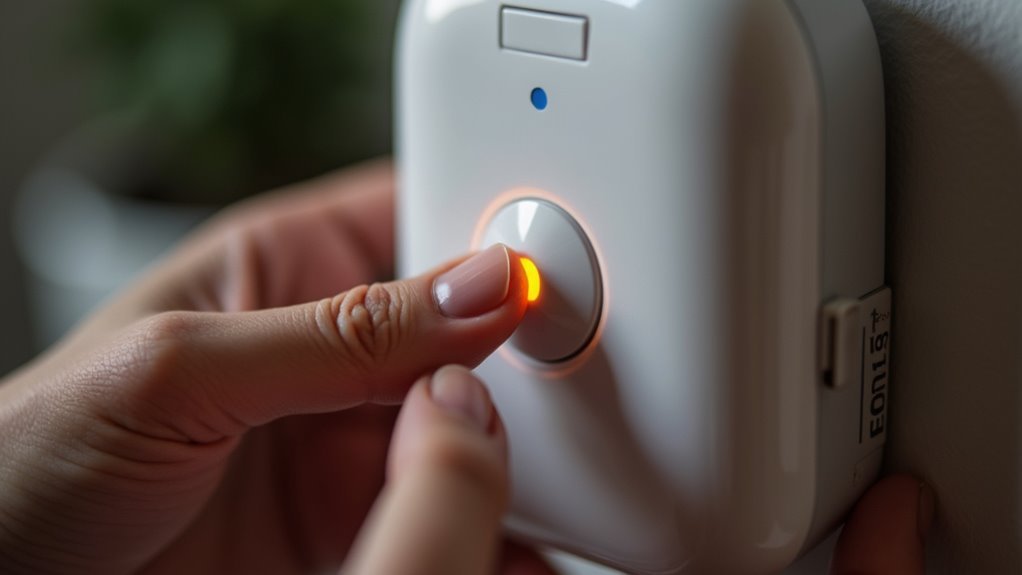
Most sensors require pressing a specific button or following a designated activation sequence to refresh their settings within your Z-Wave network.
Wake your Z-Wave motion sensor using the designated button press or activation sequence to refresh network settings.
When you wake your sensor after making configuration changes, you’re ensuring the new parameters are properly transmitted to the device node.
Without this essential step, your sensor will continue operating with outdated settings, resulting in poor performance and unreliable detection.
Wait a few moments after making adjustments before performing the wake-up procedure.
This brief settling period enhances reliability and confirms your sensor fully processes the updated configuration for ideal functionality.
Allow Network Stabilization Time
Even though you’ve successfully woken your sensor and applied configuration changes, your Z-Wave network needs several days to fully stabilize and enhance its performance.
During network stabilization, your Z-Wave devices automatically discover ideal communication paths through the mesh network, reducing lag and improving responsiveness. You’ll want to monitor sensor performance regularly during this period to catch any connectivity issues early.
Don’t make significant network changes while stabilization occurs, as this disrupts the settling process and can create new problems. Your motion sensor will fine-tune its routing tables and establish reliable connections with neighboring devices.
This patience pays off with a more robust, responsive system that handles daily operations smoothly without unexpected dropouts or delays.
Monitor and Troubleshoot Performance Issues
Three key indicators signal when your motion sensor needs attention: inconsistent triggering, delayed responses, and missed detections.
Since Z-Wave Motion sensors are Battery Powered devices, regularly check battery status as weak batteries cause connectivity problems and performance degradation.
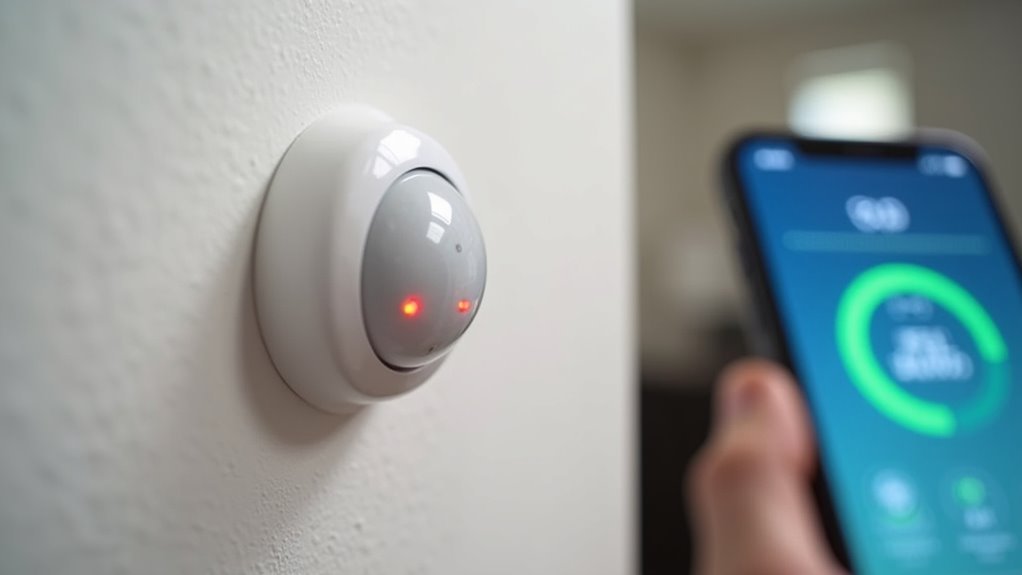
Monitor your sensor’s pairing status to make sure it’s not stuck in a Half-Paired state, which makes devices unresponsive.
Use your automation platform’s developer tab to track state changes and troubleshoot unexpected behavior patterns.
Adjust ambient light sensitivity and sensing intervals to match your environment, reducing false triggers while improving responsiveness.
If issues persist despite these adjustments, unenroll and reenroll the sensor to reset its configuration and resolve stubborn connectivity problems.
This fresh pairing often restores peak performance.
Frequently Asked Questions
How Can I Boost My Z-Wave Signal?
Add plug-in modules, light switches, or Z-Wave bulbs throughout your home to create signal repeaters. Place dedicated repeaters between weak areas and your hub, and regularly check device batteries for ideal connectivity.
How Do I Set up My Z-Wave Device?
Install fresh batteries in your Z-Wave device, then pair it close to your smart hub for strong connection. Gradually move outward, adding repeaters to build a robust mesh network throughout your home.
How Do You Position a Motion Sensor?
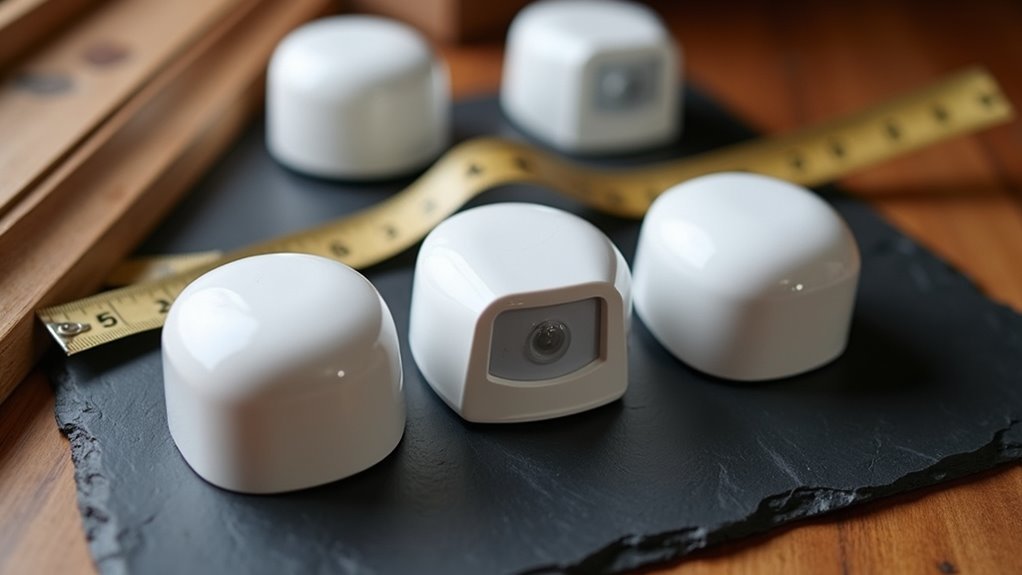
Position your motion sensor 6-8 feet high in unobstructed areas covering high-traffic zones. Avoid direct sunlight and heat sources. Use wide-angle settings if available, then test by walking through the detection zone.
Is There an App to Control Z-Wave Devices?
You can control Z-Wave devices using various apps like Z-Wave JS UI, SmartThings, or Home Assistant. Choose an app that’s compatible with your specific Z-Wave hub for full functionality and remote control.


Leave a Reply