Z-Wave lighting networks operate on interference-free frequencies and create a reliable mesh where devices act as repeaters. You’ll enjoy extended wireless range, 5-10 years of battery life, and two-way communication that confirms all commands. Setup requires selecting a compatible hub, installing switches with proper wiring safety, and creating custom lighting scenes. The system offers robust security, easy troubleshooting, and significant long-term energy savings despite higher initial costs. The following guide unpacks everything you need for a successful installation.
Understanding Z-Wave Technology for Home Lighting Control
While many smart home technologies compete for attention, Z-Wave stands out as a powerful solution specifically designed for reliable home automation. Operating on sub-1GHz frequencies (868.42 MHz in Europe and 908.42 MHz in the US), it avoids interference from crowded Wi-Fi and Bluetooth bands.
What makes Z-Wave ideal for your lighting network is its mesh architecture. Each device acts as a repeater, extending coverage throughout your home and eliminating dead spots. If one device fails, the network simply reroutes through others, maintaining connectivity. Z-Wave Plus technology offers even greater benefits with increased wireless range of over 200 meters in clear air conditions.
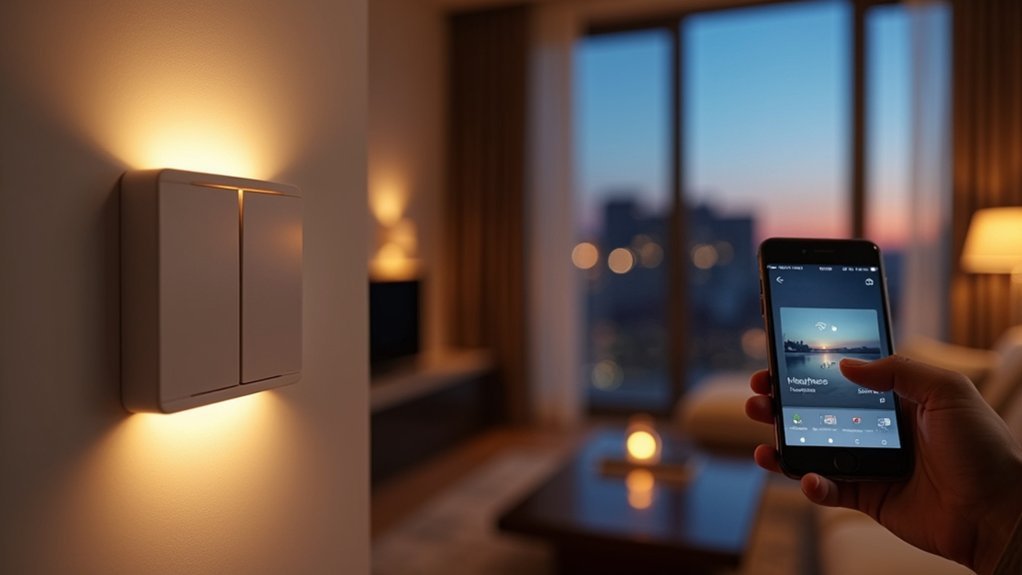
You’ll appreciate Z-Wave’s two-way communication protocol that guarantees every command is acknowledged. When you turn on lights remotely, the system confirms successful operation, giving you confidence that your lighting commands are executed properly every time.
Benefits of Z-Wave Lighting Over Traditional Systems
As you shift from conventional lighting to a smart home setup, Z-Wave technology offers compelling advantages that traditional systems simply can’t match. Operating on the 900MHz frequency band, Z-Wave provides superior wall penetration while avoiding interference from Wi-Fi and Bluetooth devices.
You’ll appreciate Z-Wave’s impressive scalability, supporting up to 4,000 devices with 99.9% certified uptime. The technology’s low power consumption means devices can run 5-10 years on a single battery, markedly reducing maintenance costs.
Beyond reliability, you’ll gain enhanced control options through seamless integration with various smart home systems. The mesh network topology allows devices to act as repeaters, extending the overall range throughout your home. Create custom lighting scenarios, automate based on occupancy, and control everything remotely.
Personalize your environment with sophisticated automation that responds to your life patterns, not just manual commands.
While the initial investment may seem substantial, long-term energy savings and increased property value make Z-Wave lighting a smart financial decision.
Essential Components for Your Z-Wave Lighting Network
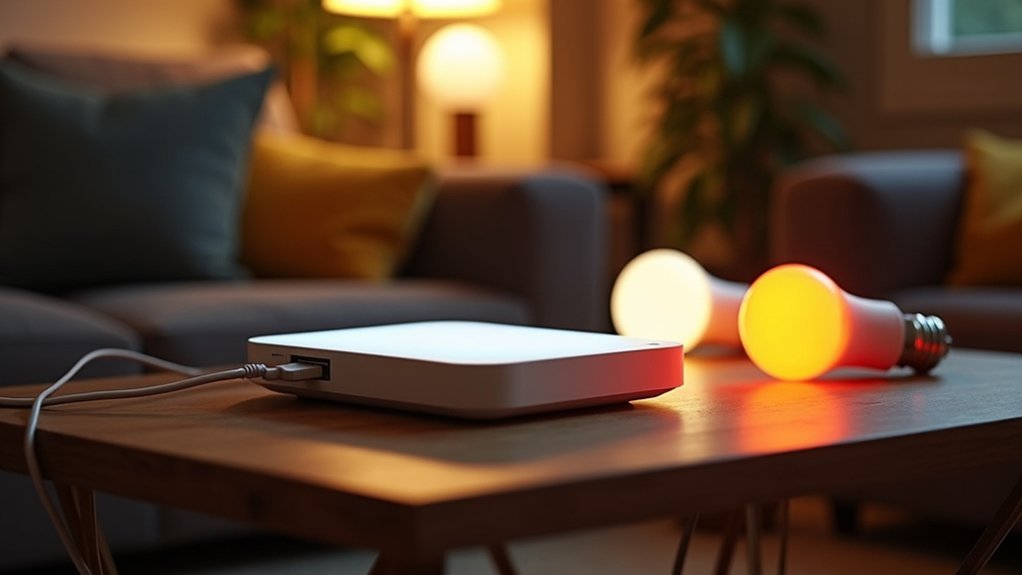
When building your Z-Wave lighting network, you’ll need to start with a compatible hub that serves as the central command center for all your devices.
You’ll want to select appropriate switches and controllers that match your specific lighting needs, whether you prefer dimmers, standard on/off switches, or scene controllers for creating custom lighting environments.
To maximize functionality and coverage, incorporate strategic sensors for automation triggers and signal extenders to guarantee your entire home stays connected without dead zones. Select a static controller for your network to provide reliability and backup functions that portable controllers cannot offer.
Z-Wave Hub Selection
Selecting the right Z-Wave hub forms the foundation of your entire smart lighting ecosystem. Look for hubs that specifically support your planned Z-Wave lighting devices while offering additional protocol compatibility like Zigbee or Wi-Fi for future expansion.
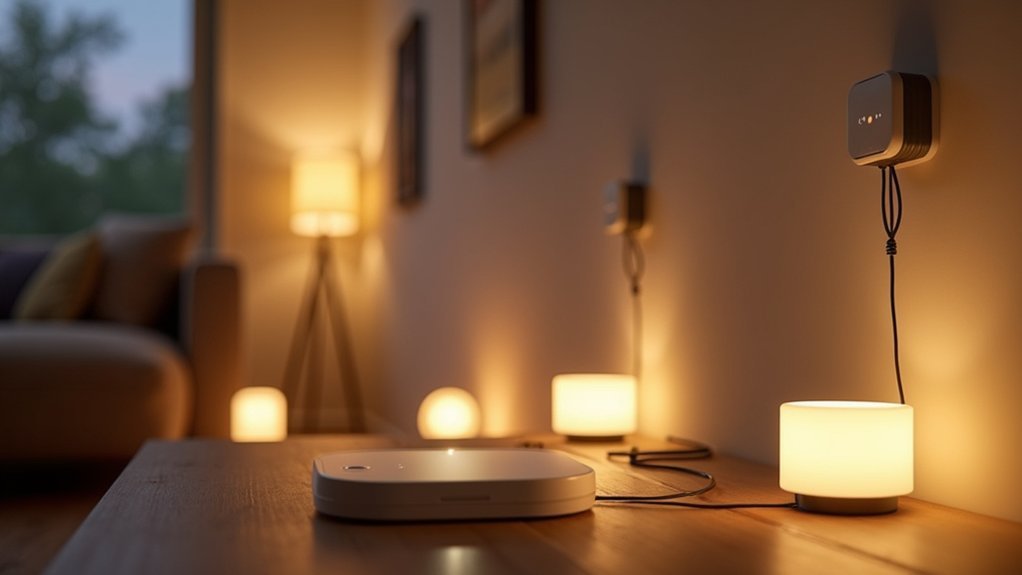
Position your hub centrally to maximize signal strength and coverage. For larger homes, consider the hub’s transmission power and whether you’ll need repeaters to extend the network mesh effectively.
Prioritize hubs with intuitive interfaces and user-friendly apps that simplify setup and management. Strong automation features will allow you to create sophisticated lighting scenes and schedules that respond to triggers or routines.
Don’t overlook security—choose hubs with robust encryption and regular firmware updates to protect your network from unauthorized access and vulnerabilities. The most reliable hubs create a mesh network for seamless device communication throughout your home.
Switches and Controllers
The backbone of any Z-Wave lighting system lies in its switches and controllers, which transform ordinary fixtures into smart, responsive elements of your home automation network.
You’ll find switches for various loads including LED, incandescent, and fluorescent lamps, with options for homes with or without neutral wires.
When selecting switches, consider your specific needs: simple on/off functionality, dimming capabilities, or multi-location control. Many models feature programmable LED indicators providing visual feedback on system status. The latest Z-Wave technology includes 800 Series devices that offer improved range and reliability compared to older versions.
Beyond controlling lights, some switches can manage fans too.
Each switch serves as a network node, retransmitting signals to extend your mesh network throughout your home.
For extensive automation, pair your switches with relay modules and smart controllers for scene creation and security integration.
Sensors and Extenders
While switches and controllers form the command center of your Z-Wave lighting system, sensors and extenders complete the network by adding intelligence and expanding reach.
Motion, light, and occupancy sensors trigger automation based on environmental conditions, activating lights only when needed to save energy and enhance security.
When your network needs to cover larger areas, Z-Wave range extenders become essential. These devices boost signals up to 400 feet, overcoming obstacles like thick walls and metal barriers.
Simply plug them into standard outlets to strengthen your mesh network automatically. Some premium models like the Zooz extender can even report power outage alerts to your hub using their built-in backup batteries.
Many hardwired Z-Wave devices already function as signal repeaters, but dedicated extenders like the Zooz 800 Series provide more reliable coverage.
For peak performance, place extenders strategically between your hub and distant devices, ensuring your entire lighting system remains responsive and connected.
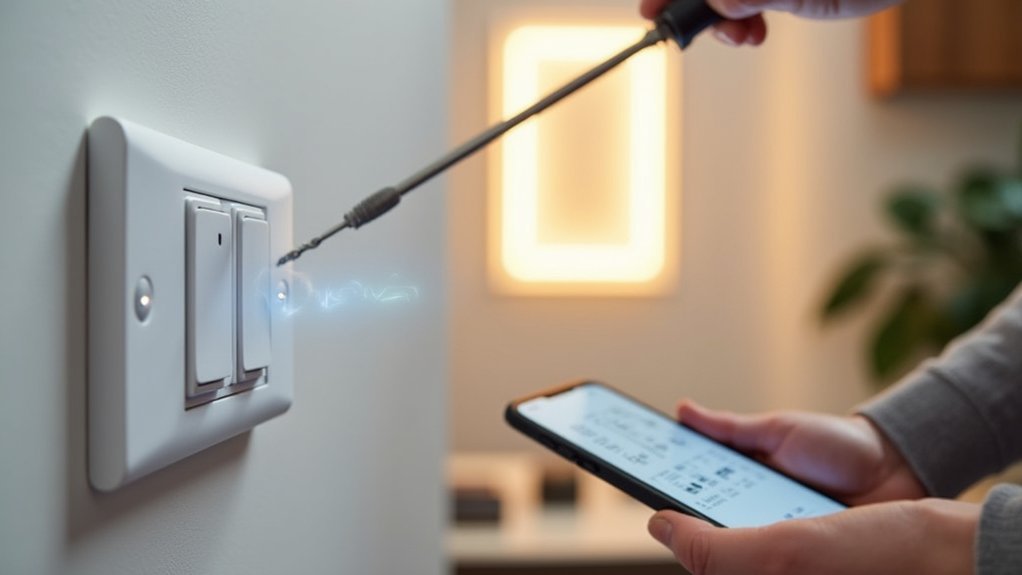
Step-by-Step Installation Guide for Z-Wave Light Switches
Before tackling your Z-Wave switch installation, you’ll need to assess your existing wiring setup to confirm compatibility and gather the necessary tools.
Always prioritize safety by turning off power at the circuit breaker and using a voltage tester to verify no current is flowing before touching any wires.
Once your switch is physically installed, you’ll configure it with your Z-Wave hub by following the inclusion process specific to your controller brand. The installation requires a neutral wire for proper functionality, so check your electrical box before purchasing.
Pre-Installation Assessment
Successfully installing Z-Wave light switches requires thorough preparation and assessment of your existing electrical system. Before purchasing any equipment, examine your current switch location to verify access to the wiring box and confirm the presence of a neutral wire—a critical requirement for most Z-Wave switches.
Identify whether you’re dealing with a single-pole or 3-way setup, as each requires different devices and installation procedures. Check that your circuit can handle the load requirements of your new Z-Wave switch, and verify your wiring is copper for ideal safety and performance. Most Z-Wave switches require a minimum load of 20W to function properly, especially when using LED bulbs.
Once you’ve confirmed compatibility, gather necessary tools including screwdrivers, wire strippers, and appropriate wire nuts.
Remember to document your existing wiring configuration by labeling wires before removal to simplify the installation process.
Wiring Safety Protocols
Safety must be your top priority when installing Z-Wave light switches to prevent electrical shocks and equipment damage. Always turn off power at the breaker panel before starting, and verify it’s off with a voltage tester.
Identify your wiring correctly—use only copper wires and verify you have line (typically black), load, neutral (white), and ground (green) connections. Incorrect identification can damage your devices or create fire hazards. Most GE/Jasco Z-Wave switches require a neutral wire for proper operation.
Follow manufacturer’s instructions precisely, never exceeding maximum load ratings. For 3-way setups, guarantee proper traveler wire connections and compatibility across all switches.
Install your Z-Wave switch in a dry location away from heat sources and moisture. After installation, double-check all connections before restoring power.
Never attempt repairs on faulty devices—replace them instead.
Hub Configuration Steps
Setting up your Z-Wave hub correctly forms the foundation of a reliable smart lighting network. Position your controller centrally in your home to maximize coverage, then power it on and connect it to your home network according to manufacturer instructions.
Update the firmware immediately to guarantee compatibility with the latest Z-Wave standards.
Once your hub is ready, follow these steps to configure it properly:
- Access the controller’s management interface via app or web browser
- Navigate to the device inclusion section and activate inclusion mode
- Keep new devices within 15cm of the controller during the pairing process
- After all devices are paired, run a network healing operation to optimize the mesh network
For optimal performance, consider using wired ethernet connections rather than Wi-Fi as wired connections provide greater stability for your Z-Wave system.
After configuration, assign devices to rooms and create automation rules for a personalized lighting experience.
Creating Automated Lighting Scenes and Schedules
Once you’ve installed your Z-Wave devices, creating automated lighting scenes and schedules transforms your basic smart lighting into a responsive, energy-efficient system. You can program multiple lights to respond simultaneously to a single trigger—whether it’s a button press, specific time, or sensor activation.
Set up schedules to automatically turn lights on when rooms are occupied and off when vacant, reducing energy waste and extending bulb life.
Create personalized scenes for different activities like reading, dining, or movie watching by customizing dimming levels and color settings.
Your scenes can incorporate other Z-Wave devices too, linking lighting with thermostats or door locks for extensive home automation. Z-Wave’s mesh network design ensures reliable communication even with up to 232 devices in a single network.
The convenience extends beyond aesthetics—automated lighting improves safety, enhances accessibility, and delivers meaningful energy savings on your monthly bills.
Extending Your Network Range and Reliability
To maximize your Z-Wave network’s reach, strategically place mains-powered devices throughout your home to create an effective mesh that carries signals across multiple hops.
You’ll achieve better coverage by focusing on the number and placement of repeating devices rather than the signal strength of individual components. Remember that battery-operated devices cannot act as signal repeaters, so prioritize installing mains-powered Z-Wave devices in your network.
For outdoor areas or separate buildings, make certain you’ve installed enough powered devices along the signal path to maintain reliable communication through the four-hop limit.
Strategic Mesh Placement
The effectiveness of your Z-Wave lighting network depends heavily on strategic device placement throughout your home.
By thoughtfully positioning devices, you’ll create a robust network that guarantees reliable communication between all components.
For ideal mesh performance:
- Position your hub centrally to minimize obstructions from walls and metal objects that can block signals.
- Add devices in expanding circles from your hub outward, starting with powered devices that can act as repeaters.
- Install battery-powered devices only after establishing a strong foundation of powered repeaters.
- Place Z-Wave locks within close proximity to your hub or a reliable repeater for enhanced security.
Remember to run a Z-Wave repair after adding devices in batches, allowing 2-4 hours between additions for your network to enhance its routing paths automatically.
A single Z-Wave network has capacity for up to 232 devices with a maximum of 4 hops between any device and the hub.
Signal Boosting Techniques
Even the most well-designed Z-Wave lighting networks can benefit from signal boosting techniques when you’re facing range limitations or reliability issues.
Start by strategically placing Z-Wave repeaters—like smart plugs or light switches—in constantly powered outlets to extend your network beyond the typical 30-foot range. Avoid using battery powered devices as they typically don’t repeat Z-Wave signals through your network.
Use your controller’s “Heal” function after adding or moving devices to optimize signal routing. This process helps devices find better paths and can eliminate lag issues, though it may take several hours to complete.
For larger homes or buildings with challenging layouts, deploy multiple range extenders at strategic points, especially near edges of your property or between floors.
Consider bridging Z-Wave signals over Ethernet for distant areas where wireless signals struggle to penetrate thick walls or areas with significant RF interference.
Integrating Z-Wave Lighting With Other Smart Home Systems
While building a standalone Z-Wave lighting network offers substantial benefits, integrating it with your broader smart home ecosystem creates truly transformative possibilities.
Z-Wave’s standardized protocol guarantees seamless interoperability across brands, forming a robust mesh network that communicates with your existing smart home infrastructure. As highlighted by the Z-Wave Alliance, this technology supports seamless device integration throughout your IoT ecosystem.
Your integrated Z-Wave lighting system enables:
- Multi-system automation – Trigger lights based on security sensors, temperature changes, or your location
- Single-app control – Execute complex scenes involving lighting, HVAC, and entertainment through one interface
- Enhanced energy management – Monitor real-time power usage and automate schedules to reduce consumption
- Simplified expansion – Add devices with minimal rewiring through simple inclusion processes
With Z-Wave’s low-latency communication and built-in security layers, you’ll enjoy responsive controls while protecting your integrated systems from unauthorized access.
Security Features and Best Practices for Z-Wave Networks
Security at the core of any Z-Wave lighting network safeguards not only your lighting controls but also your entire home automation ecosystem.
Z-Wave’s architecture employs Out-of-Band authentication during device inclusion, preventing rogue nodes from infiltrating your network.
Always select devices with Security 2 (S2) certification to leverage advanced encryption and authentication. When adding devices, use QR code scanning or NFC verification to guarantee only legitimate components join your network. S2 security divides your Z-Wave network into three security classes, each with different levels of protection for various device types.
Segment your devices by function—place critical controls in higher security classes separate from basic light switches. Keep your gateway and device firmware updated to patch vulnerabilities.
The system’s continuous encryption and heartbeat monitoring provide robust protection against eavesdropping and jamming attempts, quickly alerting you to potential security breaches or communication disruptions.
Troubleshooting Common Z-Wave Lighting Issues
Despite careful planning, Z-Wave lighting networks occasionally develop issues that can leave you puzzled and frustrated.
When your smart lights misbehave, follow these proven troubleshooting approaches:
- Reset and exclude devices – Factory reset problematic devices and perform a general exclusion before attempting to re-add them. Always keep devices physically close to the hub during inclusion.
- Repair your network – Run Z-Wave repair commands to optimize routing tables. If repairs time out, try power cycling your hub and strategically relocate devices.
- Address interference – Identify and mitigate sources of electrical noise. Move devices away from metal objects and thick walls that degrade signal strength.
- Use diagnostic tools – Leverage built-in troubleshooting wizards and network health monitoring utilities in your hub platform to identify failing nodes. Look for improved PER values in the network health metrics to confirm your troubleshooting efforts are successful.
Cost Analysis and Energy Savings Potential
Investing in a Z-Wave lighting network requires careful financial consideration. While initial costs exceed alternatives like Zigbee (Z-Wave switches average $55 compared to Zigbee’s lower price point), the long-term energy savings offer compelling value.
Your Z-Wave devices will consume minimal power—operating at just 23mA during transmission and using 10,000 times less energy in sleep mode. The 700 series devices can run on a single coin cell battery for up to 10 years, considerably reducing maintenance costs.
Though proprietary technology means fewer manufacturer options and higher upfront investment, you’ll benefit from enhanced reliability and secure communications. Z-Wave Plus technology features longer range capabilities compared to the original protocol, reducing the number of repeaters needed throughout your home.
The network’s scalability (up to 4,000 nodes with Z-Wave LR) reduces the need for multiple hubs, optimizing your infrastructure costs while the 4-hop limitation improves responsiveness and energy efficiency.
Frequently Asked Questions
Can Z-Wave Networks Coexist With Zigbee or Thread Lighting Systems?
Yes, your Z-Wave networks can coexist peacefully with Zigbee or Thread lighting systems. Z-Wave uses different frequencies (sub-GHz), while Zigbee and Thread use 2.4 GHz, so they won’t interfere with each other directly.
How Do Power Outages Affect Z-Wave Lighting Network Configurations?
Power outages can damage your Z-Wave devices, corrupt mesh networks, and disrupt communications. You’ll face unresponsive switches, failed commands, and network errors. Consider UPS protection and manual power cycling after outages to restore functionality.
Are There Voice Control Options Specifically Optimized for Z-Wave Lighting?
Yes, you can control Z-Wave lighting with Alexa, Google Assistant, and Siri when paired with compatible hubs like SmartThings, Home Assistant, or Hubitat. Use clear device naming and create groups for maximum voice command efficiency.
What’s the Expected Lifespan of Z-Wave Lighting Components?
Expect your Z-Wave switches to last 7-12 years, while smart bulbs can reach 22+ years. You’ll likely replace them sooner than traditional switches, which typically serve 20-30 years under normal conditions.
Can I Migrate My Existing Z-Wave Network to a Different Controller Brand?
Yes, you can migrate your Z-Wave network to a different controller brand, but it typically requires excluding and re-including all devices. Some newer controllers with compatible hardware may support direct migration through Z-Wave-JS framework.
In Summary
Building a Z-Wave lighting network isn’t just about convenience—it’s a smart investment in your home’s efficiency and security. You’ll enjoy seamless control, significant energy savings, and enhanced peace of mind. As you expand your system, you’ll discover even more possibilities for automation. Start small, grow gradually, and you’ll soon wonder how you ever lived with traditional lighting systems.


Leave a Reply